
I was talking to my neighbor and good friend Emily the other day and she let me know that she had some boxes being delivered soon with candy. I saw one or two boxes in our building lobby and brought them to her door. I thought that was all that was coming until I returned from Thanksgiving and she opened her door and I saw this…
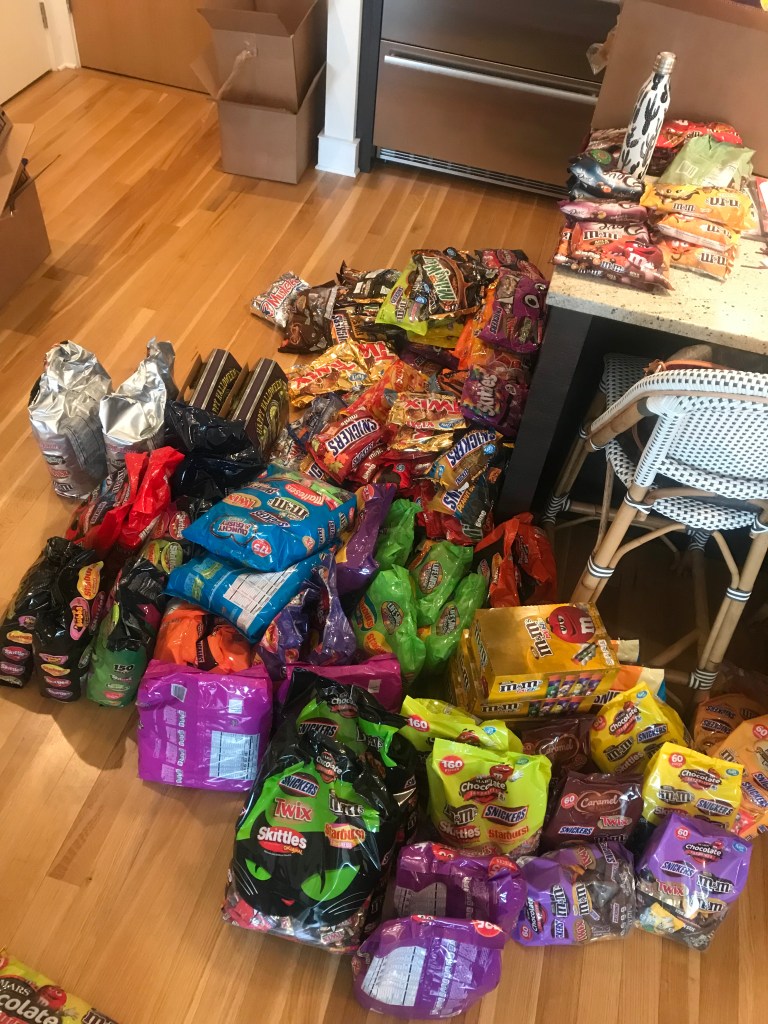
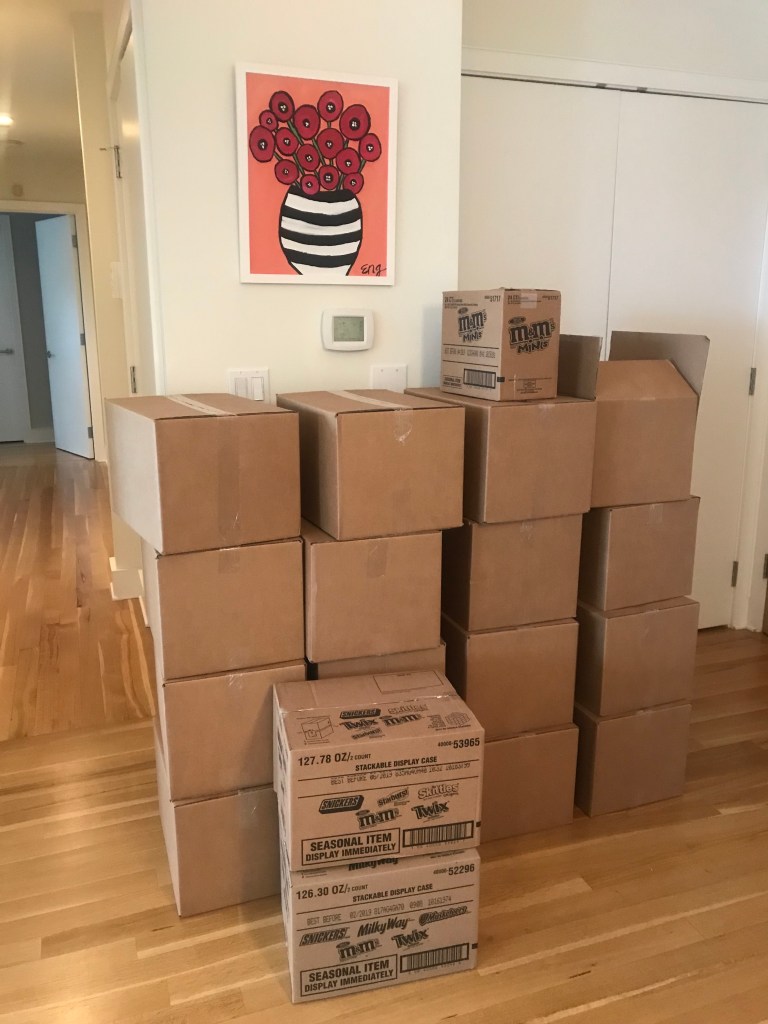
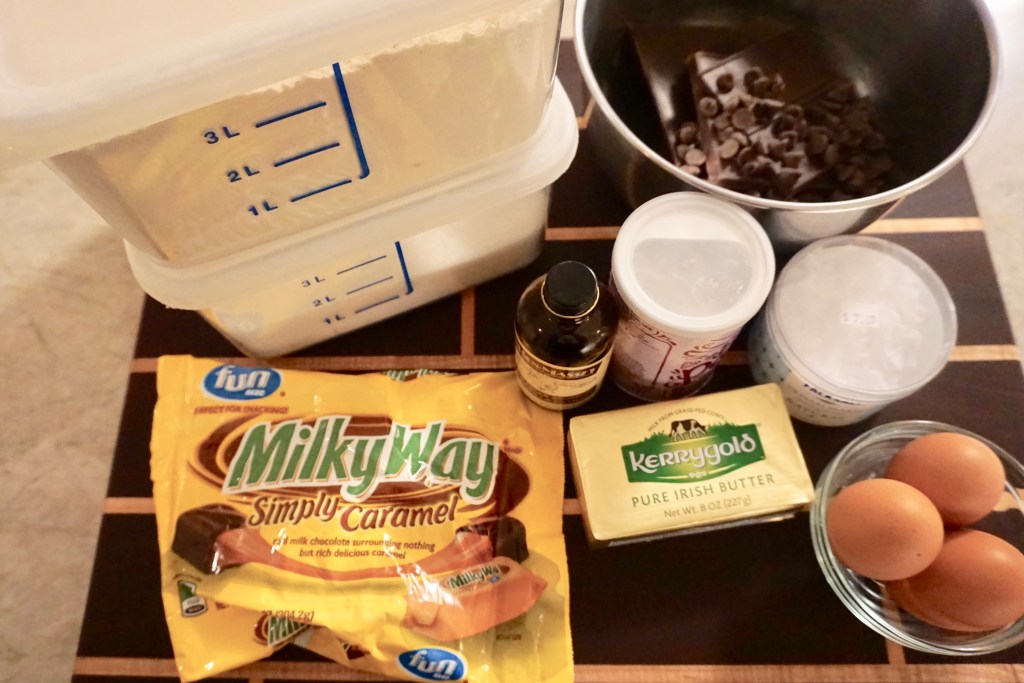
She had 569 lbs of candy delivered!!! She has super awesome job where she works for Mars and sells holiday candy to Walgreens nationwide. She is preparing for a big upcoming meeting and was shipped every possible Halloween candy combo that Mars makes. Oh My Goodness….there is SOOO MUCH CANDY at her house. She asked me if I wanted any for my house and I promptly said, “No thanks!” (Pretending like I don’t like having extra sweets in my house) But…after I thought about it, I realized that I could probably bake something pretty awesome with some of that candy. I chose a few tubes of mini M&Ms, some regular M&Ms and then a bag of Milky Way Simply Caramel fun sized bars.
When I was a teacher in St. Louis, I taught multiple children from the same family who were all a joy to have in class. Their mom always made salted caramel brownies for holidays and would bring in a batch that I would share with my team. We all looked forward to those treats each year (She would even bring them to us when I didn’t have one of her children in my class – she was that kind!) So, I decided to chop up the Milky Way Simply Caramel bars and add them to brownies. The brownies I chose to make were Ina Garten’s Outrageous Brownies. I have had this recipe pinned for a few years and just never had the right supplies or the gumption to make them. That is one thing I love about having this blog, no more excuses, time to start trying new things!
Well…I just have to say… THESE ARE THE BEST BROWNIES I HAVE EVER MADE! (sorry so much shouting…but these are soooooooo gooooooooood!)
I did some research before I began baking and the blog The Crepes of Wrath wrote a wonderful post about making these brownies. What I found most helpful from here post were the comments. Lots of people asked questions that I also had, such as how big of a pan should I use if I want to half the recipe? Also someone suggested sugaring the pan after buttering it and I’m so glad that I read that tip! So with my ingredients all ready and my ideas about how to make these brownies my own I got to work!
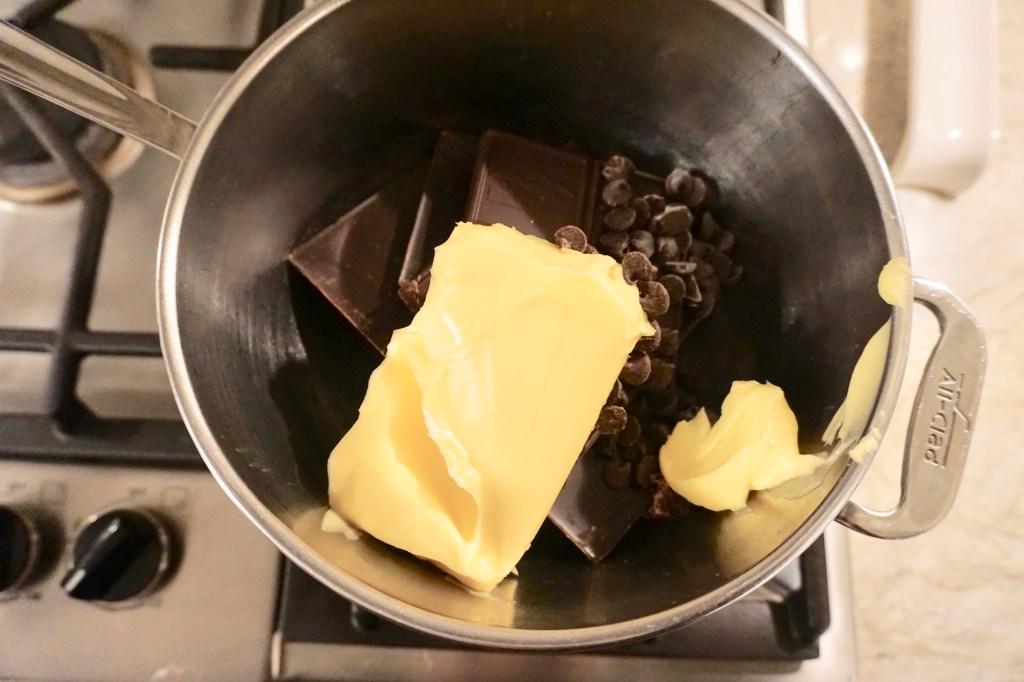
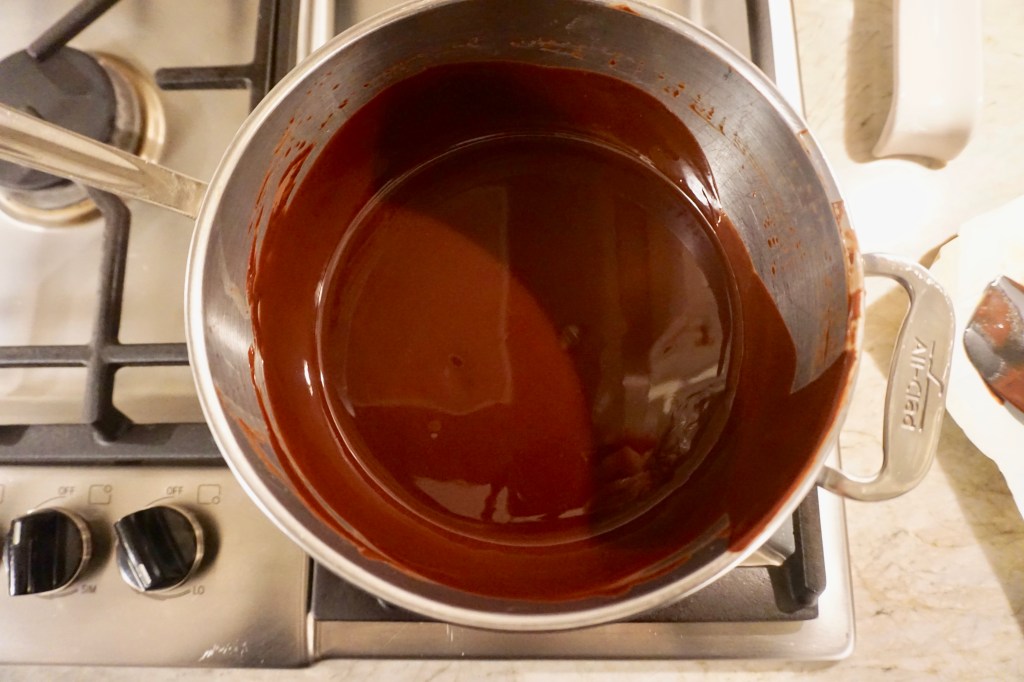
First, I preheated my oven to 350 F degrees. Next, I used a digital scale to measure out my chocolate into a bowl ready for a double boiler. I made the mistake of forgetting to chop it into small pieces before I added the butter to the bowl and throwing it over the double boiler. This didn’t alter my batter but just made the melting process take longer than I wanted. I made sure to stir the mixture several times and pull it off the heat as soon it was silky and smooth.
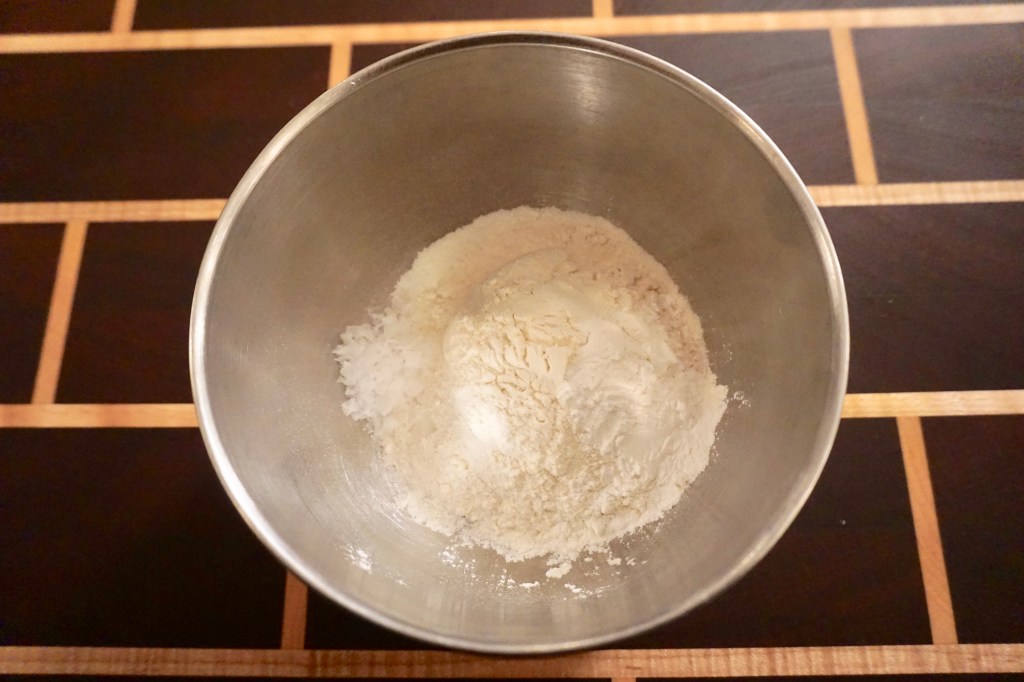
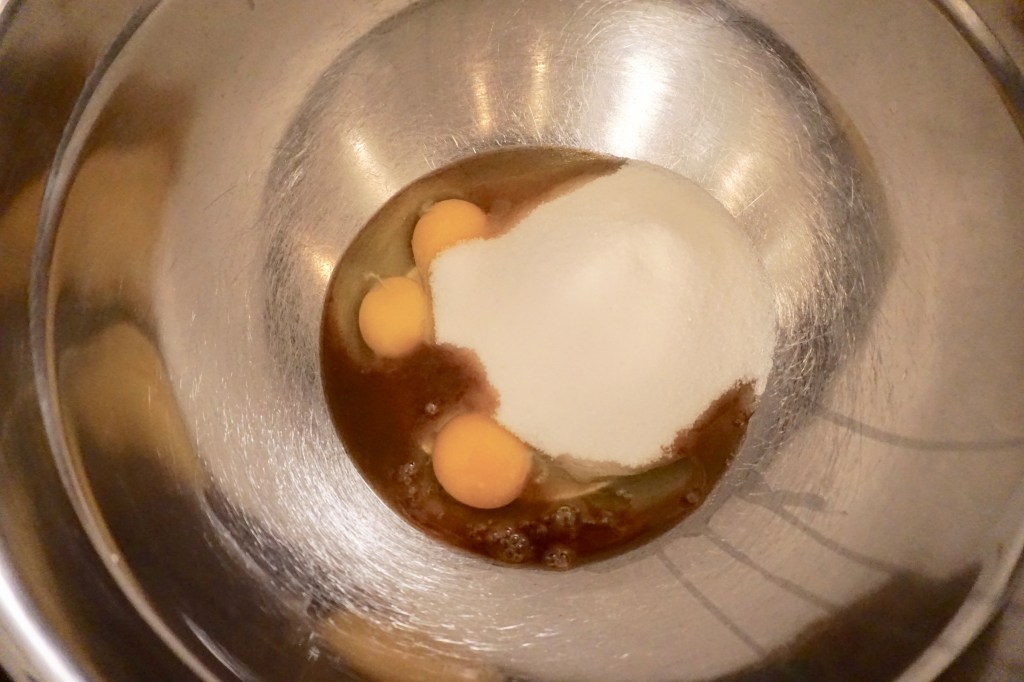
While the butter and chocolate melted, I put my dry ingredients – flour, salt & baking powder in a small mixing bowl. I also cracked my eggs into a large mixing bowl and added the vanilla (RIP to the last of my good vanilla- time to order some more or make my own- haven’t decided yet). I made sure not to add the sugar until right before I was ready to pour in the chocolate. I didn’t want my sugar to burn the eggs or slightly cook them before I mixed them with the chocolate. Ina has a special note not to whipped your eggs and sugar when mixing them together. This would add too much air to your batter and make the brownies more cake-like instead of fudgy.
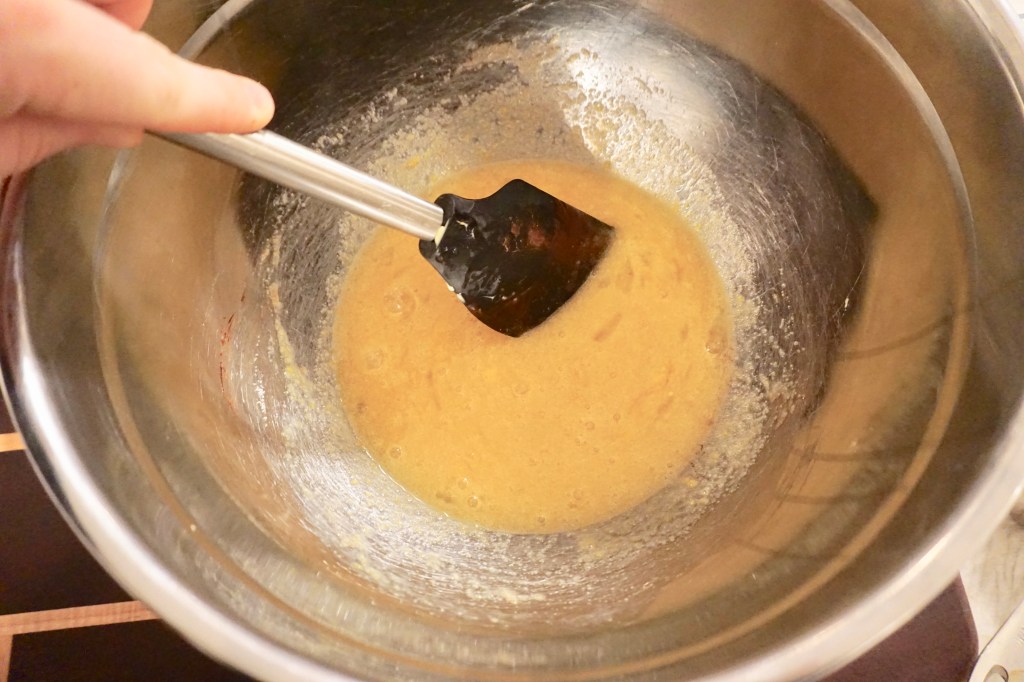
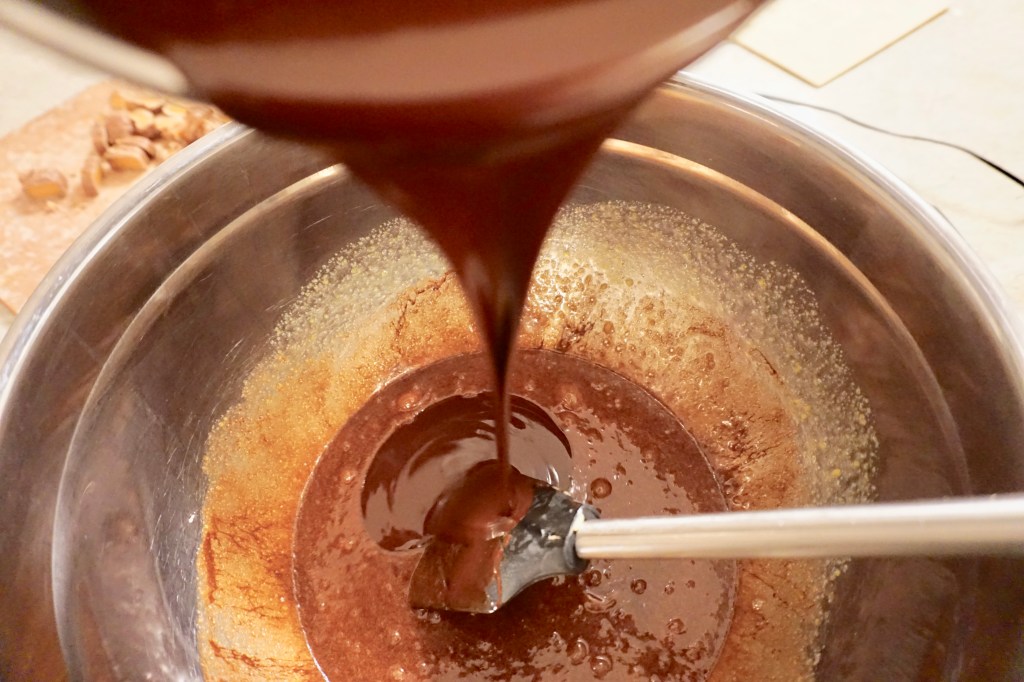
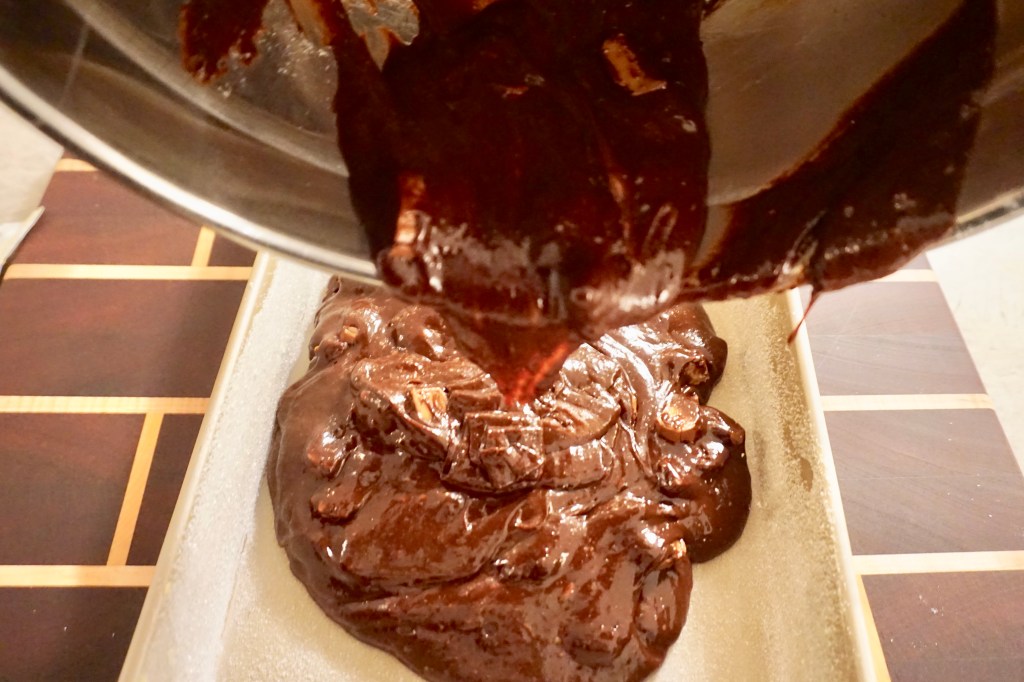
After the chocolate and butter mixture was slightly cool, I quickly added a small amount to the sugar, egg & vanilla mixture. I made sure to mix constantly so that the eggs did not scramble from the warm chocolate. Then I added the rest of the chocolate and butter and made sure everything was mixed together. The chocolaty smell was already amazing in my kitchen!

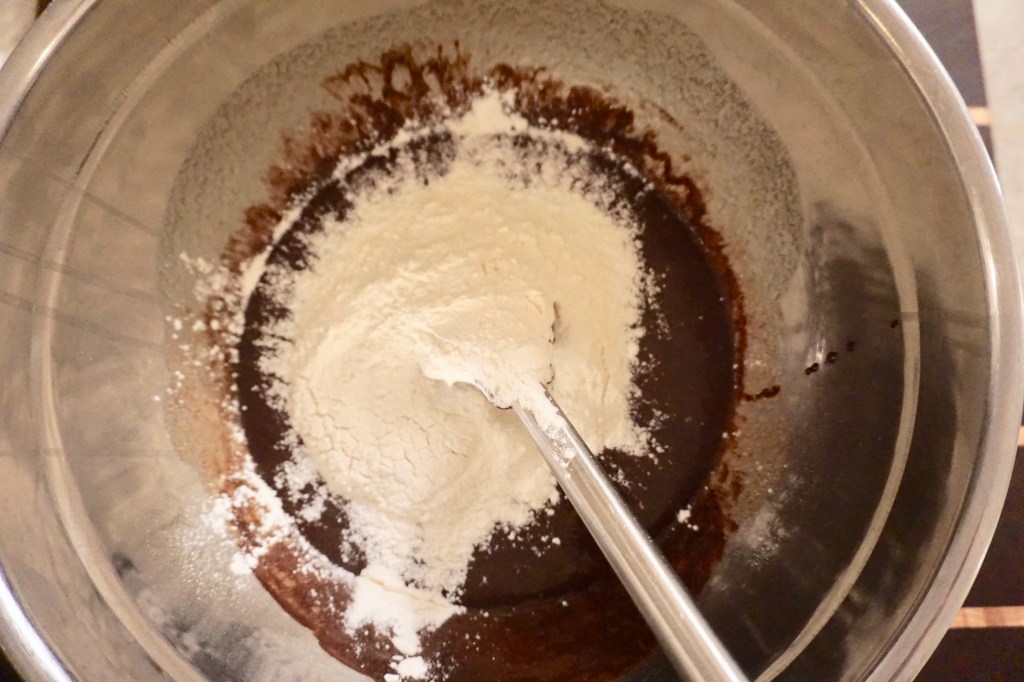
Next I added the dry ingredients all in one go (it isn’t very much since these brownies are so fudgy they do not have much flour) and I folded them in with my spatula.
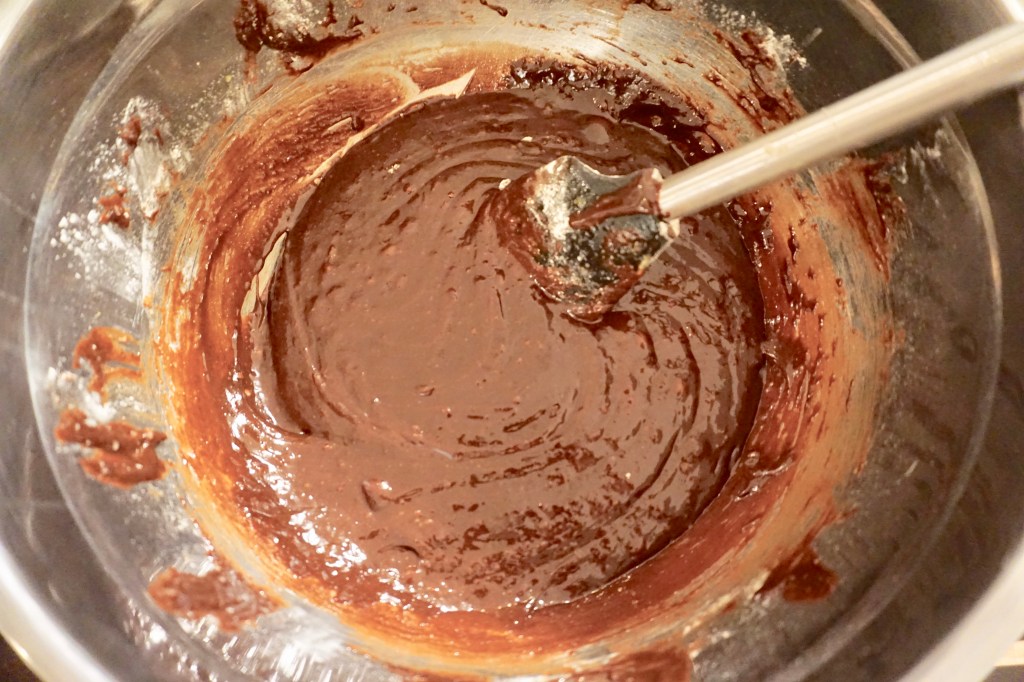
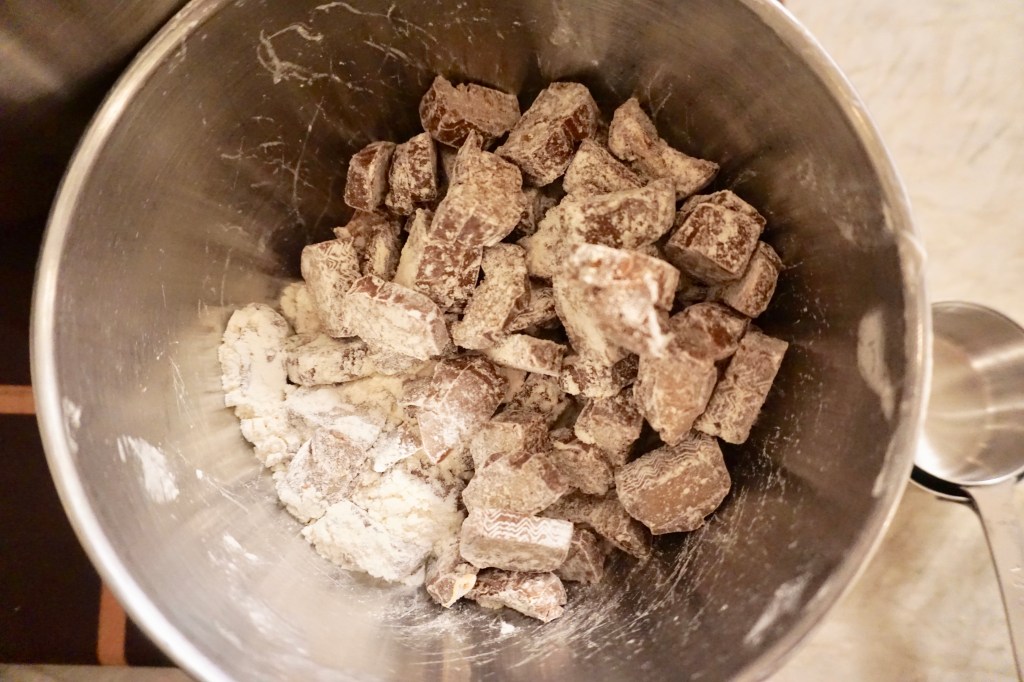
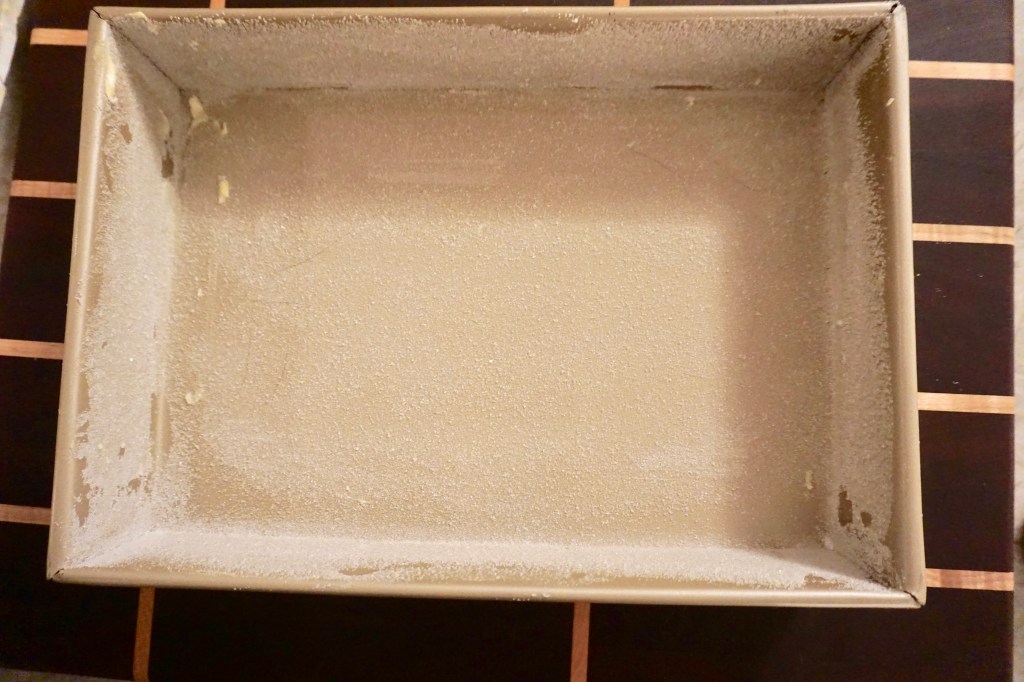
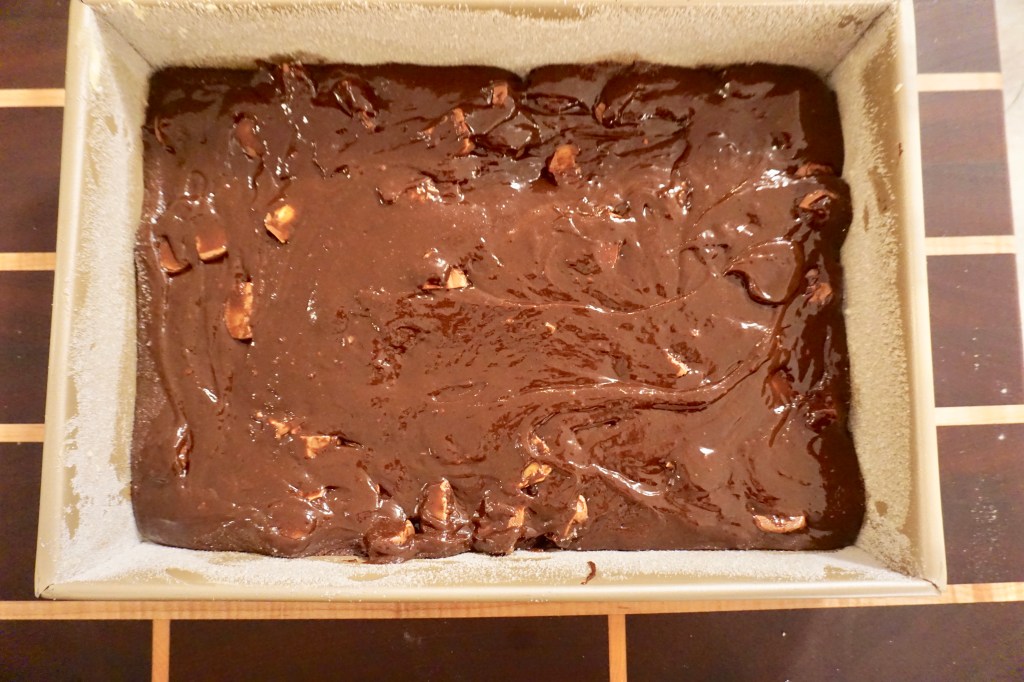
I opened each of the Milky Way bars and chopped them into small pieces. Then I coated the candy bar pieces in flour to make sure they all didn’t sink to the bottom of the batter. I mixed the candy pieces into the batter and dumped the batter into the 9-by-13-inch pan. I prepared by pan by buttering it liberally and then sprinkling sugar over the pan like you would flour. I made sure to tilt the pan and move the sugar all over.
I put the brownies into the oven for 20 minutes. Then I took the pan out of the oven and banged it sharply on the counter 3 or 4 times. Ina Garten suggests doing this to move the air and bubbles that builds up between the batter and the pan. She says it helps the brownies cook thoroughly, I think it also makes them denser and chewier. I sprinkled some flaky salt over half the batter at this point also. I wish I had done the whole pan instead of just half. I wasn’t sure how long to put the brownies back in at this point, since the times given were for double the amount of brownies. I set my timer for 10 minutes, but I ended up pulling them out after about 7 minutes, when the smell started to change slightly and I was afraid of over baking them, which everyone warns not to do.
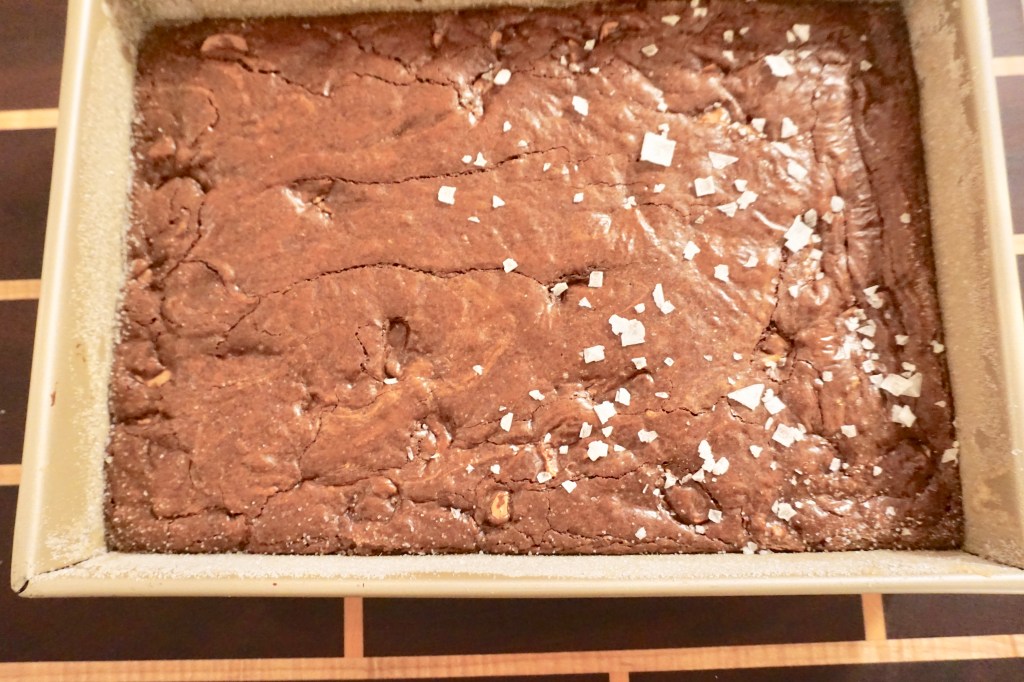
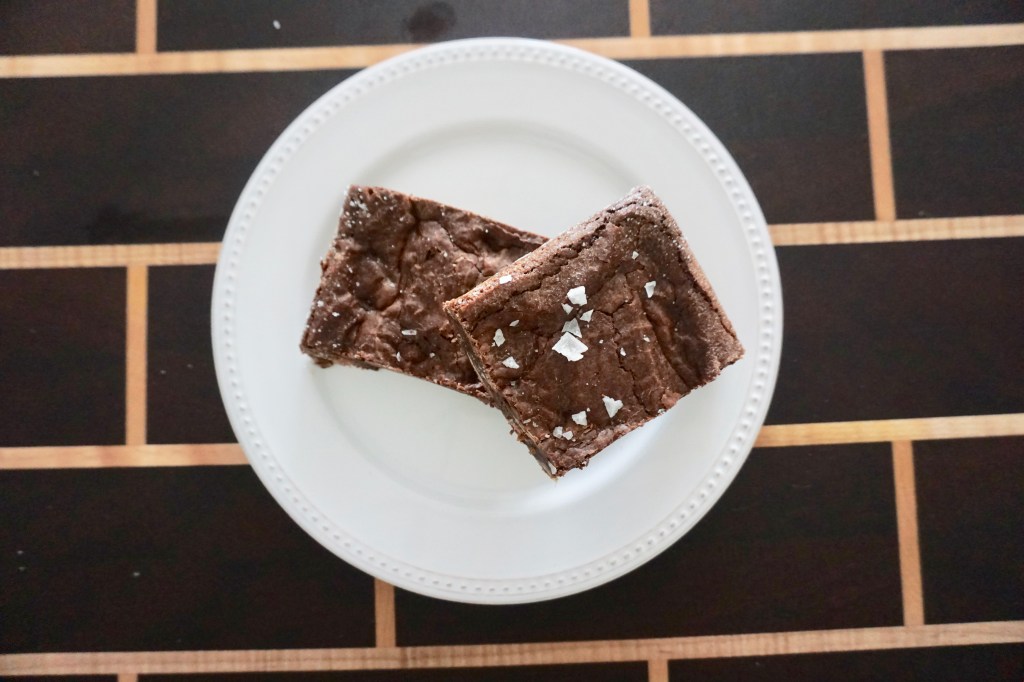
The smell in my whole house was heavenly! Kevin and I both snuck small bites from the corners of the pan. They were molten but delicious. The recipe says to refrigerate them before slicing. So when they were room temperature, I covered the pan with foil and put them in the fridge for the night. I sliced into them this morning and they were easy to release from the pan and the sugar crust on the outside was a special treat! They taste different than the ones I remember from the mom at school, but they are amazing and a great way to use some of that delicious candy – even if this one bag was just a drop in the bucket compared to what is left at Emily’s house.
Final Thoughts:
- These brownies are amazing and I cannot wait to make them again with some new additions – I’m thinking mint candy instead of Milky Way for the upcoming holiday
- It is hard to not eat the whole pan right away when they come out of the oven but the rest in the fridge does make the texture of these really special
- I think this brownie heated up with a scoop of vanilla ice cream on top will be the bees knees!
Recipe – Milky Way Simply Caramel Brownies
Ingredients
- 1/2 pound butter, room temperature
- 1/2 pound plus 3 ounces semisweet chocolate (or whatever chocolate your prefer) roughly chopped
- 3 large eggs
- 1 tablespoons pure vanilla extract
- 1 1/8 cups granulated sugar
- 10 tablespoons all-purpose flour
- 1/2 tablespoon baking powder
- 1 teaspoon large flakey salt (less if using table salt)
- 1 bag of fun sized Milky Way Simply Caramel bars chopped
Instructions
- Preheat your oven to 350 degrees F. Generously butter and sugar a 9-by-13-inch baking pan and set aside. (If you double the recipe – which is Ina’s original recipe bake in a 12-by-18-by-1-inch baking sheet)
- Place the butter, 1/2 pound plus 3 ounces of chocolate in a medium sized heat safe bowl, and place the bowl over a simmering pot of water. Melt them together slowly over low heat, stirring often so that you don’t burn the chocolate. Once melted, allow it to cool slightly.
- In a large bowl, stir but don’t beat together the eggs, vanilla, and sugar.
- Stir the warm chocolate mixture into the egg mixture with a spatula.
- In a small bowl, combine 1/2 cup of flour, baking powder, and salt. Add it into the cooled chocolate mixture. Fold the dry ingredients into the chocolate mixture.
- Toss the candy pieces with a small amount of flour to make sure each piece is covered with flour, but be sure to shake off extra so that too much flour is not added to your batter.
- Bake for 20 minutes, then remove the baking sheet from the oven and bang the pan against the counter top 3 to 4 times- Ina says – Make sure you do this step!
- Put the pan back in the oven and bake for 7 – 8 more minutes. Do not overbake!
- Allow the brownies to cool thoroughly then refrigerate for a few hours or overnight.
- Cut them into generously sized portions and serve or heat slightly and top with vanilla ice cream.
- Enjoy!
Recipe adapted from Ina Garten and Crepes of Wrath

I cannot wait for you to make these for us. I vote for a mint or a cream cheese version!
LikeLiked by 1 person
Ohhh cream cheese would be awesome with these too!
LikeLike
Sounds like a tasty treat to enjoy
LikeLiked by 1 person
Thank you!
LikeLike