
So this is slightly embarrassing but up until a few days ago…I had never made gingerbread cookies before! I have seen people make gingerbread houses and cookies and tried them from bakeries 1,000+ times. I have also built many gingerbread house (all pre-made or made of graham crackers – quick shout out to Shaye Byers for always indulging this fun activity with me) but I have never actually made my own gingerbread cookies. From my many taste tests, I knew that there are some things that I really like about gingerbread cookies and some things that I really don’t enjoy.
First of all, I really don’t like crunchy cookies. I feel like when gingerbread cookies are crispy and crunchy, they always end up tasting burnt to me. Also, I like a strong spice level, where you know it is there, but not so much it burns your tongue or makes you want to chug a glass of milk afterward. I searched around for some chewy gingerbread cookie recipes and landed on one that I think comes from Cooks Illustrated originally. As I searched for versions of it though, I saw it listed on Cook’s Country website and on Cook’s Illustrated and credit given to America’s Test Kitchen. When I checked my complete cookbook of ATK and CC – I couldn’t find it listed in either so I’m guessing that it is from Cook’s Illustrated (even though I think they are all the same company). I pulled ideas from a few blogs about how to make these cookies and I am very pleased with the results.
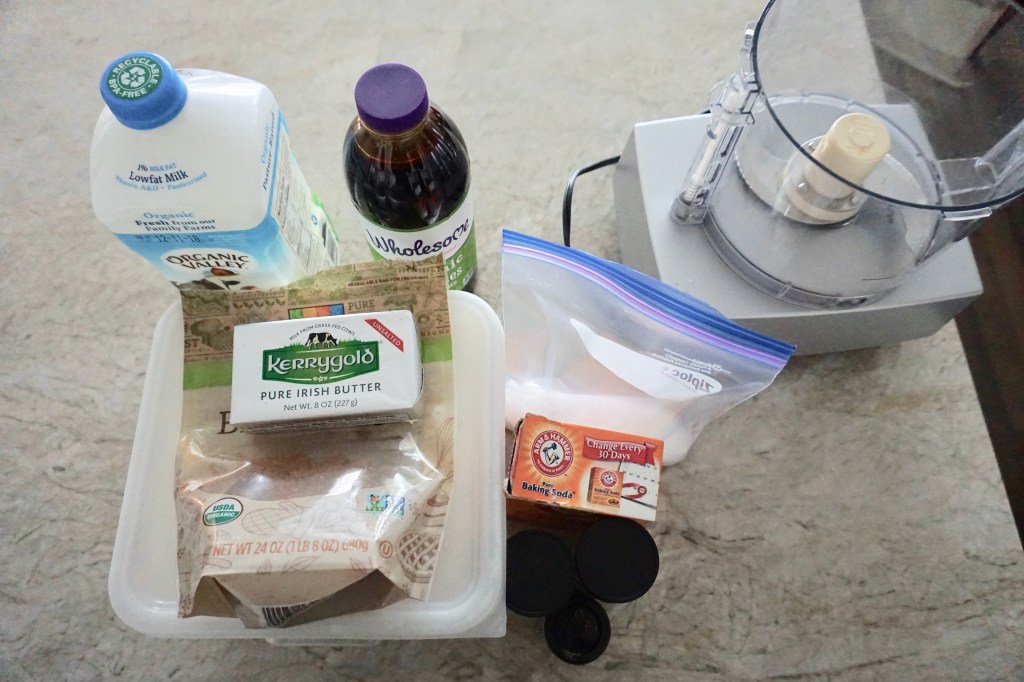
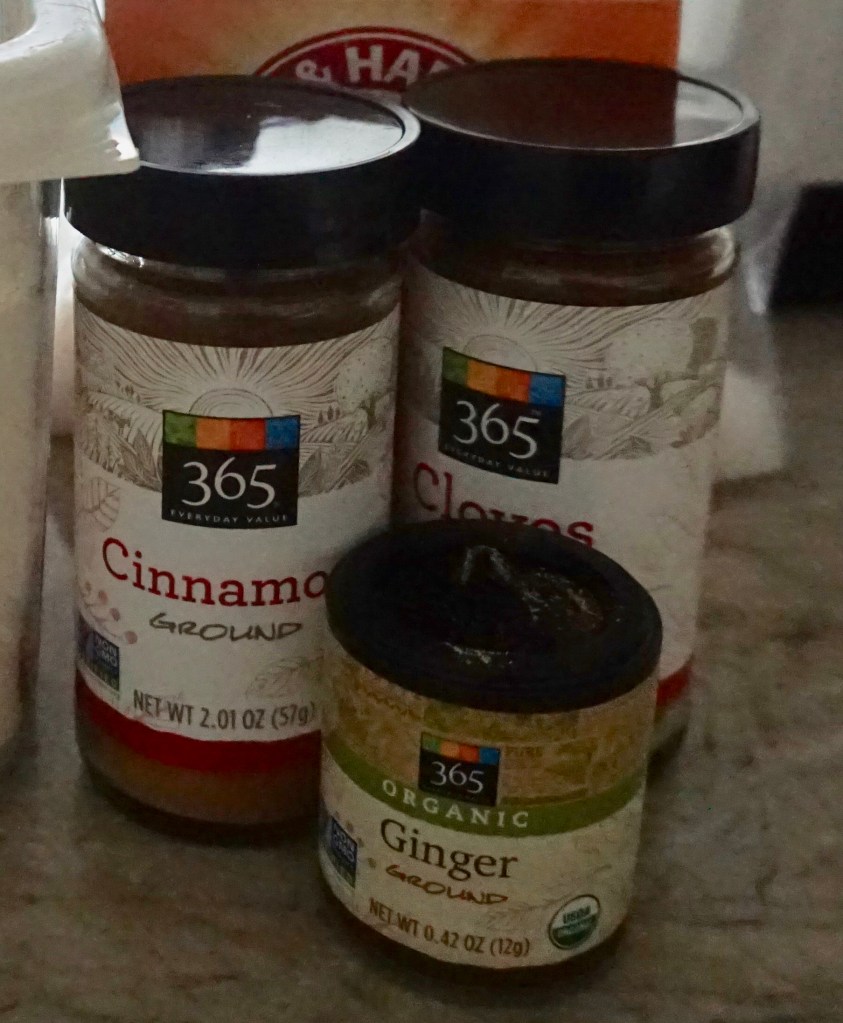
I gathered up all my ingredients, Flour, salt, baking soda, ground cinnamon, ground cloves, ground ginger, brown sugar, unsalted butter, milk and molasses. As you can see in the first photo also, this is a recipe that comes together in the food processor and is very similar to the steps I followed when I made my turkey cookies for Thanksgiving.


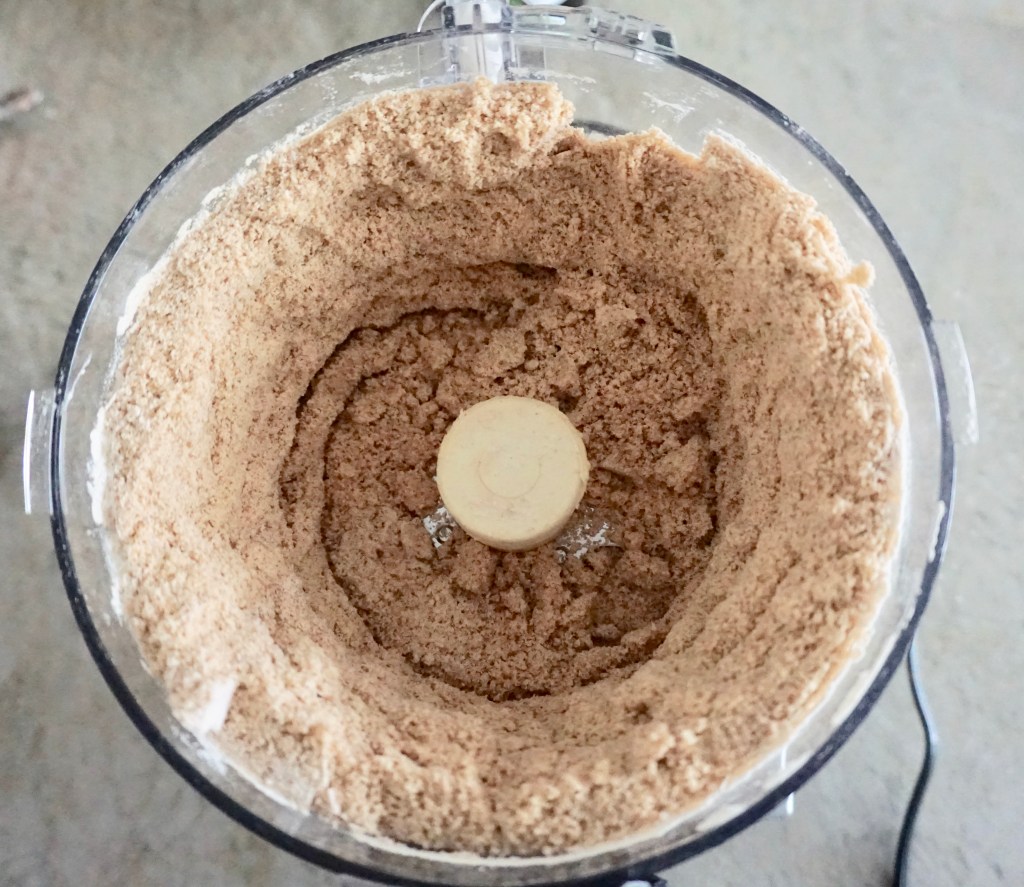
The first thing I did was add all the dry ingredients to the food processor, including the brown sugar. I let the machine run for about 10 seconds, until all the dry ingredients were mixed. Next, I cut up my 12 tablespoons of room temperature butter into chunks and added it to the food processor. I let the machine run again for about 10-15 seconds until the mixture resembled damp sand that stuck together if you squeezed it.


I got my measuring cup ready for pouring in my molasses. I sprayed it first with baking spray to make it easier for the molasses to pour out. This is the first time I have tried this trick and was actually really amazed at how well it worked! Then I measured out my 2 tablespoons of milk and added it to the molasses and poured it all over the sandy mixture while the machine was running. I knew it was finished when it all came together and started moving around the bowl of the food processor in a big clump.


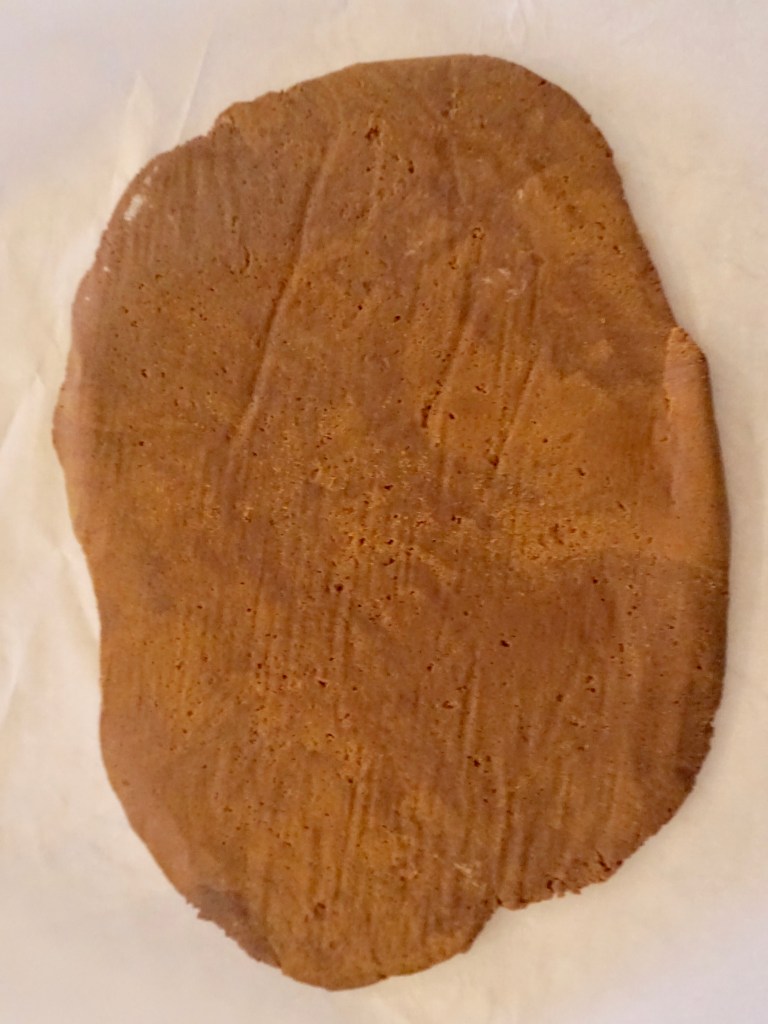
Just like with the sugar cookie dough, I dumped half of the mixture onto a piece of parchment paper and covered it with a second piece of parchment paper. Then, I used my rolling pin to roll it out to 1/4 inch thick. I put the rolled out dough on a 1/4 sheet pan that I know fits into my freezer. Then I repeated the same steps with the second half of the dough. I stacked both slabs of dough on the same sheet pan and popped them in the freezer for about 45 minutes to chill. After about 30 minutes, I turned my oven to 350 F degrees. I left my dough to finish chilling while my oven came up to temperature.

I pulled my chilled dough out of the freezer once it was pretty solid. I could peel the parchment off and flip it over without it breaking, but it wasn’t so solid that it was hard to press a cookie cutter through. When I looked at my limited supply of cookie cutters, I had one gingerbread man, but it was about 4 1/2 inches tall and seemed like way too much cookie. So I went with a smaller round cutter and had grand visions of pressing beautiful designs into each cookie. Well….I gave up on that idea after the first one got stuck to my cool embossing cookie cutter and decided just plain circles were just fine. One of the cool things about this dough, is that since you don’t add flour to it when rolling it out, you can gather up the scraps and fold them back together, cover with parchment and roll out as many times as you need to, without changing the texture of the cookies from batch to batch. You may just need to put it back in the freezer if the dough gets too warm and sticky between cutting and rolling sessions. I made the last minute decision to sprinkle some sugar on one tray before they went into the oven and I’m so glad I did!

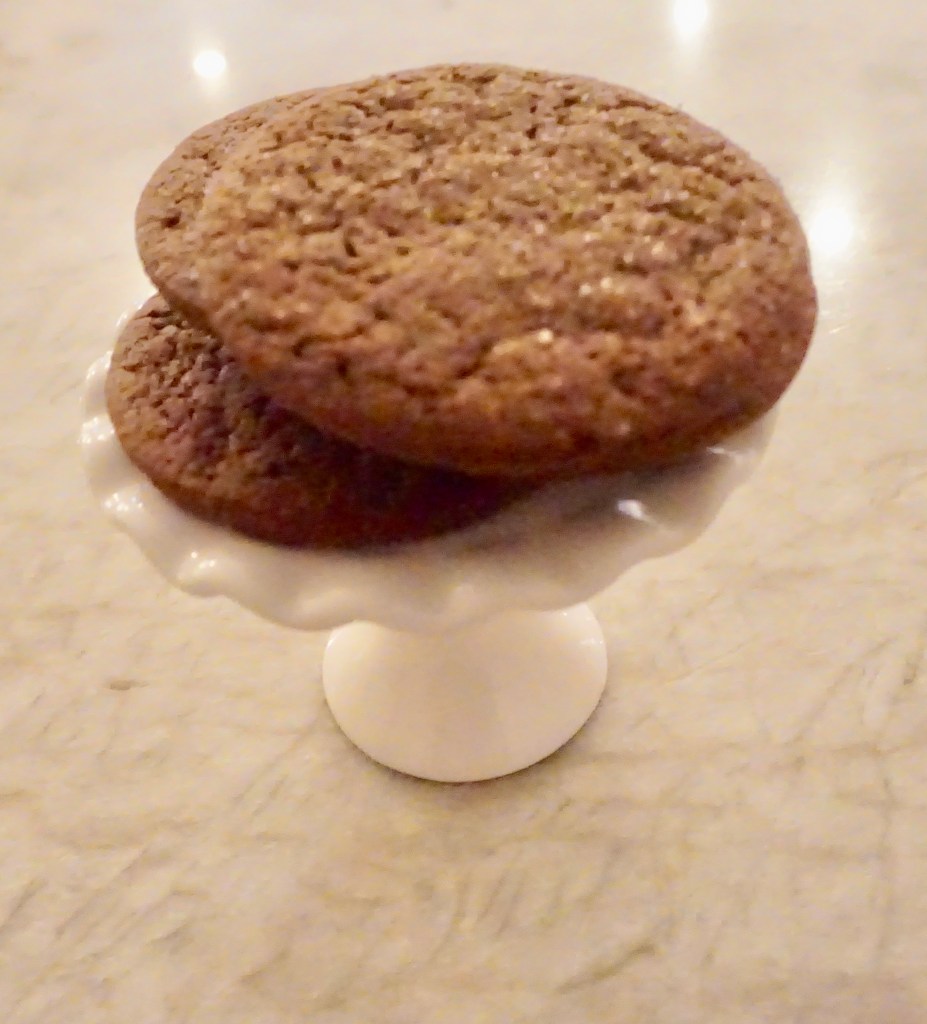
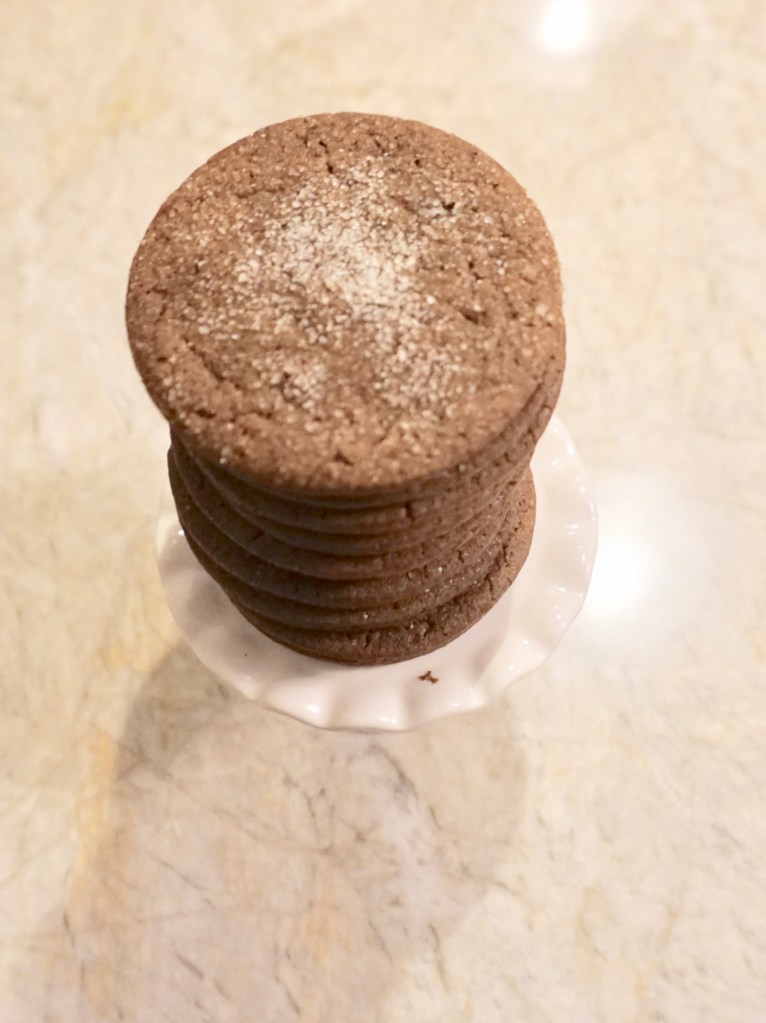
These gingerbread cookies turned out just as they had been described. Chewy and tasty. I liked the cookies with the sugar on top much more than the plain ones on the night that I made them. I felt like the sugar helped to bring out the spice flavor, where the plain ones tasted, well, a little plainer. After the cookies sat overnight, I did notice that there wasn’t as much difference between the two the next day. I think the spices had more time to enrich the cookies overnight and they all tasted better a day later. So if you are looking for a chewy, easy to make, and yummy gingerbread cookie – this is the recipe you have been looking to try!
Final Thoughts:
- I love having this blog to keep pushing me to try new things like gingerbread cookies!
- These are super tasty and fit the bill for what I was looking for, but they might not be what everyone wants in gingerbread cookies
- These are better the next day – so bake ahead of time if possible
- I love that this recipe is egg free since I’m always thinking about my boys and niece’s food allergies
- Happy Holidays everyone!
Recipe – Chewy Gingerbread Cookies
Ingredients
- 3 cups all-purpose flour
- 3/4 cup dark brown sugar packed
- 1 tbsp ground cinnamon
- 1 tbsp ground ginger
- 1/2 tsp ground cloves
- 1/2 tsp kosher salt
- 3/4 tsp baking soda
- 12 tbsp unsalted butter room temperature and cut into pieces
- 3/4 cup unsulphured molasses
- 2 tbsp milk
- baking spray
Instructions
- In the bowl of a food processor fitted with the blade, combine flour, brown sugar, cinnamon, ginger, cloves, salt, and baking soda
- Run the machine for about 10 seconds or until all the ingredients are combined
- Add butter and mix until mixture resembles damp sand about 10 seconds
- Spray your measuring cup with baking spray before measuring out the molasses to help the molasses pour out and clean up easier
- While food processor is running, slowly add the molasses and milk.
- Dump out half the dough on a piece of parchment paper and cover with a second sheet. Roll out the dough to 1/4 inch thickness. Don’t roll it too thin (especially the edges)
- Do the same with the second half of the dough
- Put both pieces of dough with their parchment paper onto a sheet pan and put them into the freezer for 30 – 45 minutes
- Preheat oven to 350 degrees and set shelves to upper-middle and lower-middle positions.
- Remove one sheet of dough from the freezer. Peel parchment off one side of the dough, replace parchment, flip over, and peel off the other side of the parchment. Cut out shapes with a cookie cutter and place cookies about 3/4 inch apart on a parchment-lined baking sheet.
- Gather your scraps on the parchment paper and cover it again with another piece of parchment paper. Re-roll to 1/4 inch and cut out shapes. If the dough gets too soft, put it back in the freezer to firm up. You can re-roll and chill the dough as many times as you need to finish.
- Bake for 8-11 minutes. Check that you can slightly move the cookies on the cookie sheets without them completely falling apart. Do not over bake or they will not be as soft.
- Let the cookies cool down on the cookie sheets for at least 10 minutes or until cool to ensure they finish cooking.
- Enjoy!
Recipe adapted from Cook’s Illustrated or America’s Test Kitchen or Cook’s Country and Pinch Me I’m Eating

I’m not sure what winter holidays everyone else is celebrating around the world, but at our house we are getting ready for Christmas and we finally put up our tree and just wanted to share how great it looks. The boys loved decorating it with us this year! Please let me know what you do to celebrate at your house, I love hearing for people who enjoy reading the blog!

They are my favorite.
LikeLike
Do you like your gingerbread cookies chewy also? Or do you prefer crispy gingerbread?
LikeLiked by 1 person
Crispy but yet soft.
LikeLike