
The last few weeks have been irregular for our family and unfortunately my blog has fallen to the bottom of the to do list. Today though, I was able to take some time to myself. Special thanks to my husband having the day off work and being willing to take to boys to lunch with a friend while I escaped to my own working lunch at a cafe. This will be the first of 3 posts for today to make up for lost time.
I was in St. Louis for over a week and knew that there were two recipes that I wanted to feature on my blog while I was home. This is the first- the egg free dinner rolls that I made for the whole family for Thanksgiving. They needed to be egg free for my sister’s daughter who has an egg allergy. Seriously though, no one misses the eggs in this recipe. I am ADDICTED to these rolls! Not only are they delicious – they are so easy to make and store in the freezer until you need them. I always have a bag in my freezer now. I just pull some out in the morning or the night before and let them thaw in the fridge and then on the counter while I am prepping dinner. Then I throw them in the oven. Couldn’t be easier to have homemade bread for dinner.

The ingredients for this recipe are simple. Flour, sugar, butter, yeast, water, milk and salt (which I forgot to get out for this picture…sorry…always forgetting something…)


The first step of this recipe is to mix all the ingredients in the bowl of your mixer, besides the flour. I prepped 1/2 cup of water and 2 cups of milk – I put them in the microwave and warmed them up until they reached 110 F degrees. If you overheat them, just stir for a few minutes and wait, check the temp again and add them to the mixing bowl when they are at the correct temperature. I also added in 3 tablespoons of room temperature butter, 4 tablespoons sugar, 1 tablespoon salt, and 2 1/2 tablespoons of instant yeast. 2 1/2 tablespoons sounds like a ton for a bread recipe but since this is a quick rise bread, it is needed. This recipe also makes a ton of rolls!
Mix all the ingredients together and then let the mixture sit in the bowl for 6 – 8 minutes until you see the yeast bubble and bloom. This ensures that your yeast is alive and will continue to work and grow throughout the recipe. If this doesn’t happen you may need new yeast if yours is too old and has died. You may also need to make sure you check the temp of your milk and water combo – if it is too hot it will kill the yeast also (aka – the first cinnamon swirl bread I made a while ago).
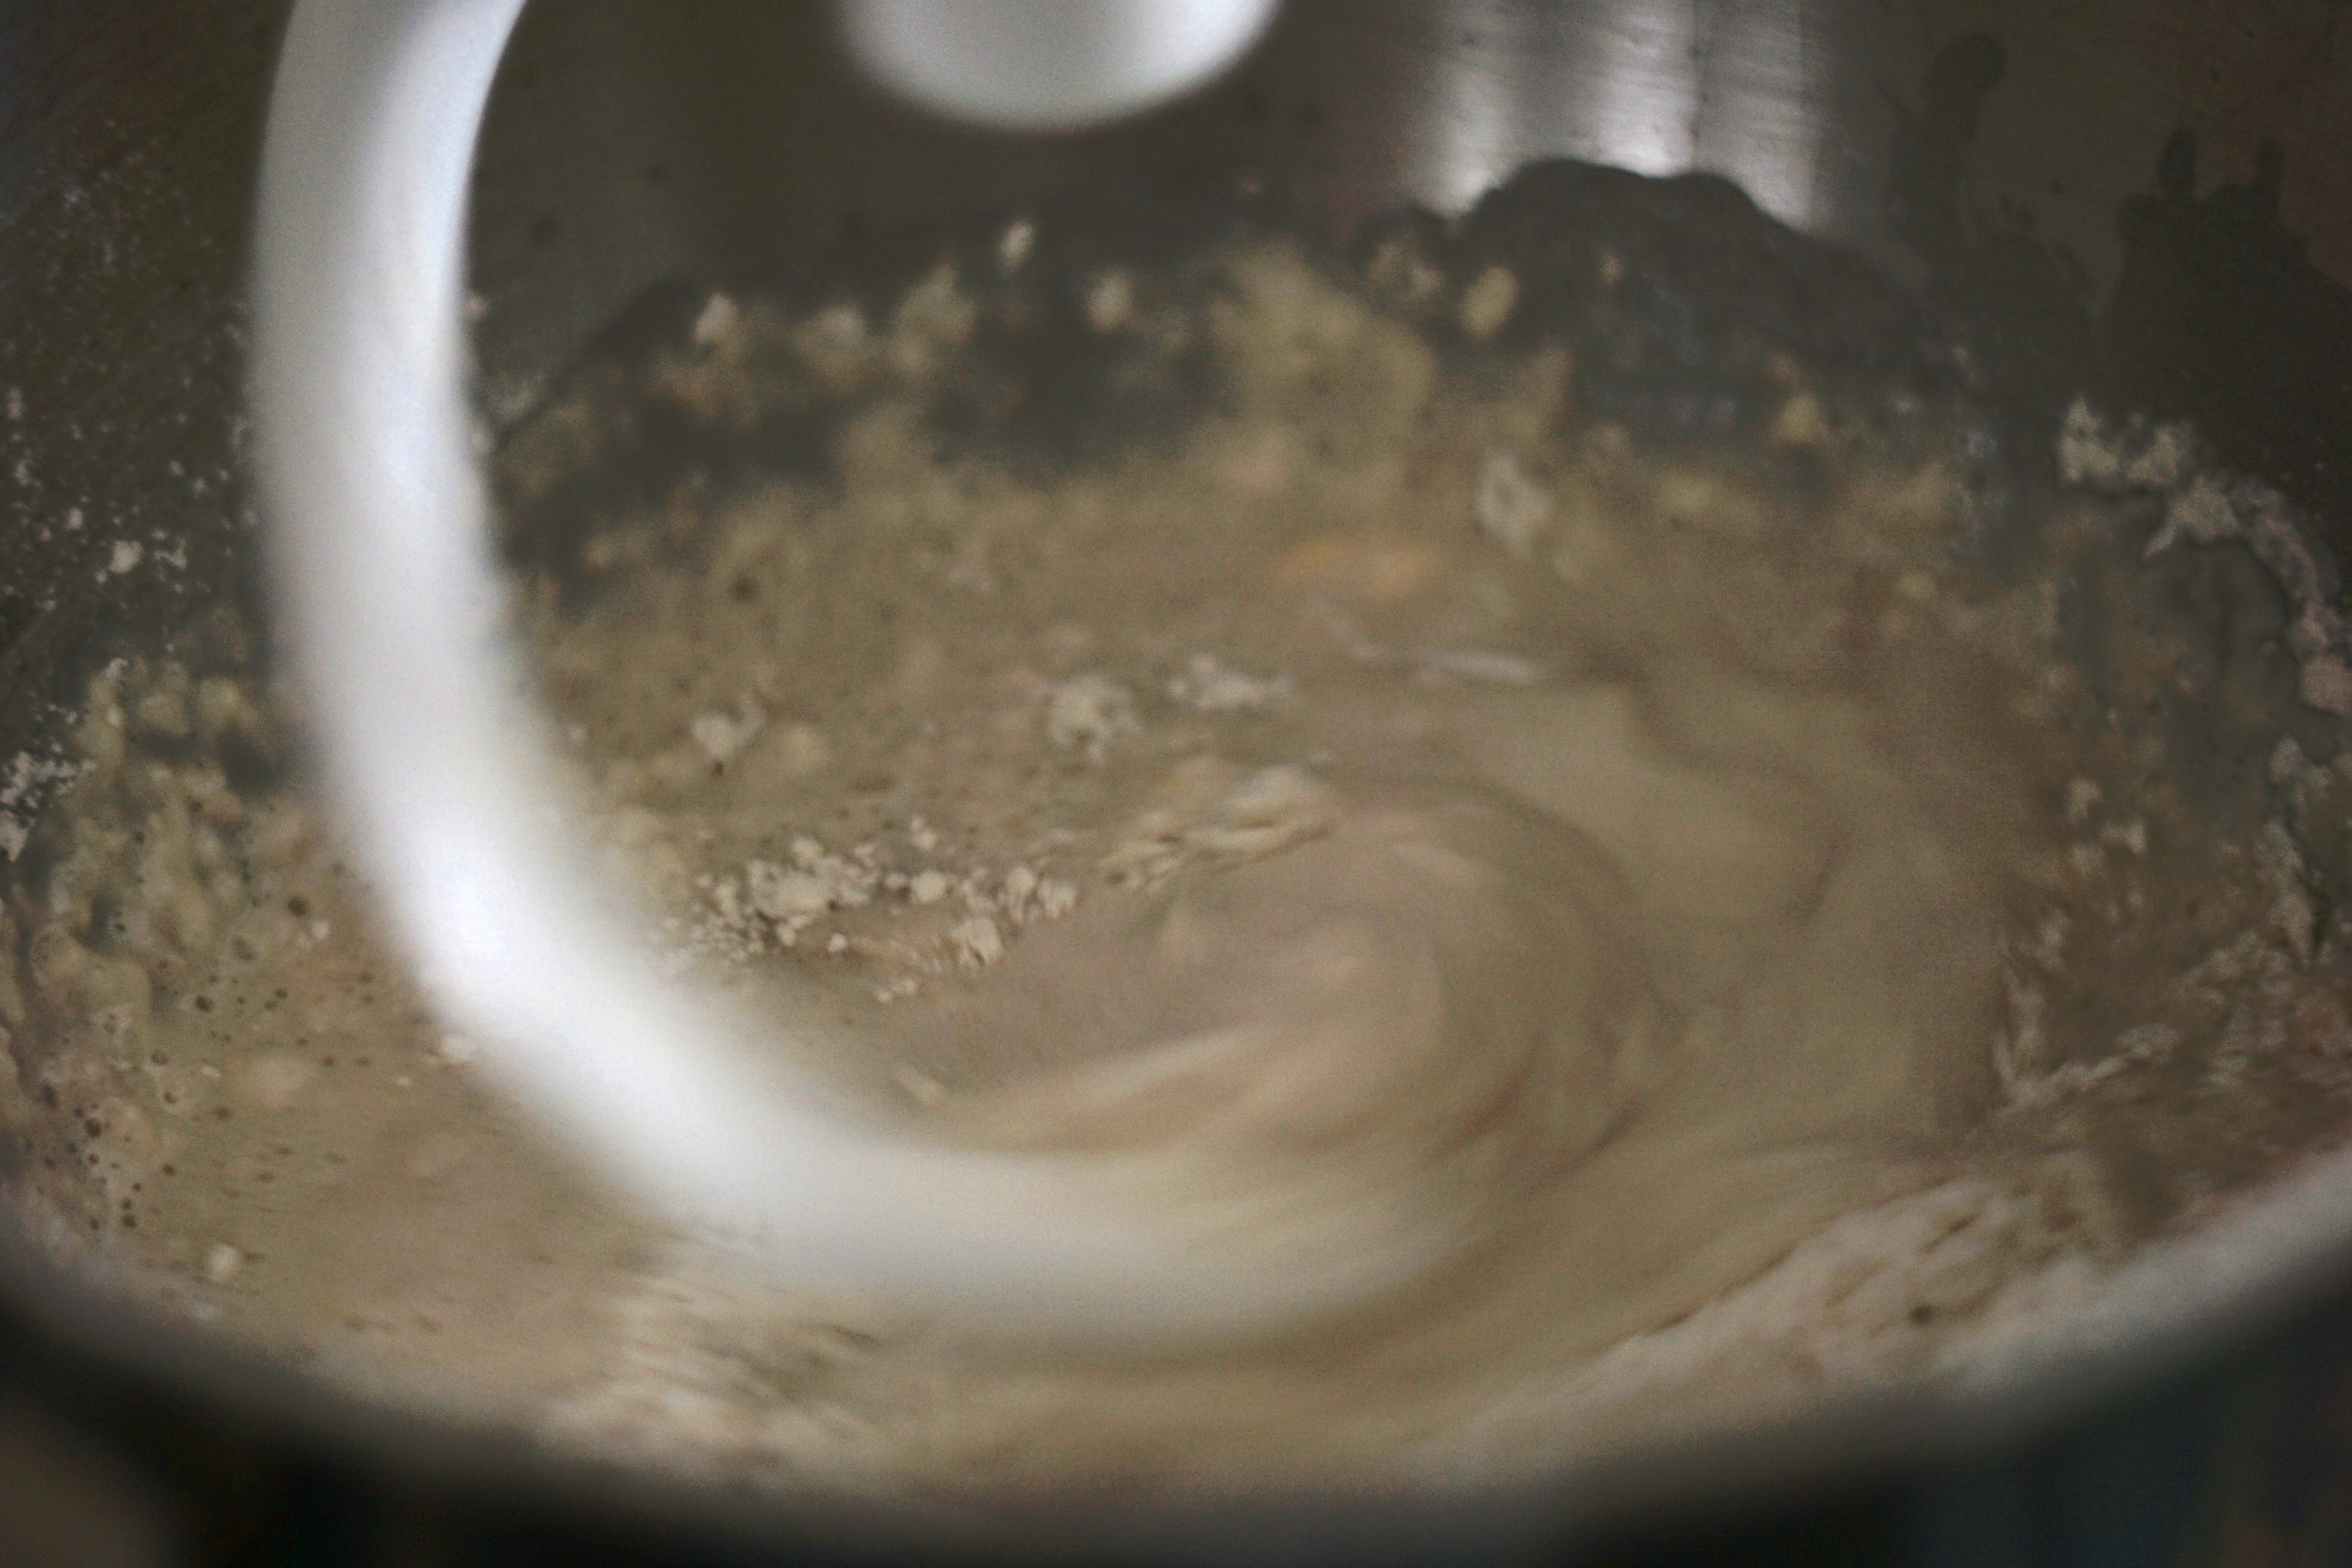

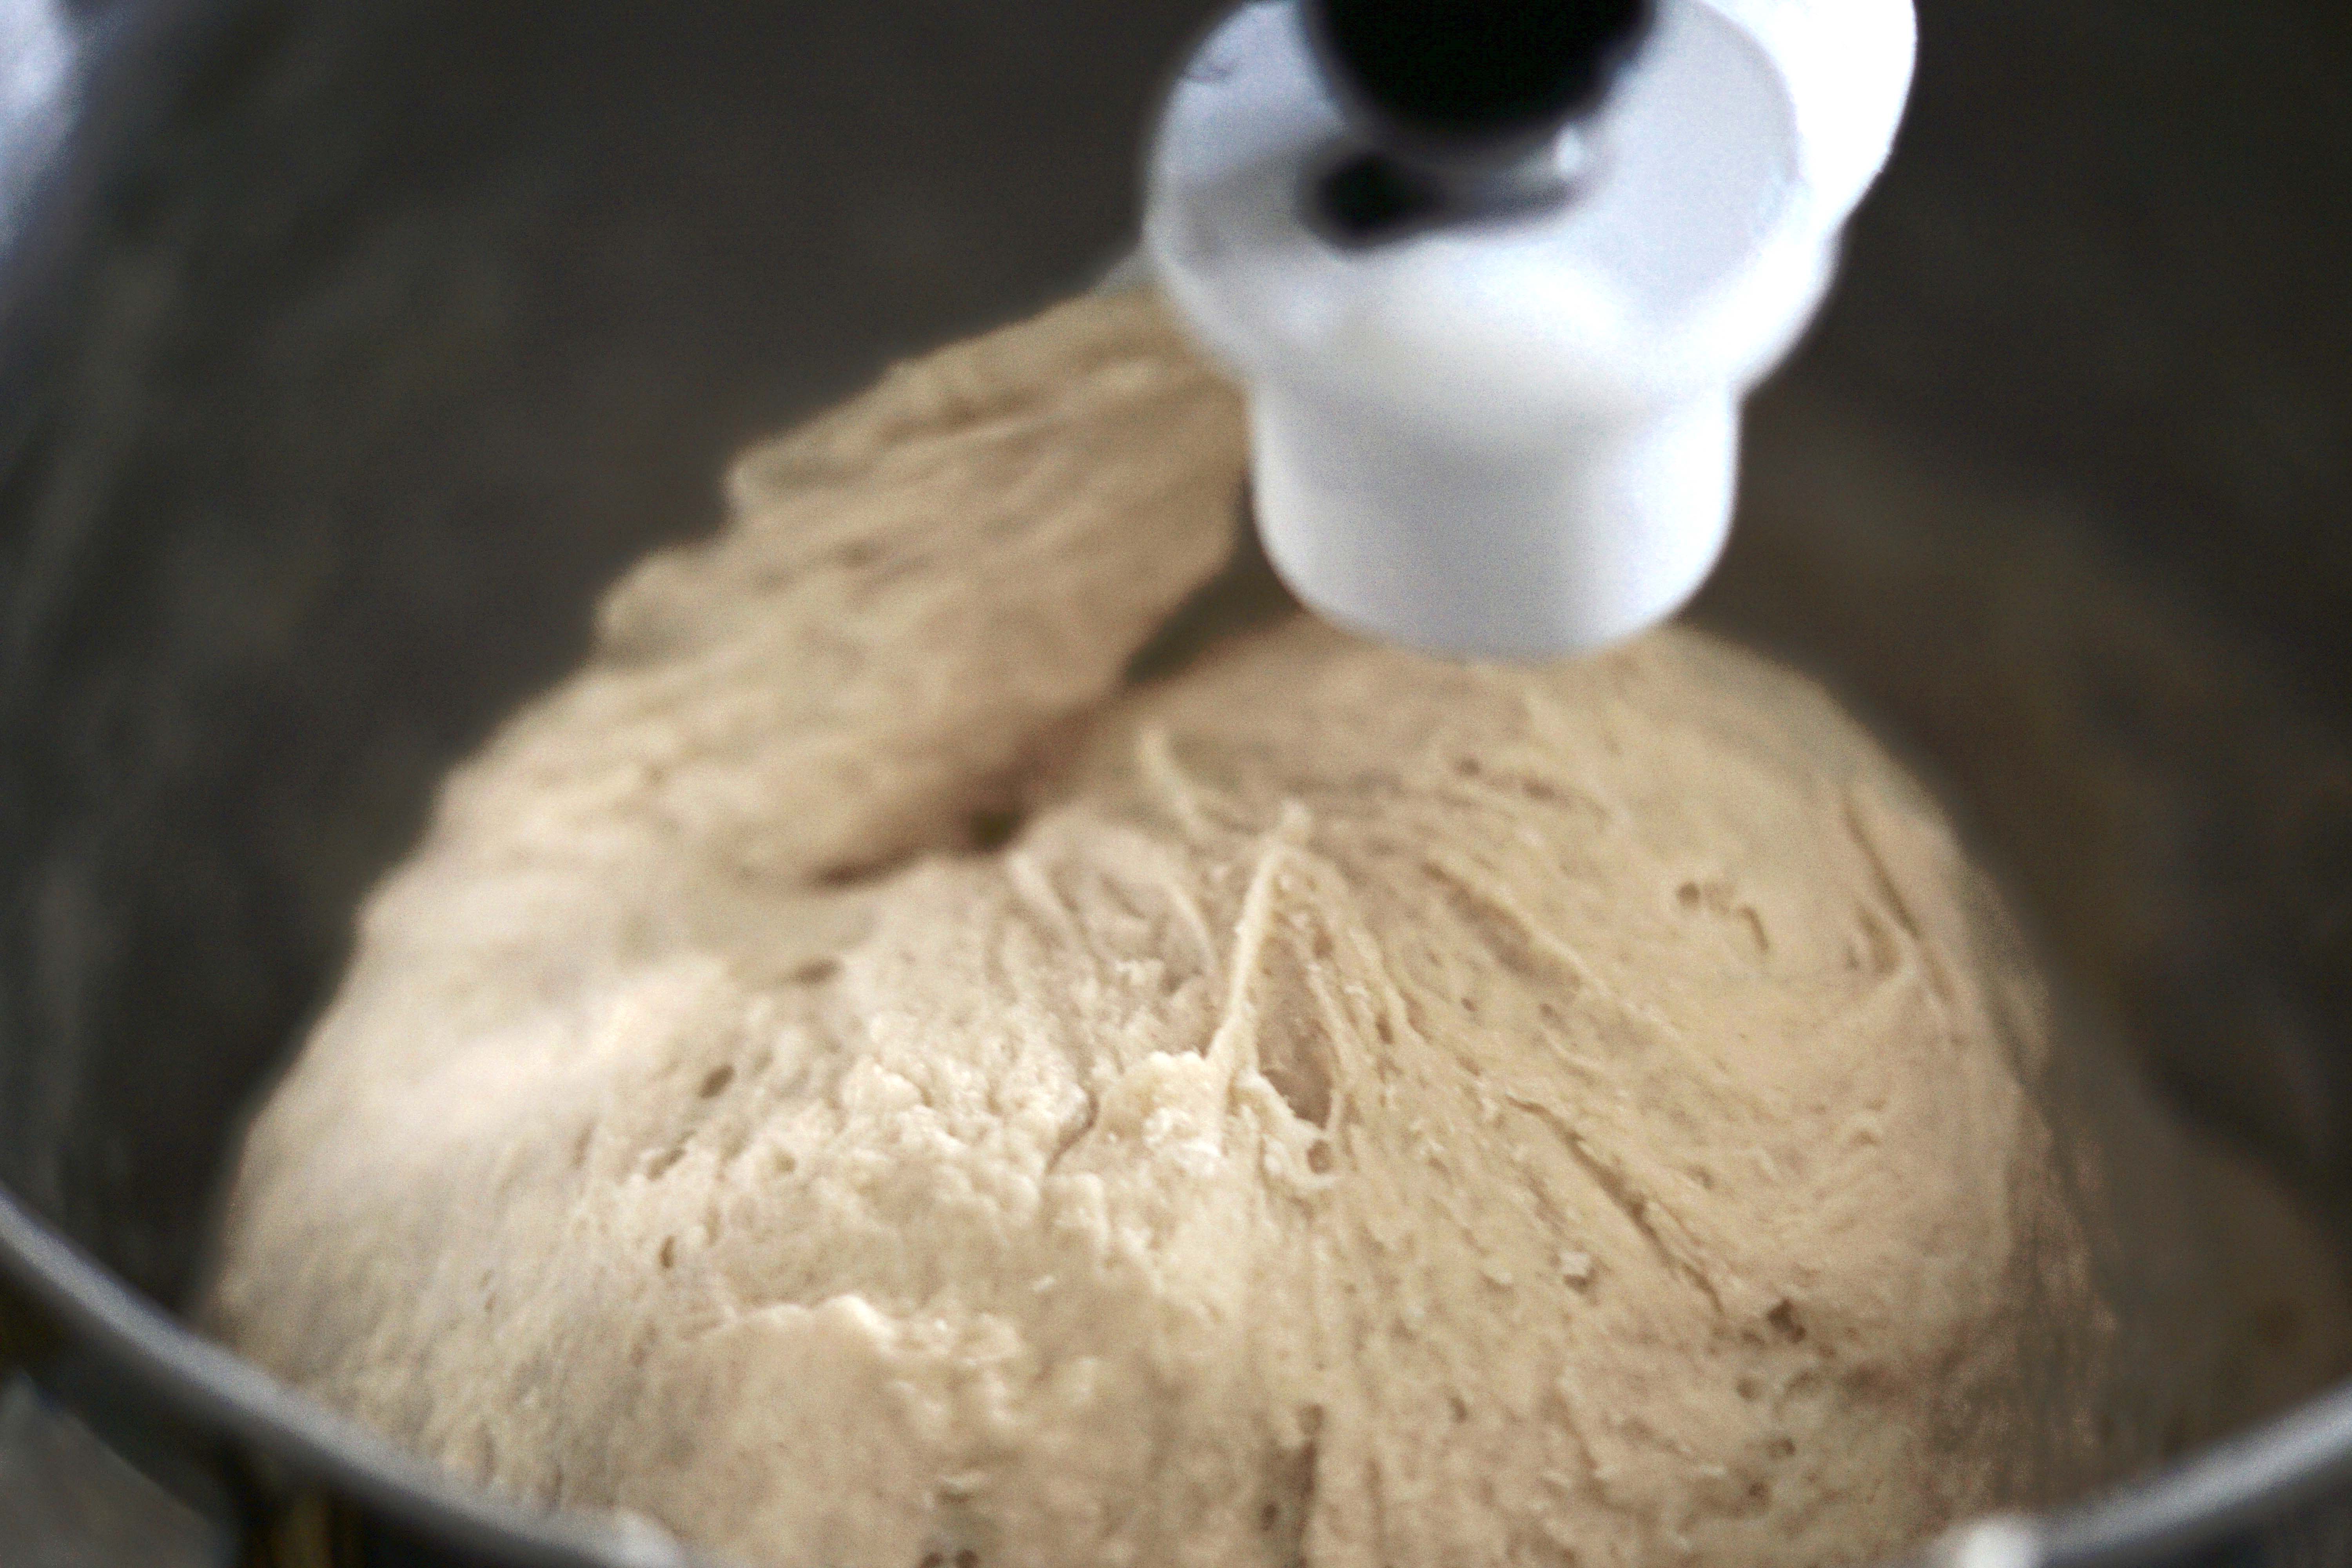

Slowly add 5 cups of flour to the mixture and allow the dough hook to slowly bring the mixture together into a rough, shaggy dough. Then add flour – 1/2 a cup at at time to the dough while mixing until it comes together as a in a smooth ball. Then turn the mixer up to 4 or 6 and let the dough hook kneed the dough for 4 to 5 minutes or until the dough appears smooth and is able to stretch, but still a little sticky. Remove the dough from the bowl. Spray the bowl with your preferred oil spray (I usually use olive oil, coconut or grape seed oil spray) and put the dough back into the bowl, spray the top with oil, cover with plastic wrap and allow to sit and rise for 20 minutes.
Wait…did your hear that….these only have to rise for… 20 MINUTES for the first rise! Thank you 2 1/2 tablespoons yeast!
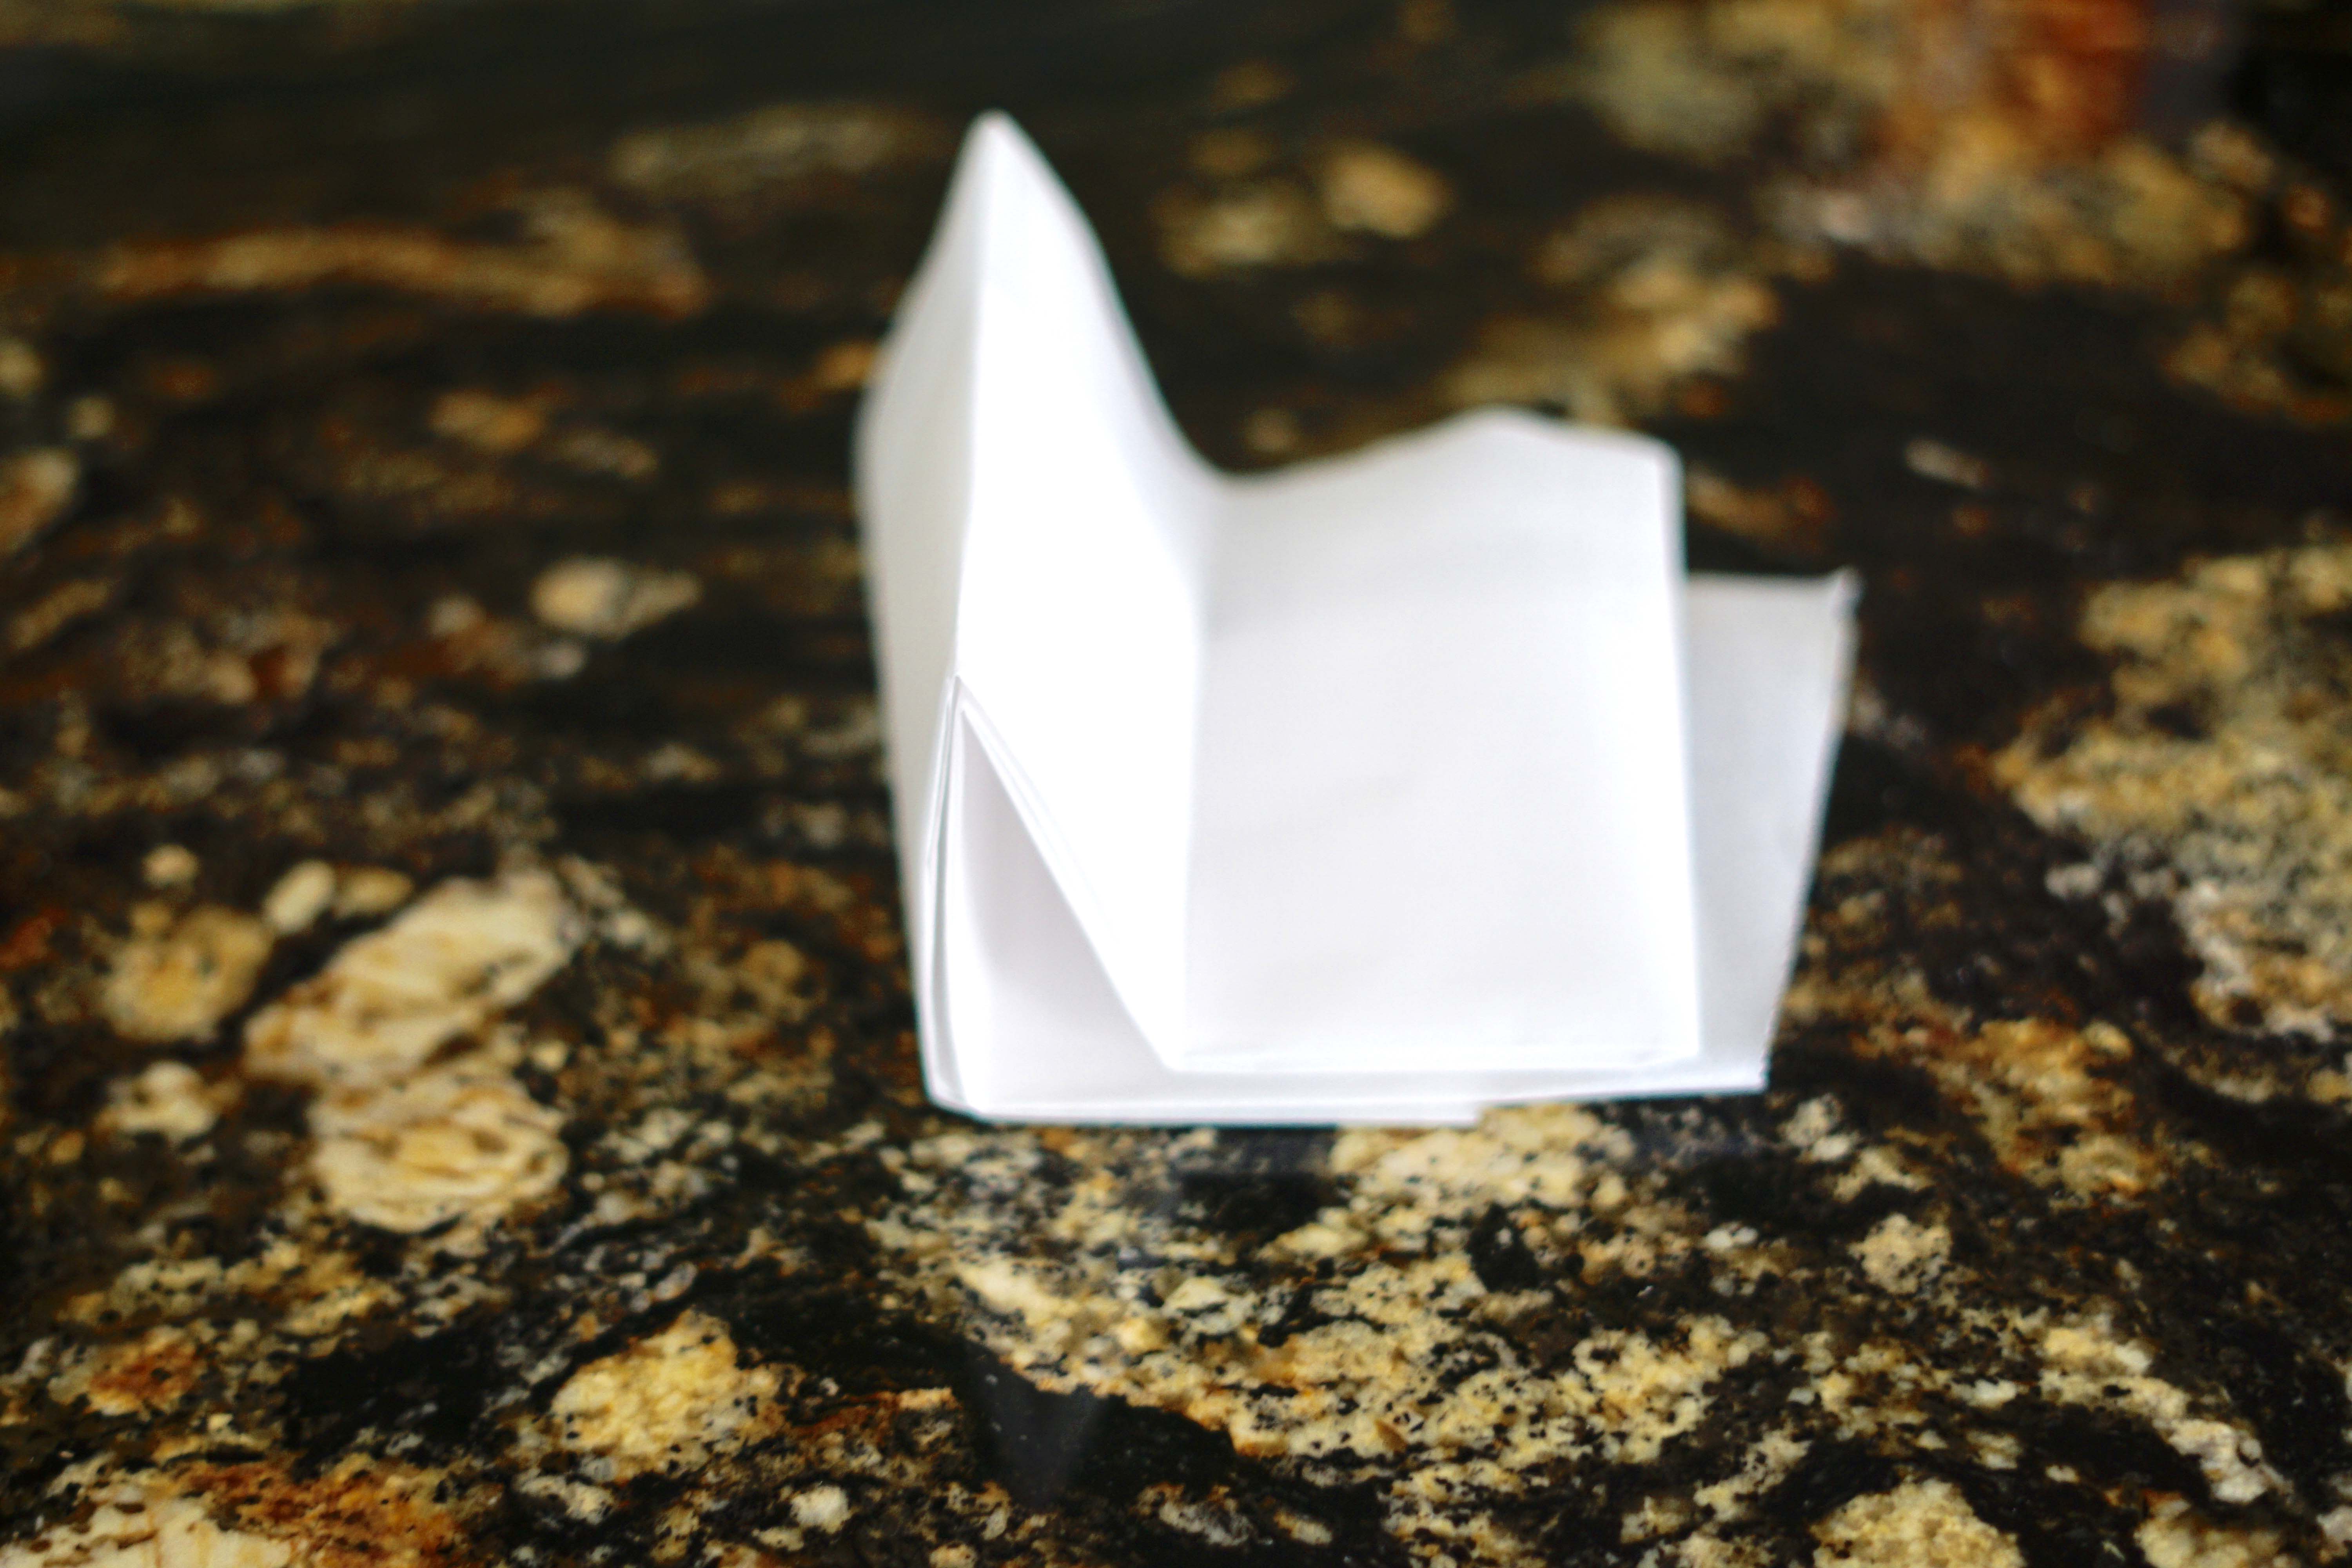


While the dough is rising, I prepare my pans. I fold a piece of parchment paper until it overlaps 24 times. Basically I fold it over 3 times into 4 long strips, then I fold that 5 more times into squares so that it overlaps 6 times and then I cut a circle into that small folded square shape. This ends up giving you 24 small circles that should each fit into the bottom of 2 – 12 cup muffin pans. You can spray these as well with oil if you wish, but I have found that it doesn’t need it.


After 20 minutes, the dough should be huge and fill your mixing bowl. If it looks like it is rising but not quite huge yet, give it 3 – 5 more minutes and check it again.
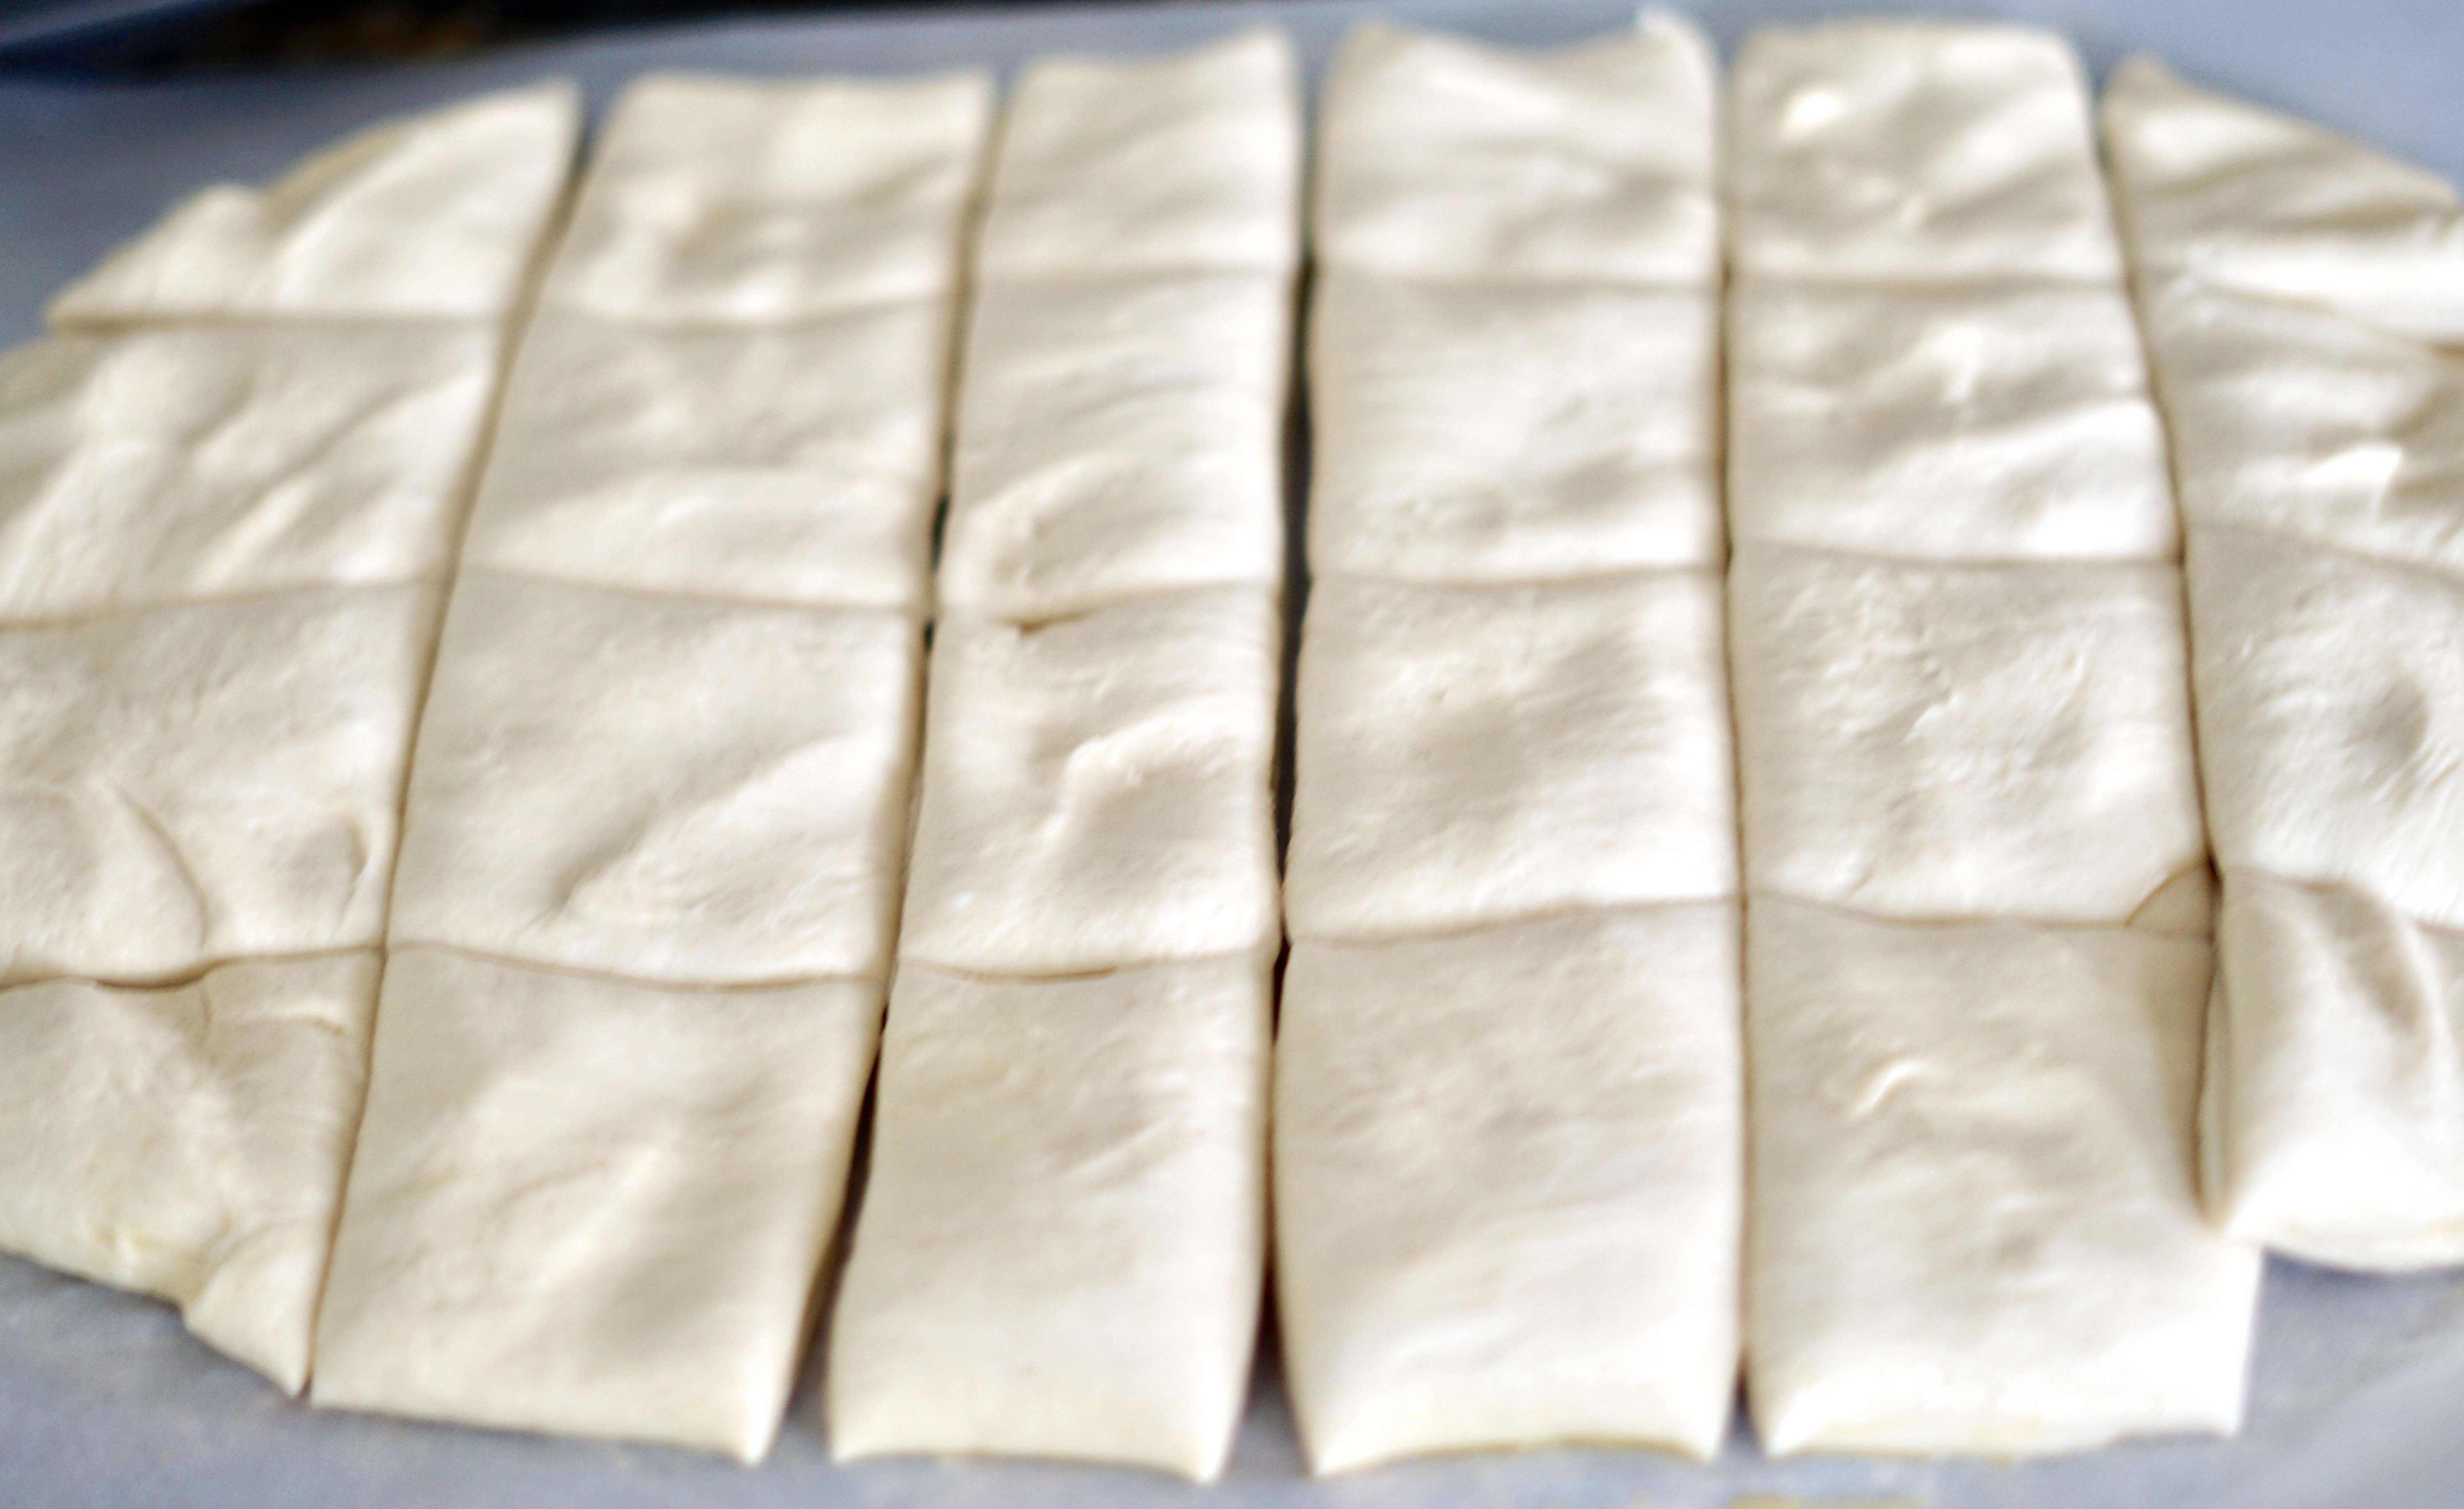
Dump the dough out onto a piece of parchment paper and use your hands to deflate the dough and shape it into a rectangle about 8-by-12-inches. Then use a pizza cutter or a sharp chefs knife to cut it into 4 long horizontal strips. Next, slice 6 vertical strips across the horizontal stripes creating 24 squares. If some look larger than others it is totally fine to pinch some dough off and add it to the small pieces. My corner pieces always end up smaller than the others.
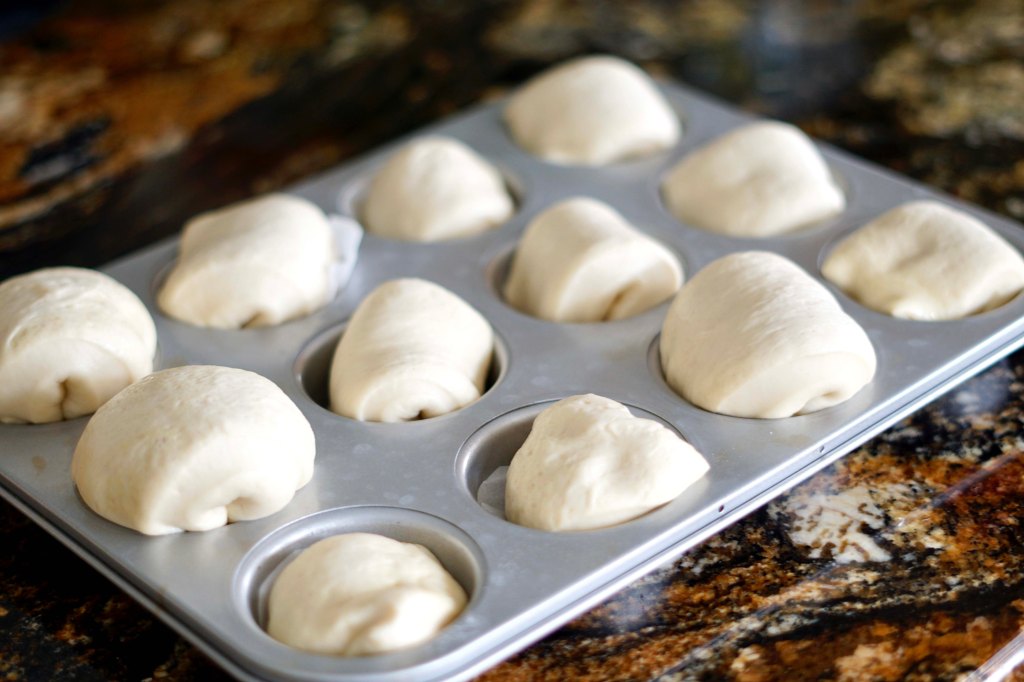
Next, fold the squares over and put them on top of the parchment circles in the muffin tins. You could also use your hands and shape the dough into spheres if you want. At this point, I cover both pans with plastic wrap and put one pan into the freezer and leave the other on the counter to rise for 20 minutes. While the dough is rising for the second time, I preheat the oven to 350 F degrees.


After 20 minutes, the rolls will be risen and ready for the oven. Bake them for 20 minutes or until the internal temperature reads 190 F degrees. Then brush the tops with melted butter and sprinkle Maldon or other flaky salt on the top and put back in the over for 3 – 5 minutes. Seriously at this point your house will smell AMAZING! These are best slightly cooled but still hot from the oven, but they are still good after a few days when stored in a ziplock back on the counter.
While the batch is baking, I also take the other tray from the freezer and pull the frozen dough out of each muffin cup and place it in large ziplock back and put them back in the freezer for another day, or in this case, I gave them to my sister to put in her freezer so that she can make them for my niece whenever they need them for dinner.
Final Thoughts:
- I am so happy that I learned how to make these egg free and super easy dinner rolls for my sister’s daughter. They are amazingly simple and delicious!
- These have worked EVERY TIME I have made them…which usually never happens.
- I hope you give them a shot and let me know how they turn out!
Recipe: Egg Free Dinner Rolls
Ingredients
- 1/2 cup water – 110 F degrees
- 2 cups milk – 110 F degrees
- 3 tablespoons room temperature butter
- 4 tablespoons sugar
- 2 1/2 tablespoons instant yeast
- 1 tablespoon salt
- 6 to 7 cups all purpose flour (King Arthur is my FAVORITE) This should be measured with the fluff, scoop over, level out method – watch this)
Instructions
- Combine the water, milk, butter, sugar, salt and yeast in the bowl of your stand mixer. Stir well and let sit for 6 to 8 minutes, or until you see the yeast begin to foam.
- Add 5 cups of flour and mix with the dough hook attachment until the dough forms a rough, shaggy mass. The dough will not form a ball at this point, but will be just shy of coming together.
- Add flour, 1/2 cup at a time and blend with the dough hook until a smooth ball begins to form. Knead by machine for 4 to 5 minutes until a soft, smooth ball of dough is formed. The dough should feel elastic and slightly tacky to the touch.
- Lightly spray your work bowl with oil spray and place the dough in the bowl. Spritz the top of the dough with spray as well and cover lightly with plastic wrap. Let rise for 20 minutes at room temperature or until the dough is full and puffy.
- Cut 24 parchment circles out and put in the bottom of 2 12 cup muffin tins.
- Gently deflate the dough and pat out to a rough rectangle about 8 inches by 12 inches. Cut the dough into 4 long strips, then cut each strip into 6 portions for a total of 24 dough squares or balls.
- Add a piece of dough to each muffin tin cup.
- Cover again with your plastic wrap and let rise at room temperature for another 20 to 25 minutes, or until well rounded and full looking. If you are baking now, preheat the oven to 350°F.
- Bake the rolls for 20 until golden brown and an internal thermometer reads 190°F. Brush the baked rolls with melted butter and flaky sea salt and return to the oven for 3-5 minutes. Serve warm.
- Store leftovers in a plastic bag for up to 3 days.
- If you want to freeze the unbaked buns, place the pan in the freezer until the dough is firm. Then remove the dough from the pans and put into airtight bags and freeze for up to 3 months. When ready to use the dough, pull it out of the freezer and put in a pan and put in the fridge the night before or in the morning. Then back according to the directions.
- Enjoy!
Recipe adapted from King Arthur Flour Big Batch Quick Dinner Rolls
