
So this was the question that I sent to my fabulous group of friends over our groupMe text…I was a little worried that my bread didn’t turn out correctly. Turns out – it was just right. Irish soda bread is basically a giant biscuit – and it is delicious! I knew I wanted to search around for a recipe to make as St. Patrick’s Day approaches. It is one of the biggest days of celebration in the city. I found out that most of the soda bread that we see in stores with raisons throughout and big, crunchy, delicious sugar on top is the americanized version of soda bread. It originally had very few ingredients and apparently very little flavor. So in an effort to make something less sweet than my last recipe – I decided to search for a recipe that paid homage to a simpler recipe with a few added ingredients for added flavor.
The recipe I landed on was from The Brown Eyed Baker and it had a little added butter and some sugar and turned out to be delicious. I served it at dinner with a big bowl of winter squash soup filled with roasted vegetables and nice Kerry Gold butter smeared all over each slice. It came together so quickly and was so easy to make, that I foresee more soda bread in our future, with some flavor variations to keep things exciting.
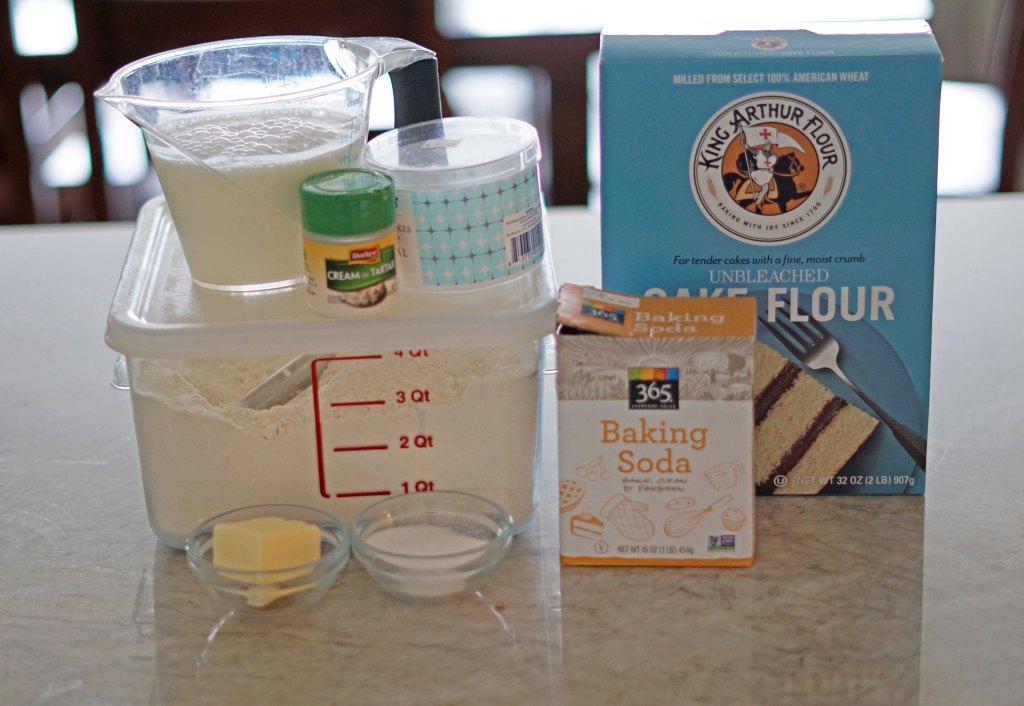
The ingredients for this simple Irish soda bread are 3 cups of all purpose flour and 1 cup of cake flour (scooped and leveled off to measure), 1 1/2 teaspoons baking soda, 1 1/2 teaspoons cream of tartar, 1 1/2 teaspoons salt, 2 tablespoons room temperature butter, 2 tablespoons sugar and 1 1/2 cups buttermilk. Not pictured is the additional 2 tablespoons of melted butter that is brushed on the loaf at the end.

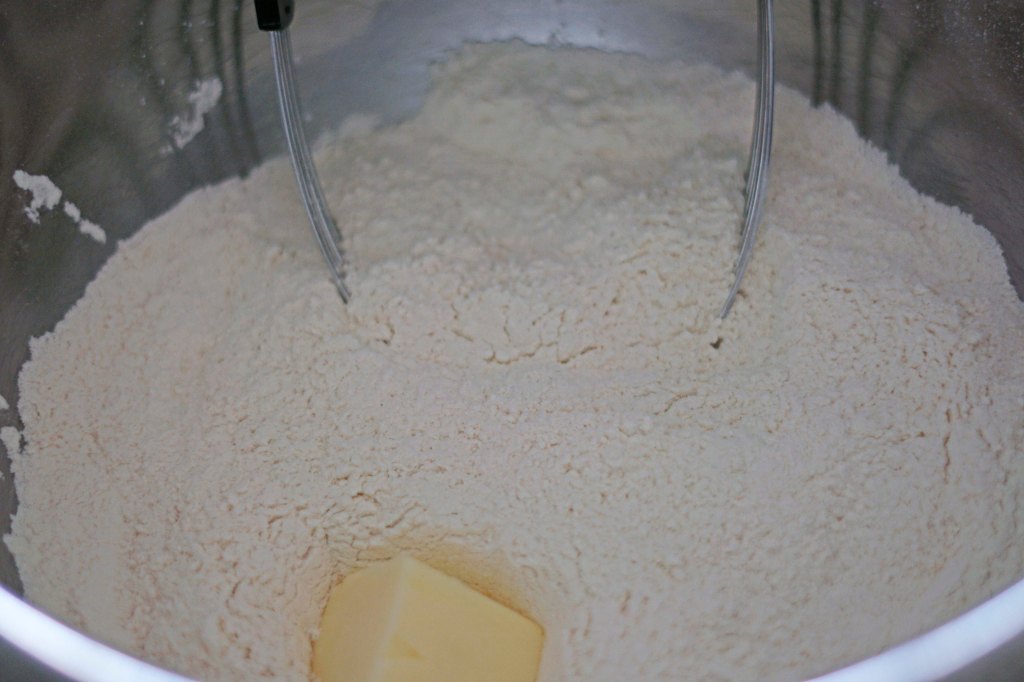
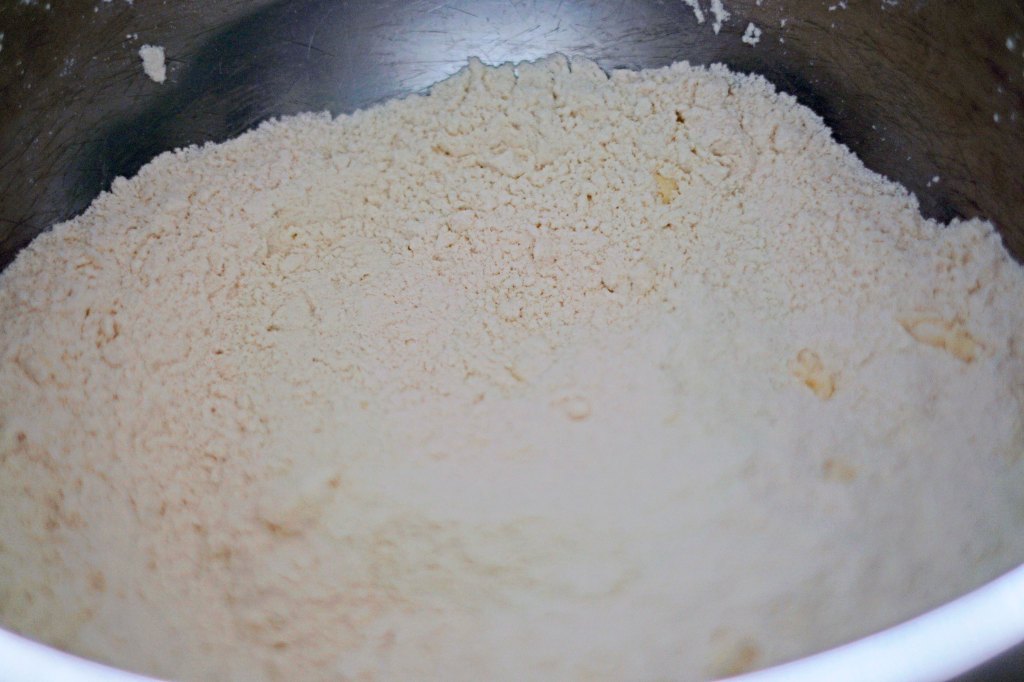
First things first, I preheated the oven to 400 F degrees. Then, in a large bowl combine the all purpose flour, the cake flour, the baking soda, the salt, the cream of tartar and the sugar. I used my pastry cutter to blend all of the dry ingredients together. Then I used the same pastry cutter to cut the butter into the dry ingredients until it is the size of small peas and even distributed throughout the bowl.
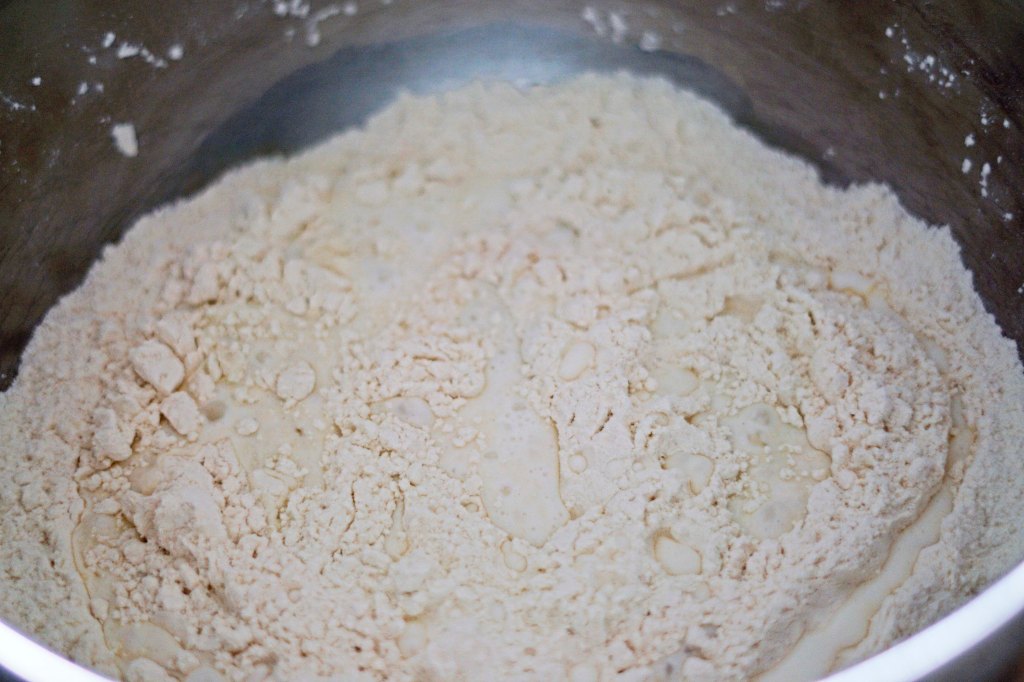
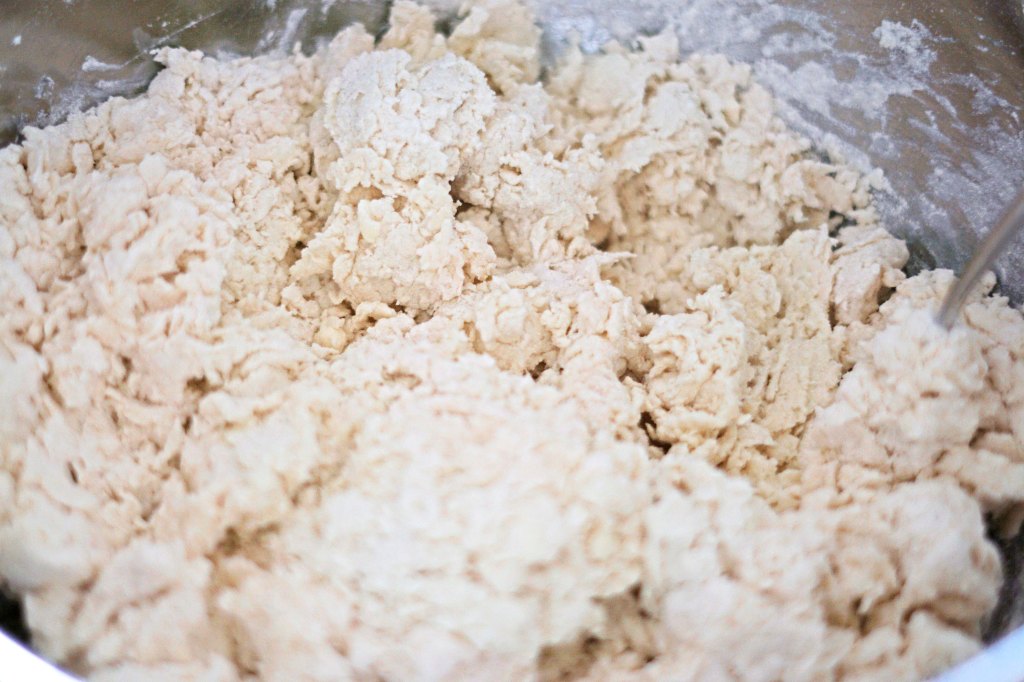
Next, I added the buttermilk to the bowl and used a fork to mix just until all the ingredients were moist and began to come together. I made sure to not over mix at this stage.

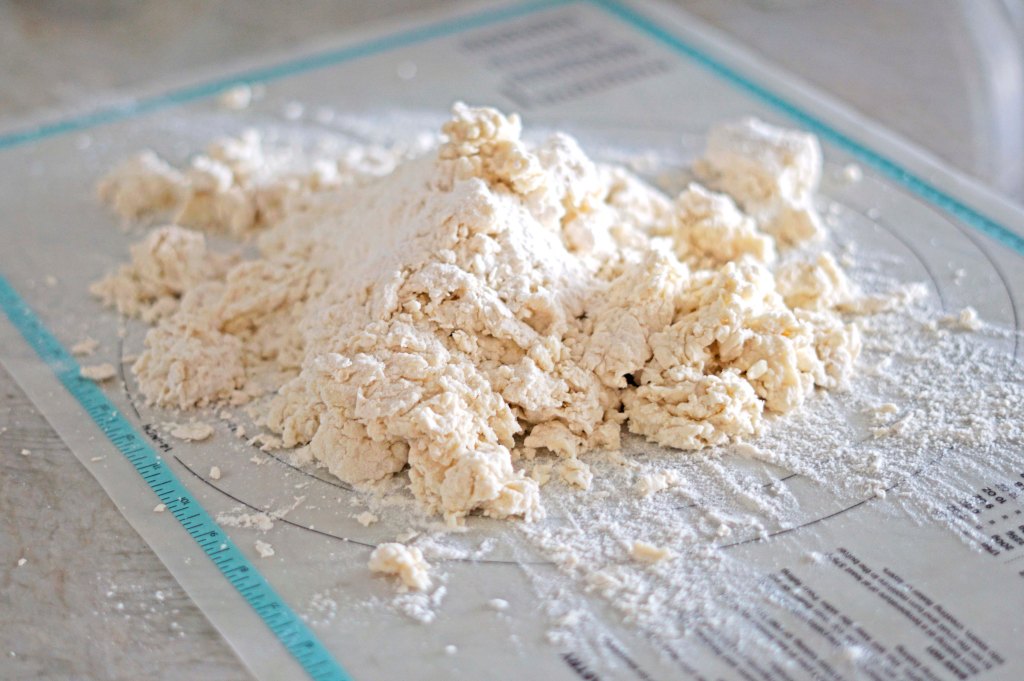
On a not quite so lightly floured surface I dumped out the mixture and used my hands to fold and knead the mixture until it all came together and could hold its own shape. It was still lumpy at this point but the recipe made sure to caution not over mixing the dough or it would be too tough and dense. So Although it felt like it could have been kneaded many more times, I made sure to stop after about 12-15 turns.


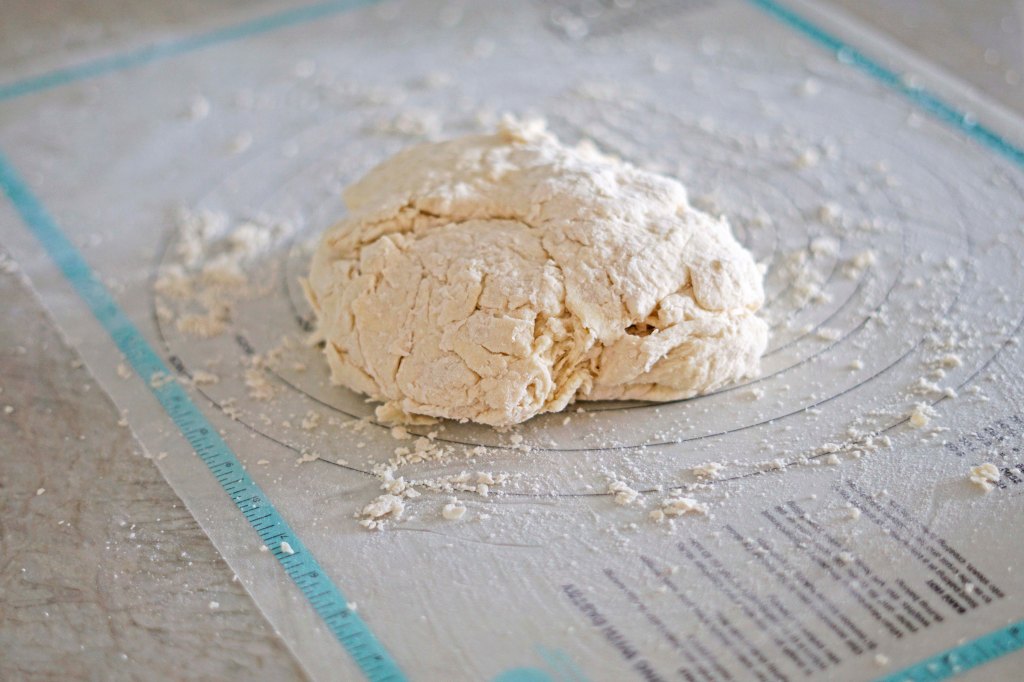
After the dough is shaped into a round shape, about 6 inches in diameter. It was about 2 to 2 1/2 inches high. I placed it on a baking sheet lined with parchment paper. Next, I sliced a cross through the top of the bread. Traditional this is done to ward off evil spirits and bless the house that the bread is made it. Technically it is done to allow heat to reach the deepest parts of the bread and allow the loaf to cook evenly. It also directs the bread where to expand and grown. Afterwards, I put the bread in the oven.
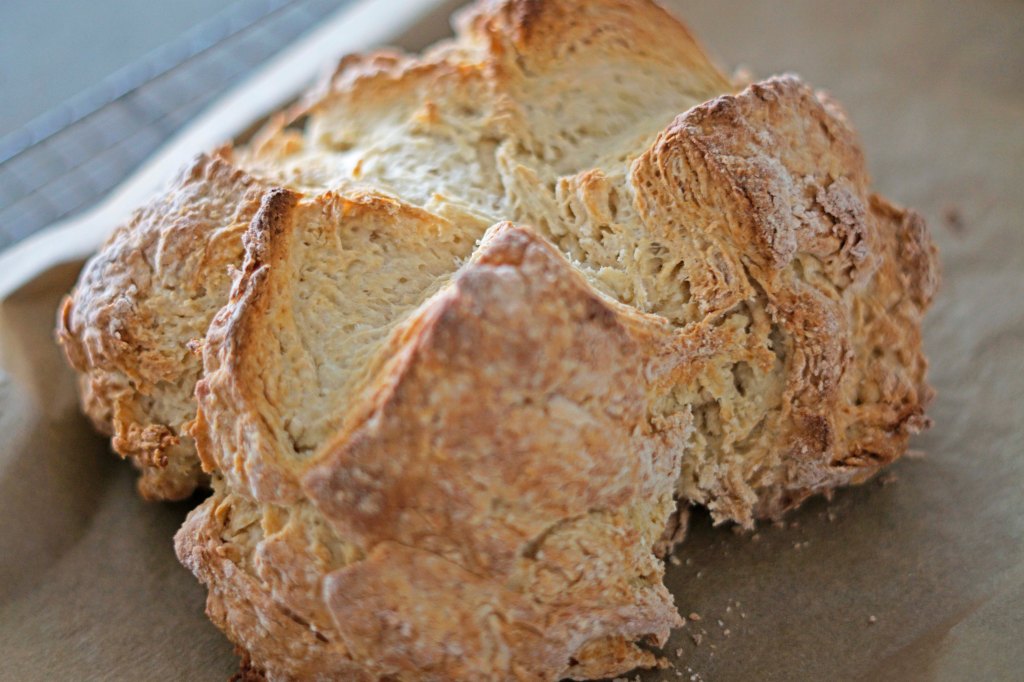
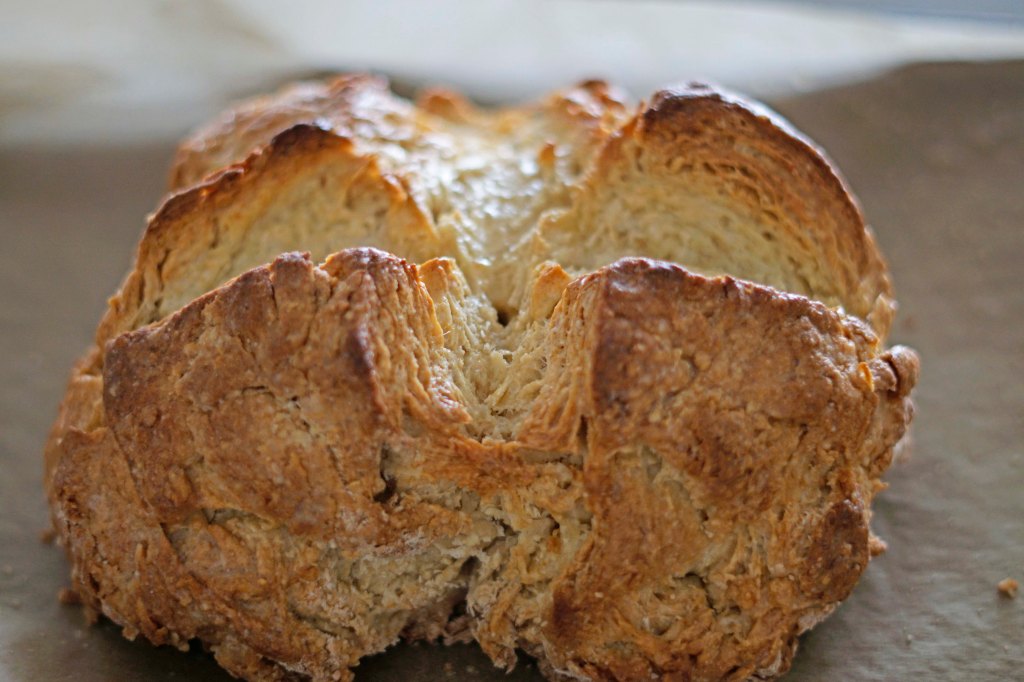
After the bread was in the oven for 30 minutes, I checked the temperature (notice the nice round hole in the middle of the bread) it read only about 130 F degrees. I put the bread back in the oven for about 8 more minutes, until the internal temperature read 180 F degrees. Then I pulled the bread out, placed it on a cooling rack with the parchment paper and brushed it all over the the additional melted butter. This added the nicest shine to the bread and another layer of flavor when we ate it. My boys especially loved this bread. If you have been reading the blog for a while, you already know that they love biscuits so this is basically their dream bread.
This is for sure the easiest bread on the blog and one I highly recommend everyone giving a shot! If you have a dinner party to go to soon, offer to bring this bread or make it for an easy week night dinner – start to finish this whole recipe including baking time takes about 45 minutes depending on your oven. If nothing else- St. Patrick’s Day is coming!
Final Thoughts:
- This recipe is delicious and easy!
- I can’t wait to try this again with other fillings to add more flavor – especially a herb & cheesy variety (that one will have to wait until lent is over….I gave up cheese….no idea what I was thinking)
- I seriously believe that anyone could make this bread and should give it a chance
- Just have to make sure not to over mix the ingredients and check the internal temp to make sure it is baked all the way through
- I hope you have a fantastic St. Patrick’s Day, especially if you are in Chicago and heading down to check out the green river and drink some green beer!
Recipe: Irish Soda Bread
- 3 cups all purpose flour
- 1 cup cake flour
- 1 1/2 teaspoons baking soda
- 1 1/2 teaspoons cream of tartar
- 1 1/2 teaspoons salt
- 2 tablespoons sugar
- 2 tablespoons room temperature butter
- 2 tablespoons melted butter (for brushing on the loaf after it bakes)
- 1 1/2 cups buttermilk
Instructions
- Preheat the oven to 400 F degrees
- In a large bowl mix together the baking soda, the cream of tartar, the salt, the sugar, the all purpose flour and the cake flour (Make sure to fluff it, scoop it into your measuring cup and then level it off before adding to your bowl). Whisk the dry ingredients together.
- Cut the room temperature butter into the dry ingredients until it is the size of small peas and evenly distributed into the dry ingredients.
- Pour the buttermilk on top of the dry ingredients and then use a fork and mix it into the dry ingredients until the dry ingredients are all moist and just barely coming together.
- Pour the mix onto a lightly floured surface. Fold and knead the mix together only about 12 – 15 times until the mix sticks together and can be shaped into a 6-inch-round shape. There should still be lumps and bumps and it should still look shaggy. Be sure not to over mix.
- Place the dough on a baking sheet lined with parchment paper and slice a large X through the top of the loaf.
- Put the loaf in the oven and bake for 30 – 40 minutes. Begin checking the loaf around 30 minutes to see if the internal temperature is 180 F degrees.
- Place the loaf on a cooling rack and brush with melted butter.
- Let the loaf cool for about 30 minutes and then slice and serve with delicious butter.
- Enjoy!
Recipe adapted from Brown Eyed Baker
In case you aren’t already following along on Instagram – my account allieandtheoven reached 100 followers this week and I am doing my first giveaway!
If you want to enter, head over to Instagram
- Follow allieandtheoven on instagram and tag a friend
- Make sure you are following this blog at http://www.allieandtheoven.com
- On the blog click on the Share with Me tab and share an idea or recipe suggestion
I can’t wait to hear from you!

I wonder if in our modern age we have too high expectations for our breads and add a ton of ingredients to them. The soda bread came from an earlier time when bread was just something that was filling and could be used to dip into soups and stews. Or be spread with butter or jam or eaten with a chunk of cheese and, if you were lucky, a hunk of sausage. They didn’t necessarily have to stand on their own.
I don’t make it often but here’s my first post (I used half all purpose and half whole wheat flour and some rolled oats) for a very hearty version of this classic bread.
https://a-boleyn.livejournal.com/132305.html
LikeLike
Thank you so much for taking the time to read the post and comment. I can’t wait to explore your recipe. It does sound like a nice hearty version that would stand up very well to a nice rice soup or stew.
LikeLiked by 1 person
What’ѕ up, jusst ᴡanted to say, I loѵed this post. Іt was inspiring.
Keep on ρoѕting! https://Littlemissforeveryoung.Blogspot.com
LikeLike
Thank you!
LikeLike
Yes! Nice biscuit, thank for sharing
LikeLike
Thank you! Glad you enjoyed the recipe.
LikeLike