
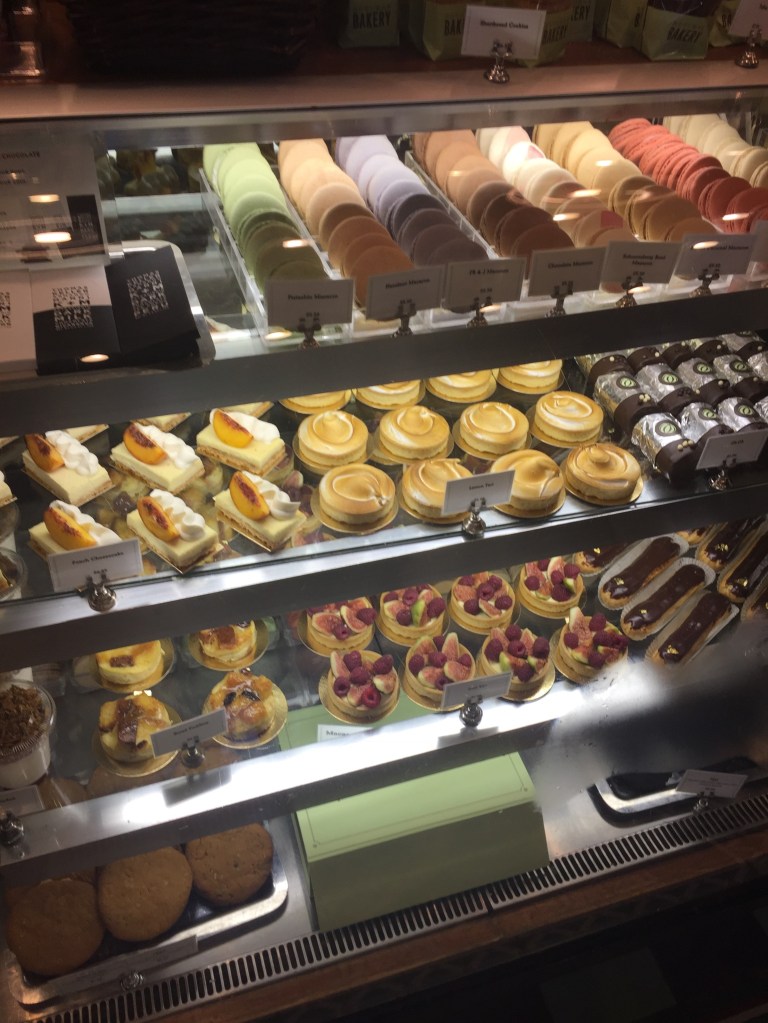
A few weekends ago, my sisters, Mom and I put together a last minute escape to Napa for a girls trip! It was an amazing, delicious, fun filled, wine filled weekend! I had so much fun! When I got home, I was going through the pictures from the weekend with my husband Kevin. He saw the pictures of the Oh Ohs that my sisters order from the Bouchon Bakery in Yountville, and looked at me and goes “Um…thats what I want for my birthday treat!”

So I set out on a mission to find the recipe for Bouchon’s Oh Ohs. I found a ton of posts of people who had made the recipe and just reviewed the process but didn’t include the recipe. This wasn’t exactly what I was looking for but did give me a ton of tips for what to do and what to avoid doing while making this multi-step, multi-day recipe. I ended up finding the recipe on the blog Muscle for Life. Although, this is not the easiest recipe, I hope the step by step photos that I include will help you feel like you can tackle this recipe and enjoy you own homemade Oh Ohs for a special celebration in your life.
Stage 1 of this recipe – making the chocolate cake, which Thomas Keller refers to as the chocolate biscuit


The ingredients needed for this are 3 tablespoons + 2 teaspoons all purpose flour (sifted), 3 tablespoons + 2 teaspoons almond flour (sifted & the large chunks pushed through the sieve), 3 tablespoons cocoa powder (sifted), 3 large eggs, 3 egg yolks, 1/2 cup sugar & 3 tablespoons sugar divided and 3 egg whites. I should also note that this recipe suggest that you have 2 bowls for your mixer. I was lucky enough to have two since I borrowed my wonderful friend Emily’s mixer when my gears decided to give out on my mixer after 7 years of intense use, especially this year.


Before doing anything else, I used a 16″ wide sheet pan and sprayed it with grapeseed oil and then carefully pushed parchment paper into all the corners and as flat as possible along the bottom of the pan and then sprayed the top again with grapeseed oil spray. I also preheated the oven to 350 F degrees. Next, I put the sifted dry ingredients into a small bowl and set them aside.
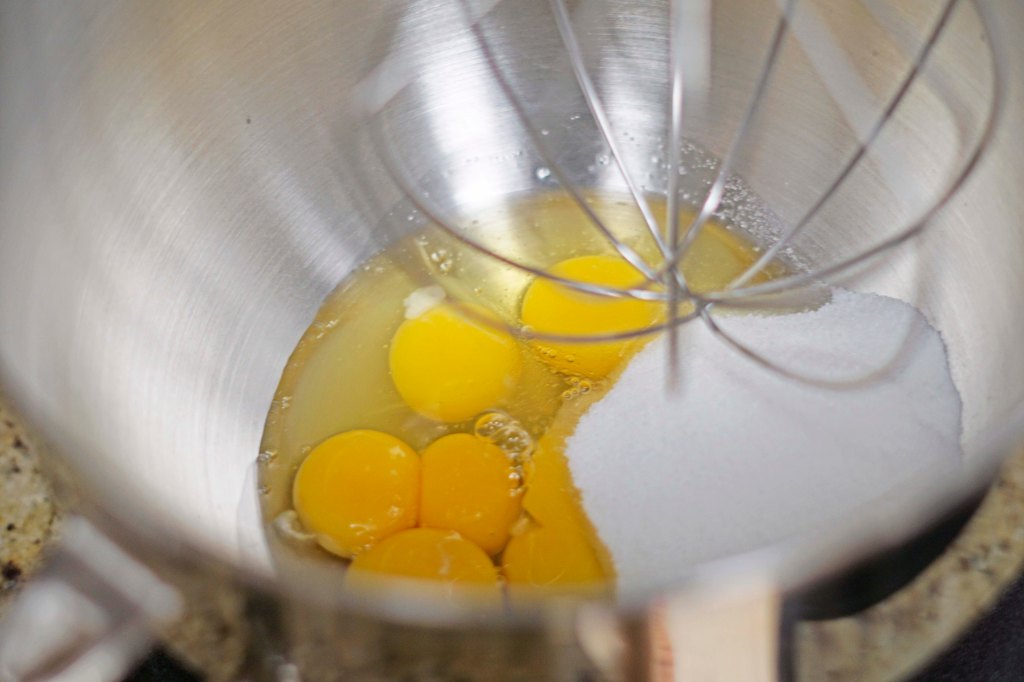
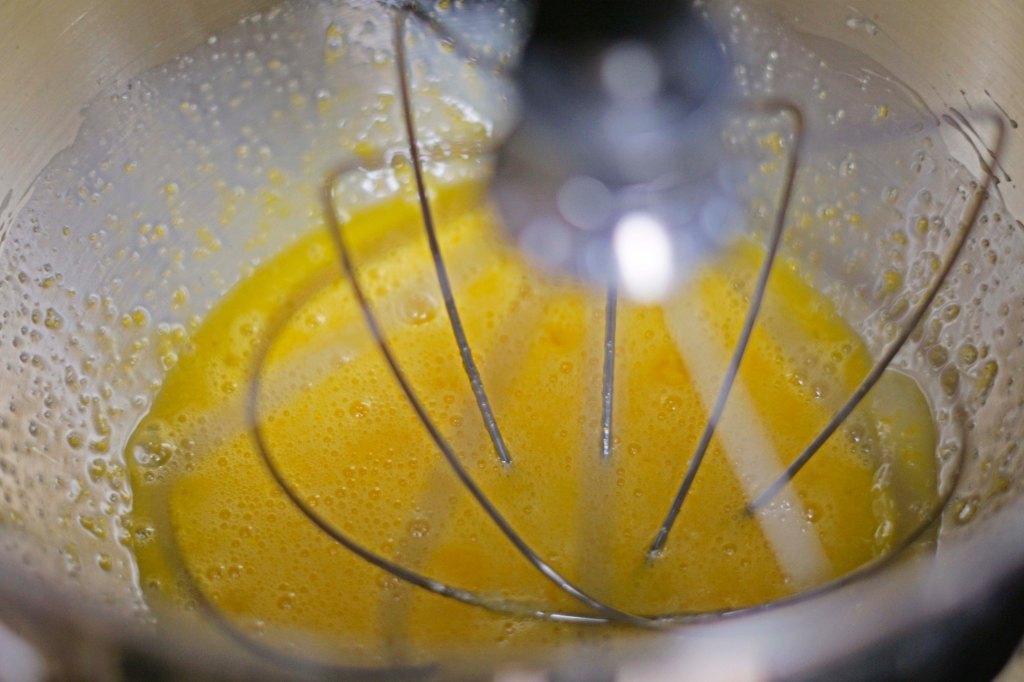

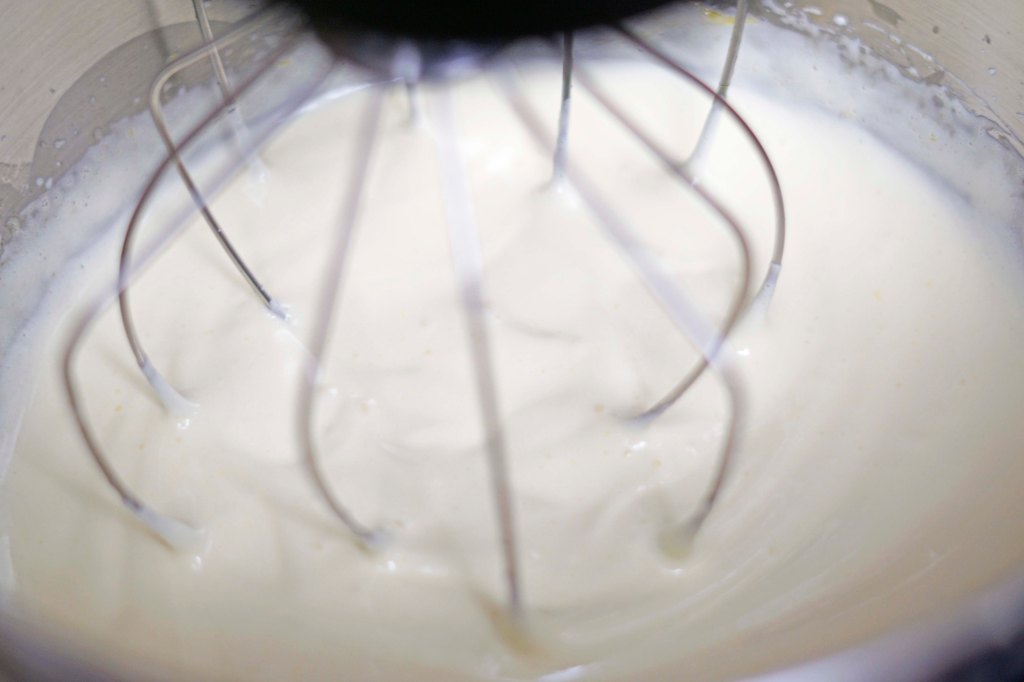
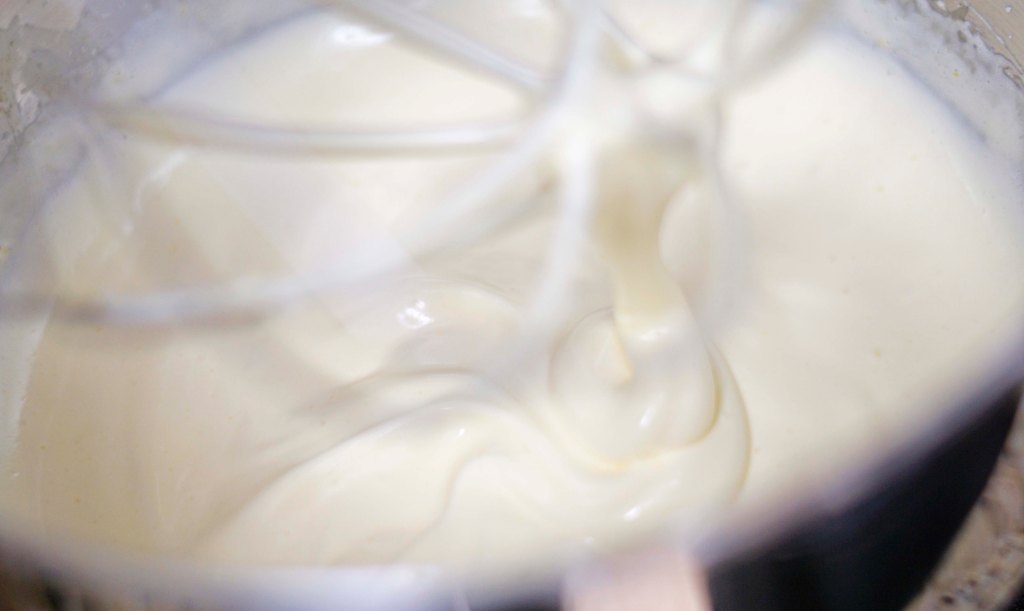
Using the first mixing bowl, I put the 3 eggs, the 3 egg yolks and the 1/2 cup of sugar with the whisk attachment on the mixer. I followed the directions exactly to whip the mixture on medium-low for 1 minute to combine all the ingredients. Then I increased the speed to medium and whipped for 5 minutes. You can see in the third picture that the mixture became a pale yellow. I scrapped down the sides and bottom of the bowl and then turned the speed up to medium-high and whipped it for another 5 minutes until the mixture is thick and light colored. I knew the mixing was finished when I lifted the whisk and long ribbons of mixture came down from the whisk and slowly melted back into the mixture in the bowl. I removed this bowl of yolk mixture and set it off to the side.
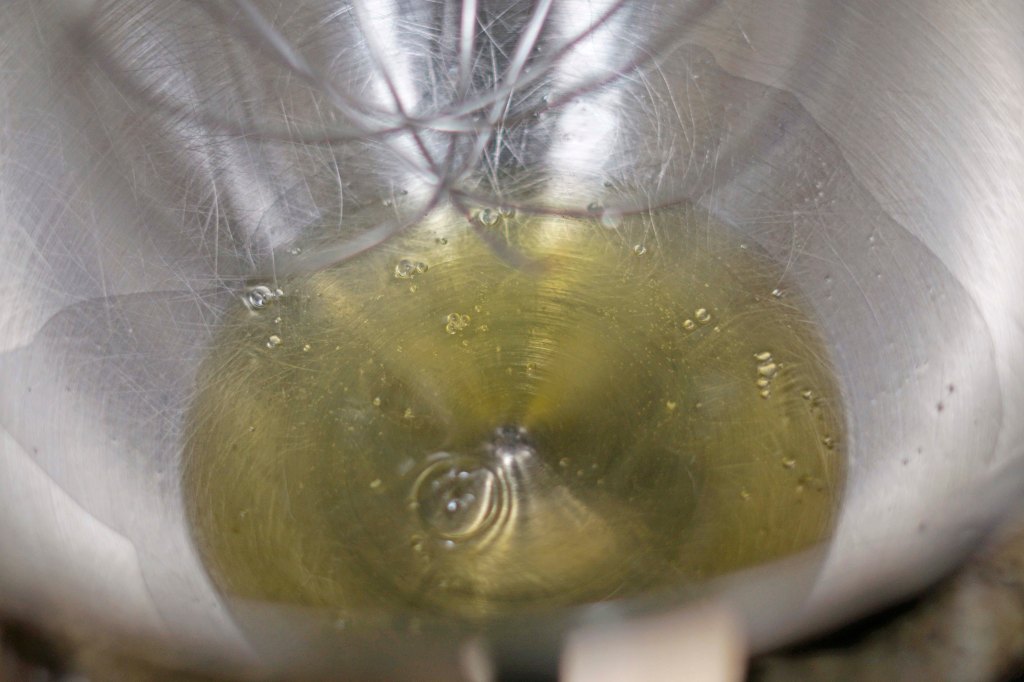

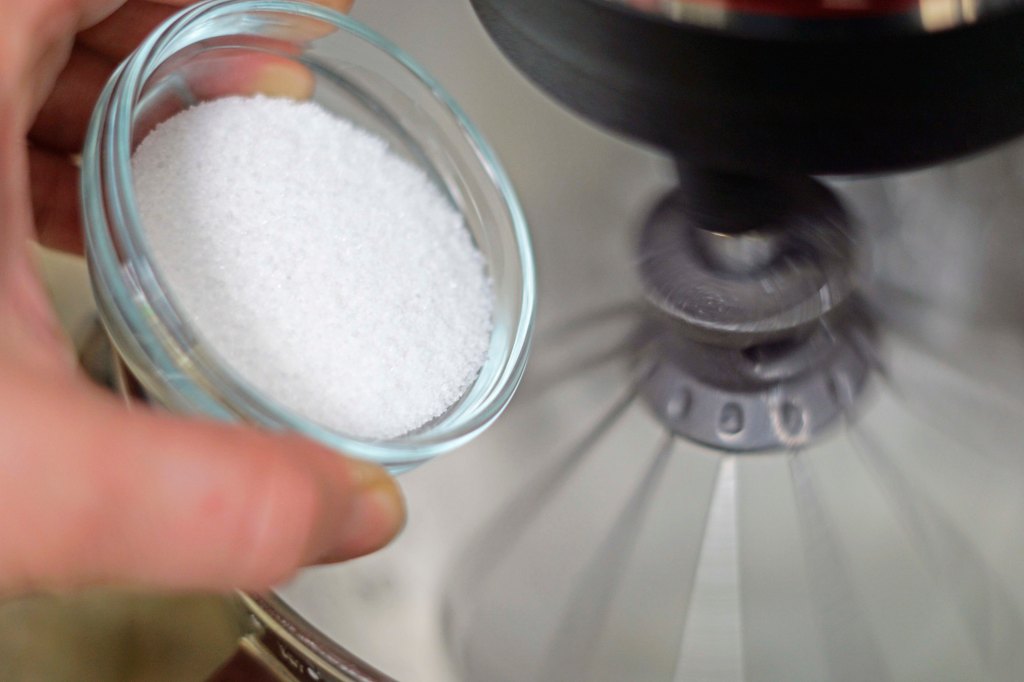
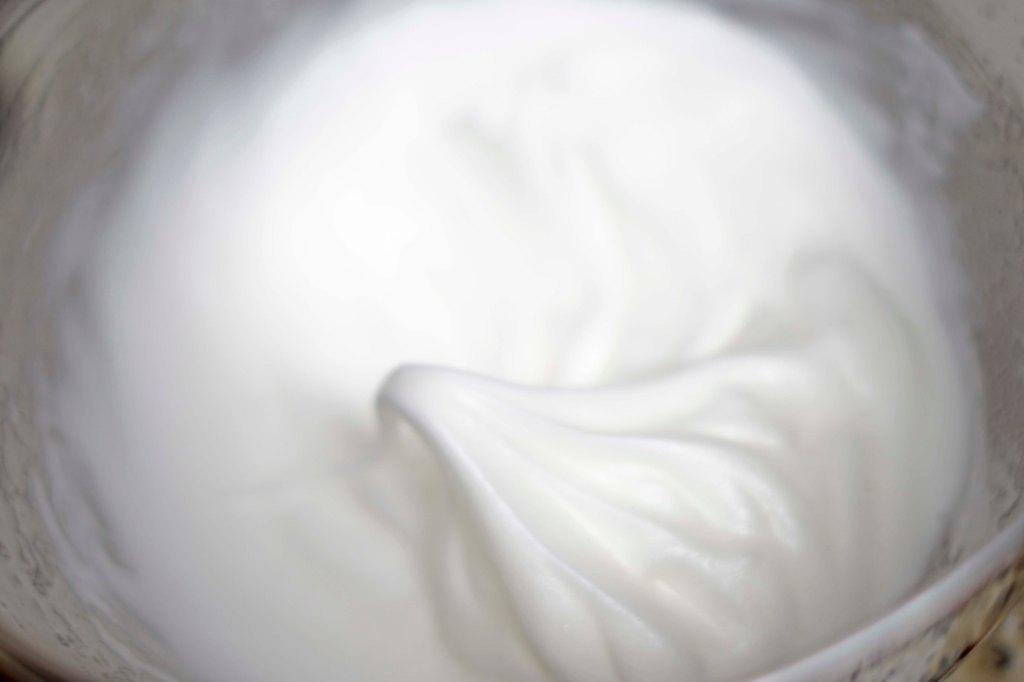

In my new SUPER clean bowl, I put the three egg whites and attached the clean whip. (If there is any grease or moisture in the bowl, the whites will not whip.) With the mixer on medium speed, I whipped the whites for about 45 seconds until they were foamy. Then I lowered the speed and super slowly, like 1/4 teaspoons at a time, I added the extra 3 tablespoons of sugar to the whites until it was all mixed in. Then I turned the speed up to medium-high and let the machine whip the egg whites for 2 1/2 more minutes until the whites were at soft peaks. I did check the mixture at 2 minutes to make sure that I didn’t over whip the whites, then ended up needing the last 30 seconds to achieve the perfect texture.

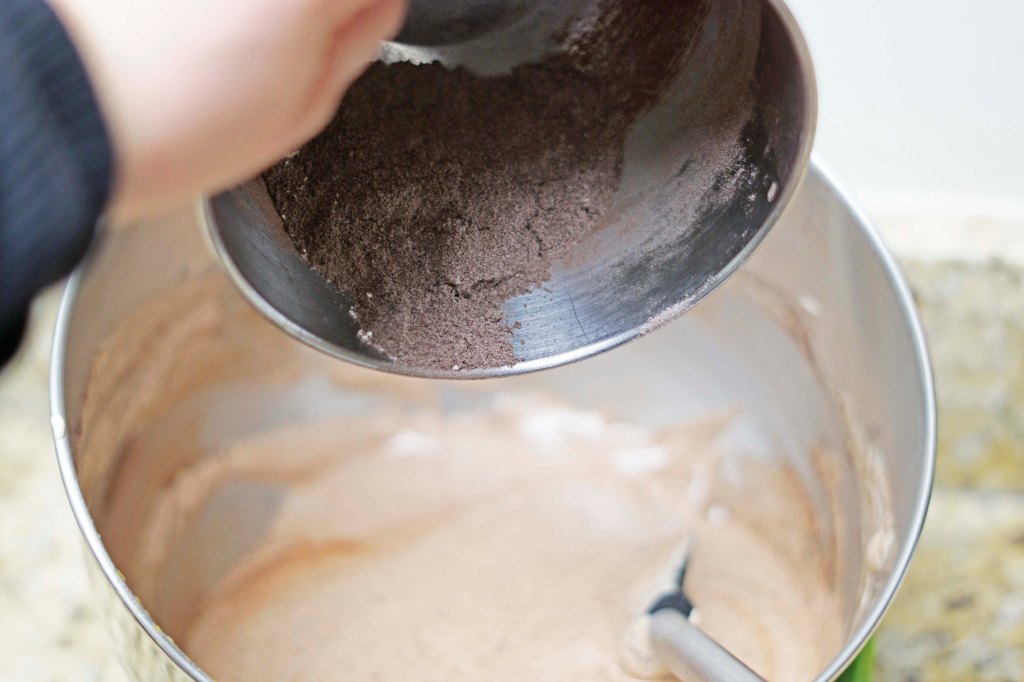


Returning back to the first mixing bowl with the eggs, yolks, and sugar mixture, I added half the dry ingredient mixture to the bowl and carefully folded the mixture into the egg mixture. Folding can take some time to master, but I always try to think of Mary Berry on the Great British Baking Show Master Class episodes talking me through it. She always says, run your spatula all around the bottom and edge of the bowl and then gently cut through the middle of the bowl. While you are repeating this motion, keep gently turning the bowl to make sure you gently mix all the ingredients together, without knocking out all the precious air that you just whipped into the mixture. Fold in the second half of the dry ingredients, then do the same thing with the whipped egg whites in two additions.

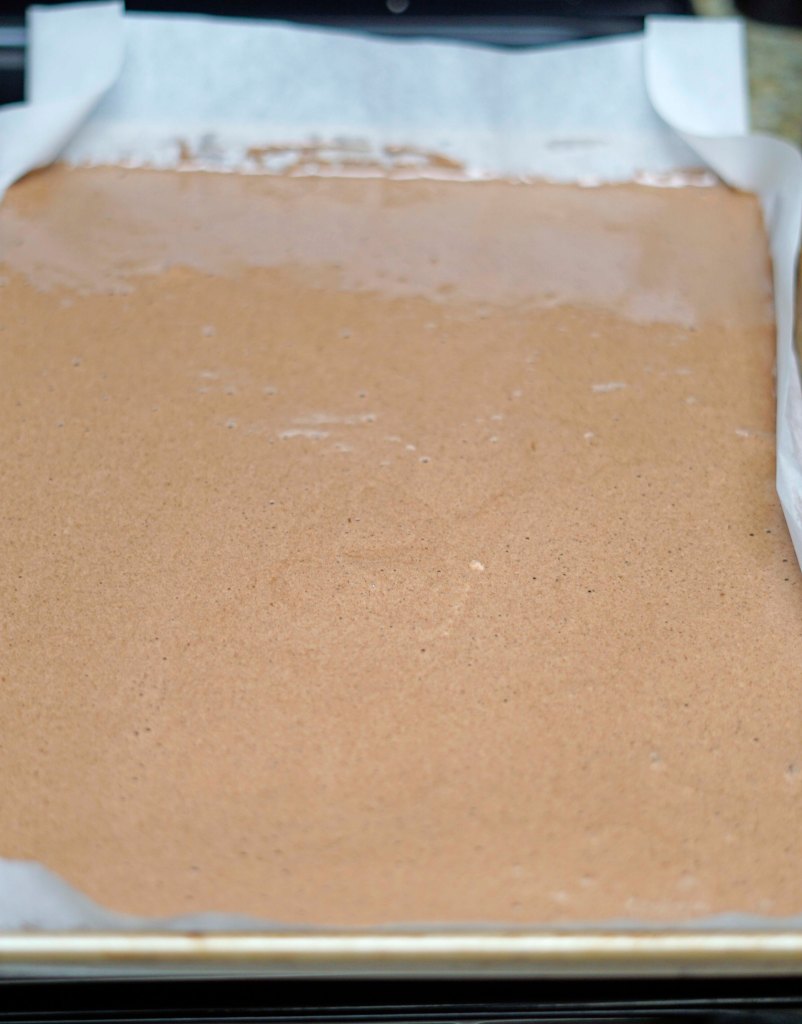
Another tip that I learned from Mary Berry is to make sure that when you are pouring your batter into the pan, keep the bowl close to the pan, because you can knock out air by pouring it from up high. Then I used an offset spatula to carefully spread the mixture all over the pan, being careful to make sure it reaches the corners of the pan.
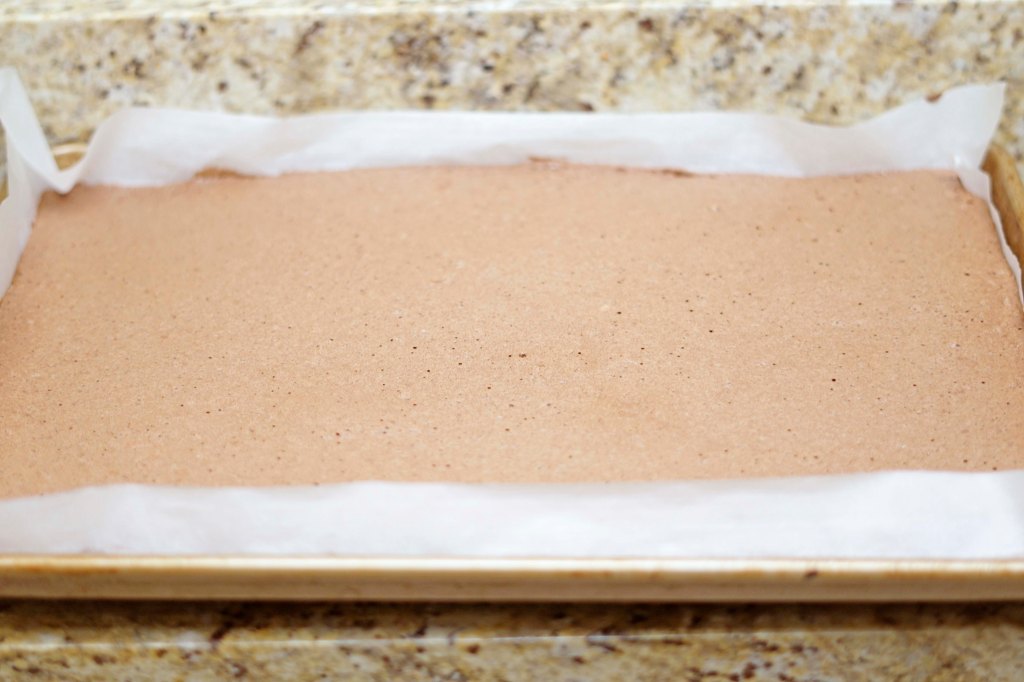
The cake baked in the center of the oven for 15 minutes. I checked mine at about 13, but it didn’t quite spring back when I touched it gently, so I let it finish for the whole 15. As soon as it springs back and a skewer through the middle comes back clean, pull it out! You don’t want to risk over baking the cake because it could lead to cracking when you roll it later. I set the pan on a cooling rack and was amazed when I came back in 30 minutes and the cake was completely cool!
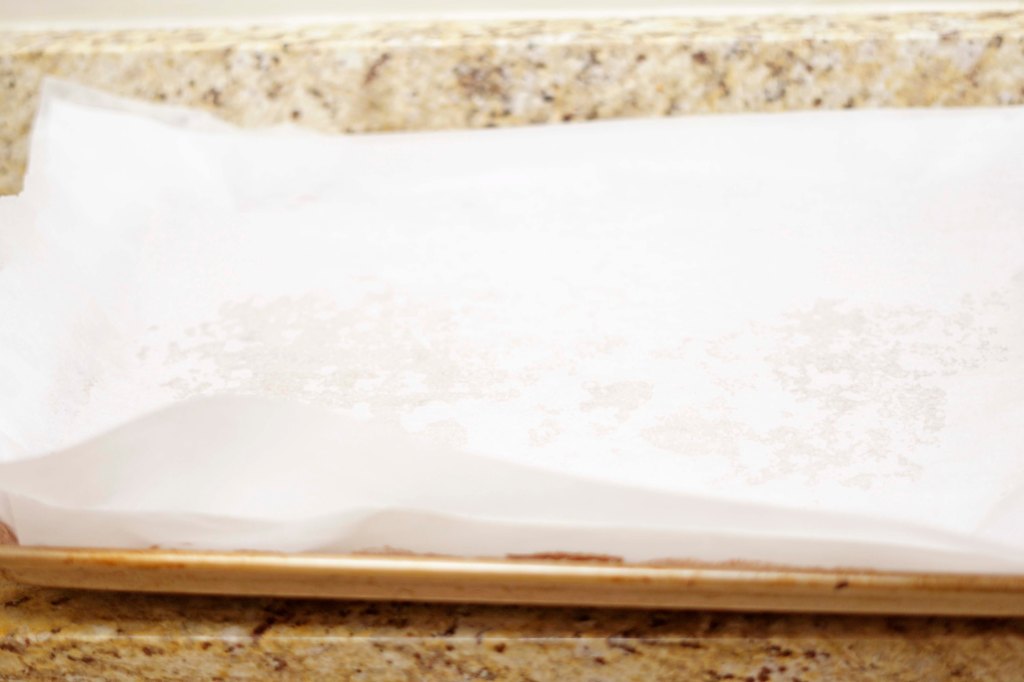
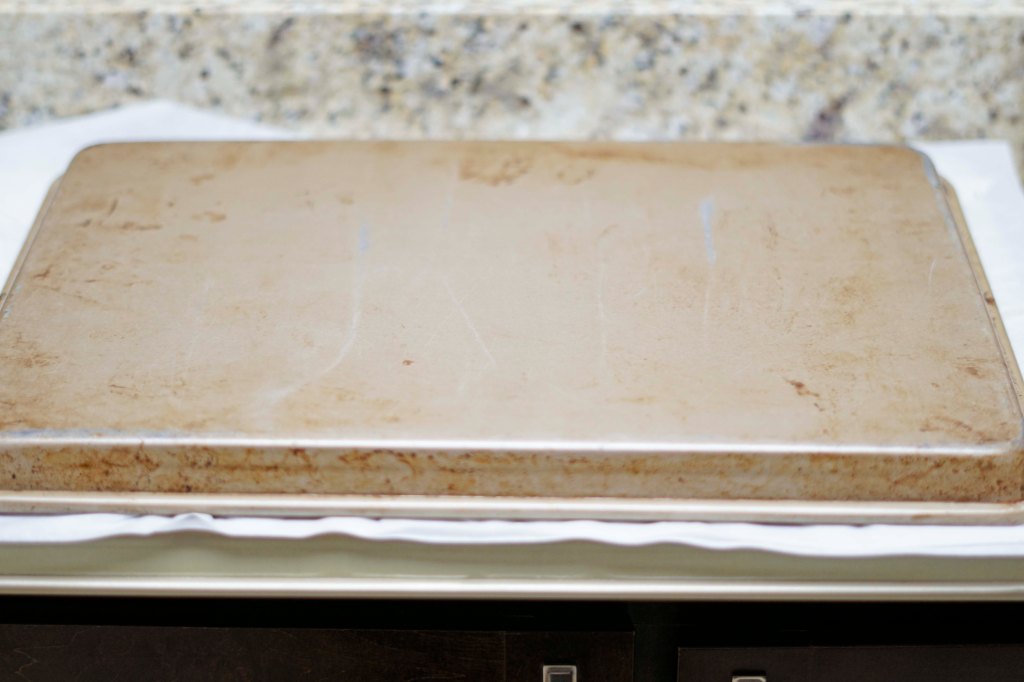


To remove the cake from the pan, I first sprayed a piece of parchment paper with grapeseed oil and laid it over the top of the cake. Next, I used a larger cookie sheet and placed the bottom side of the cookie sheet on top of parchment paper and then flipped the cake over. I gave it a couple of quick shakes and then pulled the pan off of the cake, leaving the parchment covered cake resting on the bottom side of the larger pan. Finally I carefully pulled the parchment off the bottom side of the cake. I am not going to lie – I was pretty pumped it turned out so well.
Stage 2 – preparing the cream filling

The ingredients needed are: 1/2 cup + 2 tablespoons heavy whipping cream, 2 teaspoons powdered sugar, 1 teaspoon vanilla bean paste and 1/2 packed of Whip It stabilizer.
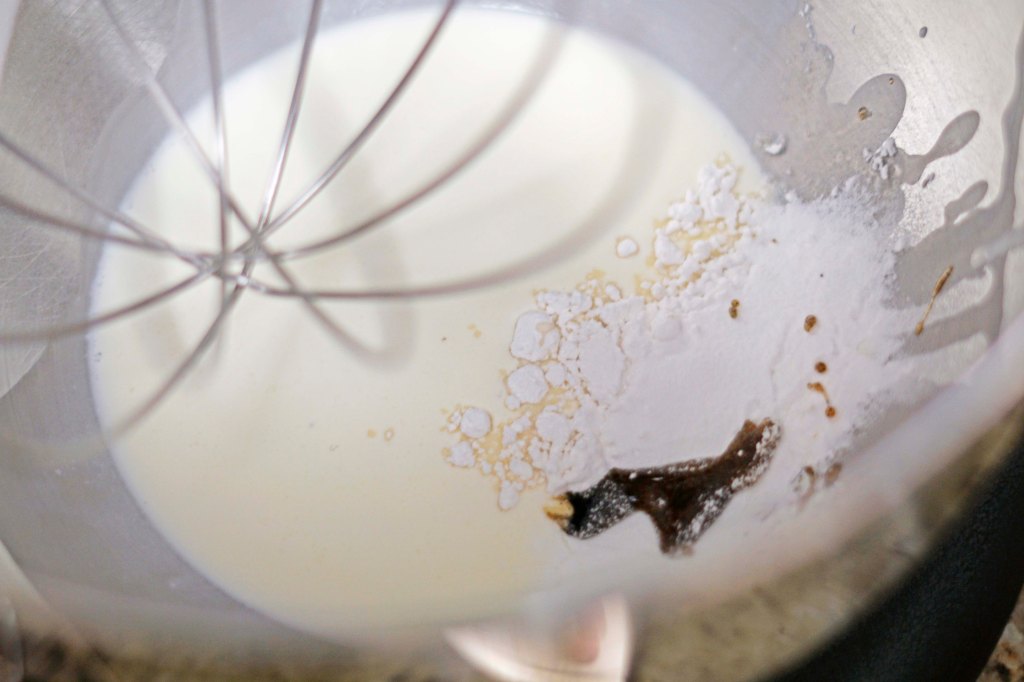


I put all the ingredients into a cleaned bowl of the mixer and used a cleaned whisk attachment to whip the ingredients on medium-high for 2-3 minutes until the mixture reaches soft peaks. I was again careful to not over whip the mixture. To do this, I stopped the mixer a few times and used the whip to check the consistency.
Stage 3 – putting the rolls together
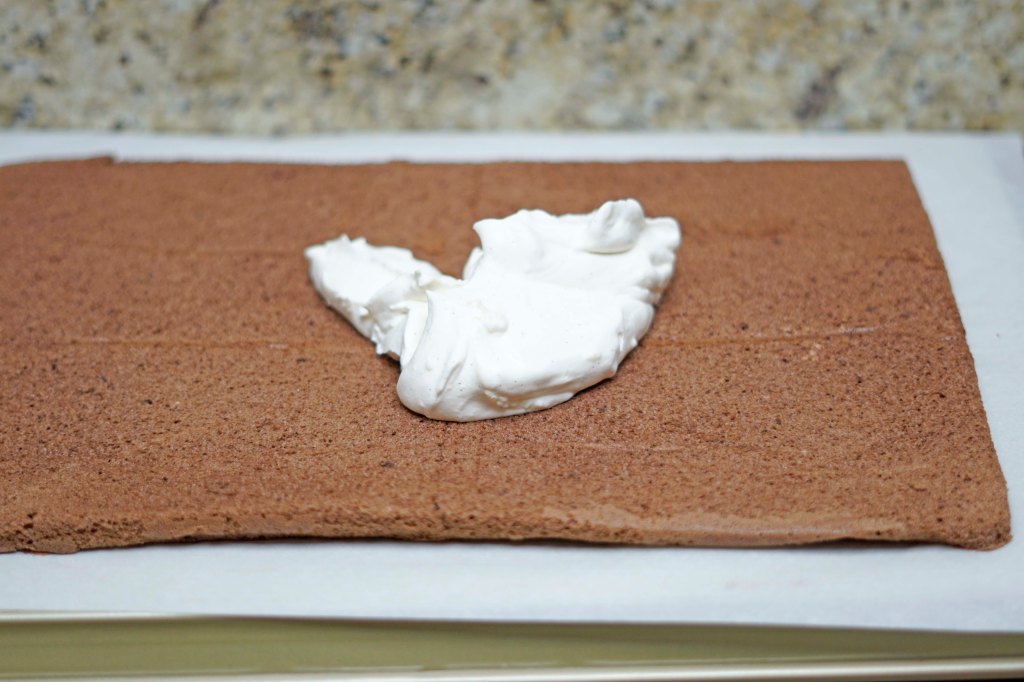

I first scooped the whipped cream mixture onto the middle of the cake and used an offset spatula to thinly and evenly spread the cream over the cake, being sure to leave a 1/4 inch of cake exposed around all of the edges.

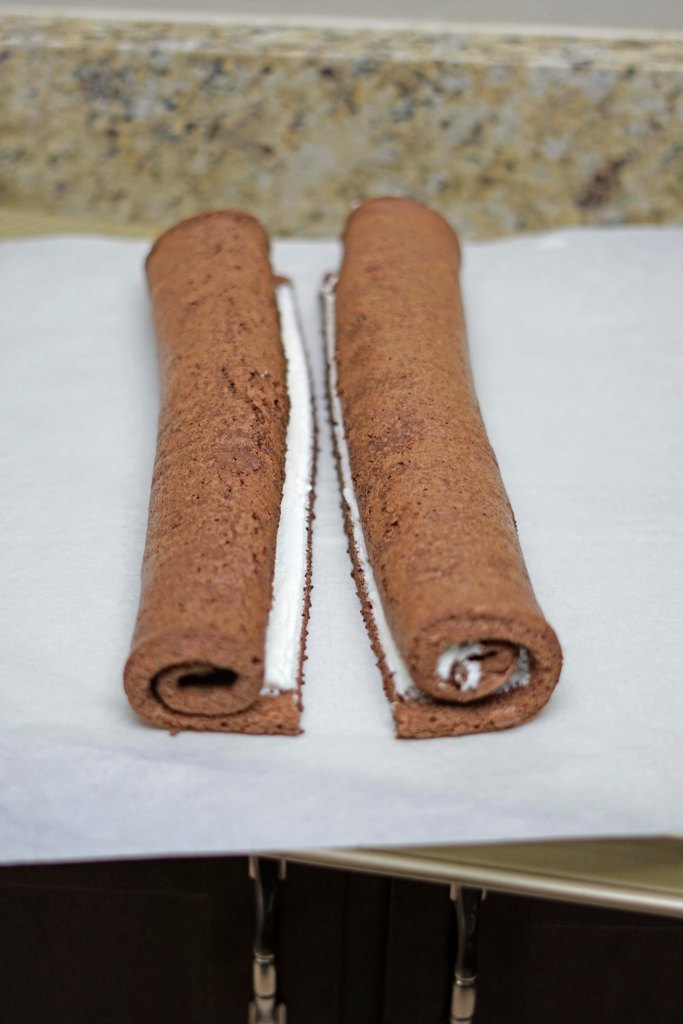
Next, I turned the short side of the cake to face me and I carefully rolled the cake over the cream. I used the parchment paper to help me get started. I also went super slowly to try to keep the roll as even as possible all along the short side. I stopped when I reached the middle of the cake. Then I turned the cake so that the other short side was facing me and I repeated the process. Then I sliced the cake down the middle to make 2 separate rolls.


To prepare the rolls for the freezer, I placed each one at the end of a piece of parchment paper the side of my pan. I began rolling the paper around the roll, then stopped ever so often to use my right hand to pull the loose end of the paper forward, while using my left and to pull the roll back towards me. This helps to tighten the paper around the roll, and then in turn tighten the cake roll, helping to form the tight spiral in the middle. I wrapped the parchment roll in plastic wrap and put it in my freezer. (If I were to do this again, I probably would have just used some take to keep the paper tight, like the recipe suggests, because I think I created a few dents in my roll adding the plastic wrap.) The cake should freeze overnight.
Stage 4- Coating the rolls in chocolate


The first thing that I did to prepare for coating the rolls with chocolate was to remove the cake rolls from the freezer and slice off the ends. Then I sliced the rolls in half and then in half again. This created 8 equal pieces. I rolled the pieces back up in parchment paper and placed them back in the freezer.
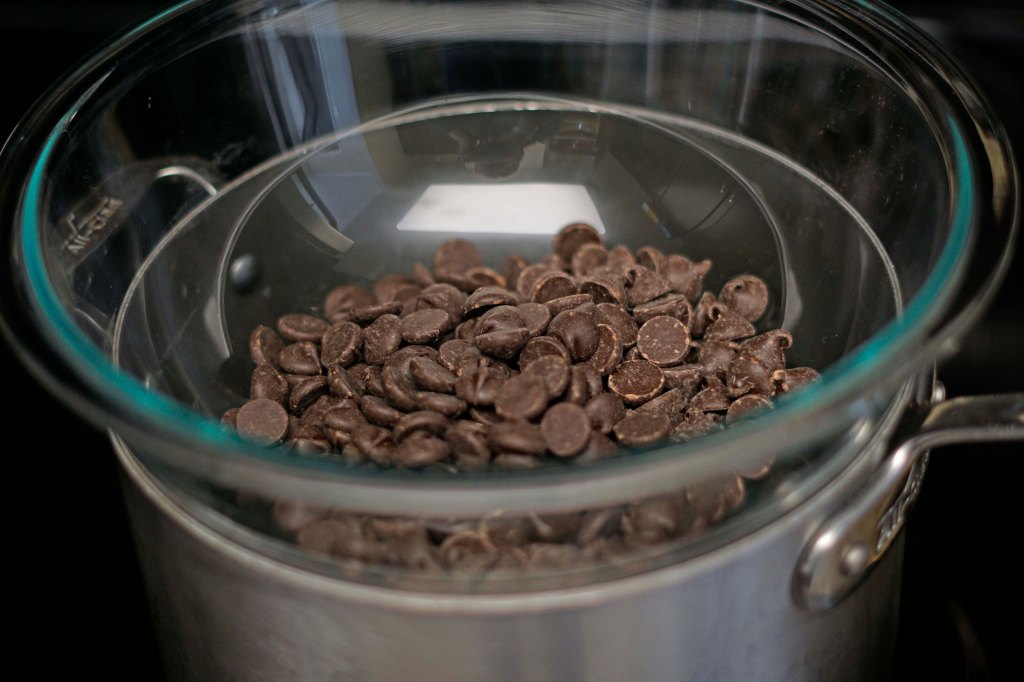


Then, I placed about 4 ounces of dark chocolate and 4 ounces of semi-sweet chocolate in a heat safe glass bowl. (The recipe only called for 5 ounces total, but I didn’t want to deal with a super small amount of chocolate at the end- but then I ended up wasting some…so pick your battles I guess.) I put the bowl over a pot of simmering water, but made sure that the water didn’t touch the bowl. I watched the chocolate carefully to make sure it didn’t scald or burn. I stirred it every once in a while and as soon as all the pieces were melted I pulled the bowl off of the heat. I took the very frozen rolls and put them in the bowl of melted chocolate. Then I used two forks and rolled the cake to make sure the roll was covered. I picked the pieces up and let as much of the chocolate drip off as possible and then put them on a piece of parchment paper on a cookie sheet that I knew would fit in my fridge. I repeated this for each piece and then put the tray in the fridge for an hour. Before I took them off this tray, I used a very sharp knife to remove the extra chocolate that settled on the tray.
**Note- the recipe originally called for 14 ounces of Pate a glacer brune – which I found out was coating chocolate. I have never really liked the taste of coating chocolate, so I didn’t want to buy something that wasn’t the type recommended by the recipe, which I also could only find in a HUGE quantity, so I went with the alternative of just chocolate. I really enjoyed the texture difference that the crunchy chocolate added to the recipe, but I would do more semi-sweet next time, because the dark overwhelmed the other flavors a little bit.**
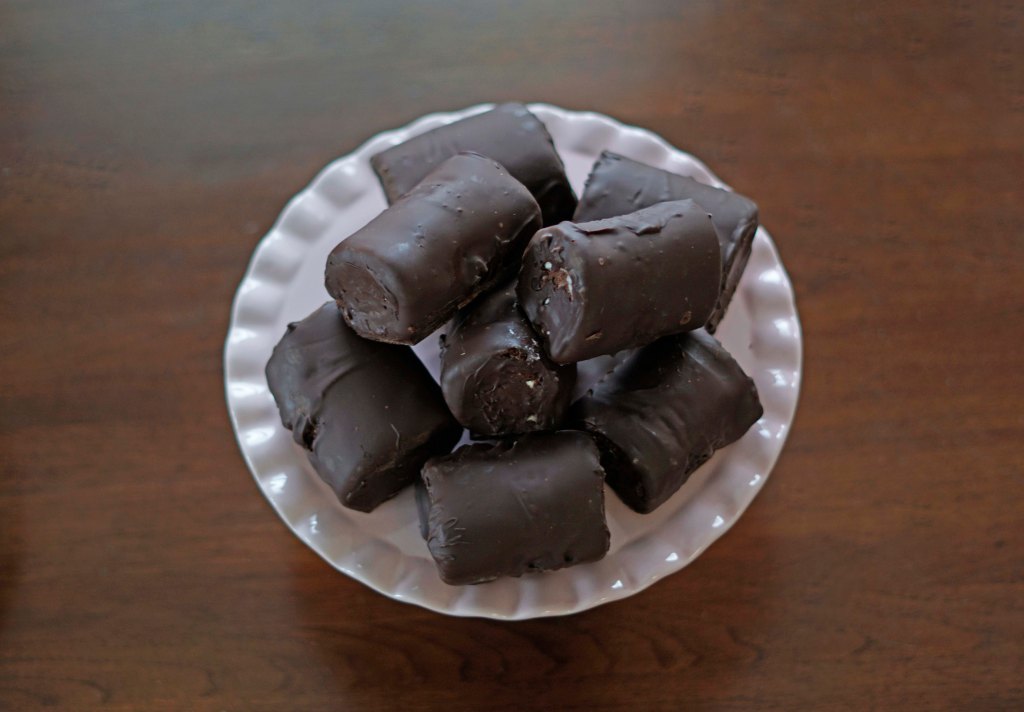
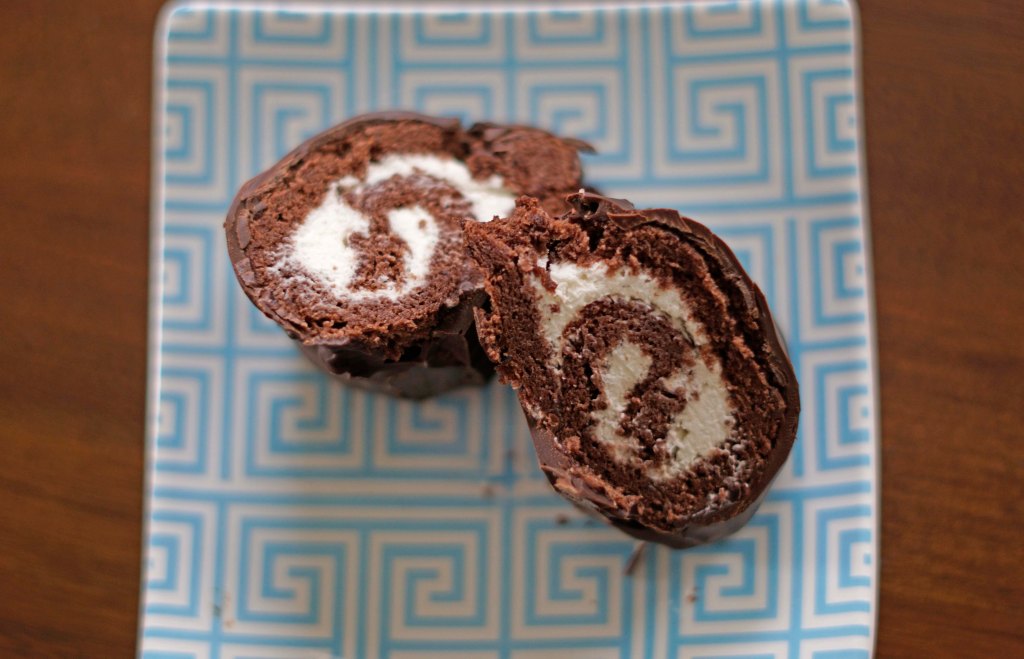
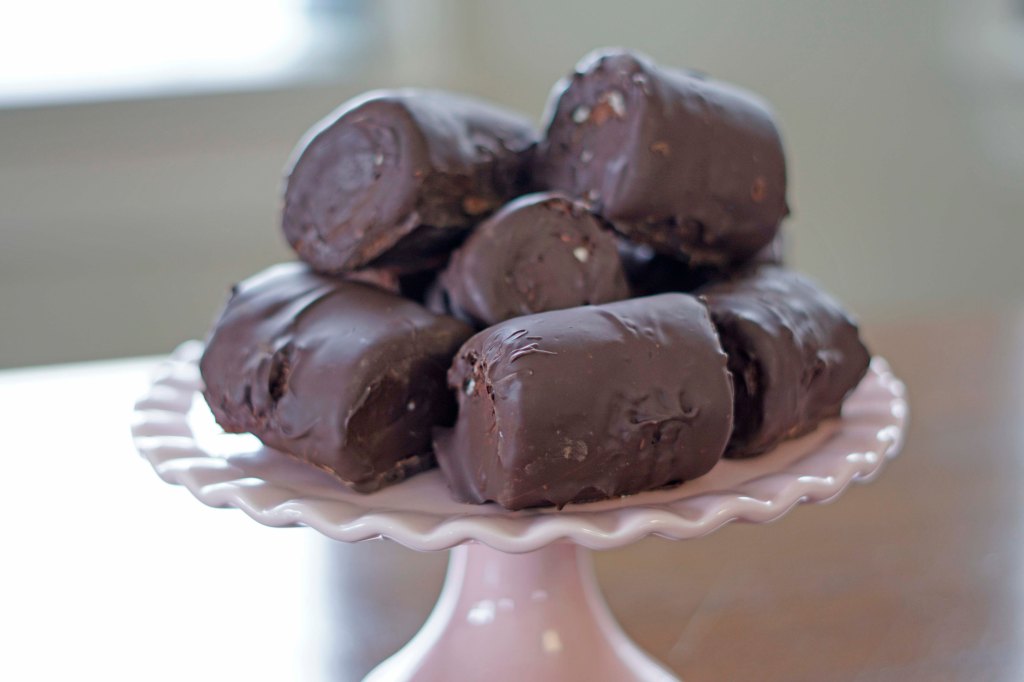
After the Oh Ohs were set in the fridge and trimmed up nicely, I placed them on a serving tray and waited for Kevin to come home and tried my best to keep the boys from touching each one of them. I did manage to remember to snap a picture of the inside of one of them before they were devoured. The roll might not have been quite as perfect as the one from the bakery, but I was quite impressed. The flavor was delicious! The cake was tender, the cream light and refreshing and the chocolate was crunchy and rich. Overall, it was quite a grown up dessert that brought back childhood memories and perfect for a celebration!
Final Thoughts:
- I was super intimidated by this recipe before I began, but reading as much as possible really helped me feel confident
- The texture of the cake was so delicate and wonderful. I was nervous that it would crack because I didn’t cool it rolled up, but it was perfect.
- I make Kevin take these to work the next day, because I’m pretty sure I would either eat them all or keep fighting the boys away from the fridge- trying to steal them
- If you are looking for a baking adventure that will bring back all kinds of memories – this is it!
Recipe: Oh Ohs from Bouchon Bakery
Ingredients:
- Chocolate Biscuit
- 3 Tablespoons + 3 Teaspoons all purpose flour, sifted
- 3 Tablespoons + 3 Teaspoons almond flour, sifted
- 3 Tablespoons cocoa powder
- 3 large eggs
- 3 egg yolks
- 1/2 cup + 3 Tablespoons sugar, divided
- 3 egg whites
- Cream Filling
- 1/2 cup + 2 Tablespoons heavy whipping cream
- 2 teaspoons powdered sugar
- 1 teaspoon vanilla bean paste
- 1/2 packet Whip It stabilizer
- Chocolate Coating
- 6 ounces semi-sweet chocolate
- 2 ounces dark chocolate
Instructions:
- Chocolate Biscuit
- Preheat the oven 350 F degrees. Line a 16 inch baking pan with oil spray and then line it with parchment paper and spray the parchment.
- Place the all purpose flour, the almond flour, and cocoa powder in a small bowl, whisk together and set aside.
- In your first mixing bowl, place the eggs, yolks and 1/2 cup of sugar. Place the bowl on the mixer with the whisk attachment and mix on medium-low for 1 minute to combine. Then increase the speed to medium and whip for about 5 minutes. Scrape down the sides and bottom of the bowl. Whip for another 5 minutes on medium-high until the mixture is light in color and thick. When the whisk is raised, ribbons of the mixture should flow back into the bowl and slowly melt back into the mixture.
- In the second – SUPER CLEAN – mixing bowl place the 3 egg whites with the whisk attachment and turn the mixer on medium until the whites are frothy. Then turn the mixer down to low and super slowly add the granulated sugar to the egg whites. When it is all mixed in, turn the mixer up to medium-high and whip for 2 to 2 1/2 minutes or until the whites are glossy and have reached soft peaks. Do not over whip!
- Going back to the first mixing bowl – fold the dry ingredients into the yolk mixture in 2 additions. Then do the same with the egg white mixture. Make sure there are no more streaks of dry ingredients or egg whites left in the bowl.
- Very carefully add the mixture to the prepared pan. Using an offset spatula, carefully spread the mixture in an even layer making extra sure it reaches all the corners of the pans.
- Bake the cake for 15 minutes, or until a skewer inserted in the middle comes out clean and the cake springs back when you touch it gently.
- Set the pan on a cooling rack and cool completely.
- Spray a piece of parchment paper with oil and then lay it on top of the cake. Place a larger cookie sheet bottom side down on top of the sprayed parchment paper. Invert the cake pan onto the larger pan and shake a few times to release the cake from the pan it was baked in. Then remove the parchment carefully from cake it was baked in.
- Cream Filling
- Place all the ingredients in a cleaned bowl of the mixer and use the whip attachment to whip the mixture on medium-high for 2 – 3 minutes or until the mixture reaches soft peaks. Do not over beat!
- Create the Rolls
- Spread the cream filling on top of the biscuit in a thin layer. Make sure to leave a 1/4 inch boarder around the outside of the cake.
- Turn the short side to face you and using the parchment paper to help, fold the cake over to begin the roll. Then continue to lift of carefully, and roll the cake until you reach the middle of the cake. Turn the cake so that the other short side of the cake is facing you and repeat the process.
- Slice the cake down the middle, between the two rolls.
- Place each piece of roll on a sheet of parchment paper and roll the paper around the roll. Stop ever so often and use your right hand to pull the loose end of the paper while using your left hand to pull the roll back towards you to tighten end paper, which will help tighten the cake roll. Repeat for the second roll.
- Use washi or painters tape to secure the paper and keep the rolls tight. Place the rolls in the freezer overnight.
- Prepare the Rolls
- Remove the rolls from the freezer and trim off the ends.
- Cut the rolls in half, then cut each half in half again to create 8 equal size pieces.
- Roll the pieces back in the parchment paper and place them back in the freezer until ready to dip in the chocolate.
- Prepare the chocolate
- Place the chocolate in a deep heat proof bowl and place the bowl over simmering water, being sure the bowl doesn’t touch the water below.
- Watch the chocolate carefully to be sure it doesn’t scorch or burn. Stir it frequently. Once all the pieces are melted and the chocolate is smooth, remove from the heat.
- Enrobe the Rolls
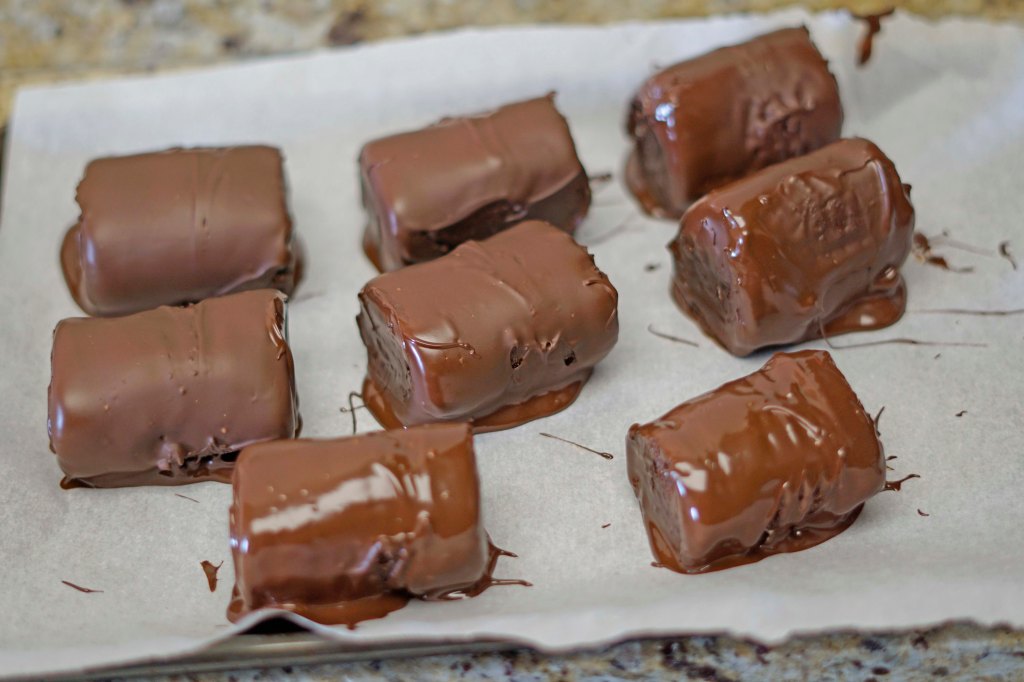
- Carefully remove the rolls from the freezer and place in the bowl with the chocolate.
- Use two forks to rotate the pieces so that they are covered in chocolate. Hold the rolls up so that as much chocolate can drip off the roll as possible.
- Place the covered rolls on a parchment lined baking sheet that will fit in the fridge.
- After all the rolls are covered refrigerate for an hour.
- Use a sharp knife to trim off the extra hardened chocolate the pools at the bottom of each roll.
- Enjoy!!!
- Store extras in an airtight container in the fridge
Recipe adapted from The Bouchon Bakery Cookbook
