
When Kevin and I got married 5 years ago, we were living in St. Louis. Kevin had lived in this awesome condo in the DeMun neighborhood for a while and I moved in after our wedding. One of the best things about the neighborhood was having a Kaldi’s Coffee right on the corner of our block. We frequented there most weekends for coffee and breakfast and as long as I have known Kevin he has LOVED the chocolate muffins from Kaldi’s. They had a deep dark chocolate flavor and a super soft and tender cake base with big chunks for chocolate inside. I have tried to recreate this recipe SO MANY TIME! Too many times to even remember. This same deep dark chocolate cake has been something I have been searching for for desserts as well. Every time I buy a slice of cake, try one at a wedding, or make one – I am always hoping it will taste like those Kaldi’s muffins and finally – I FOUND IT!!!!
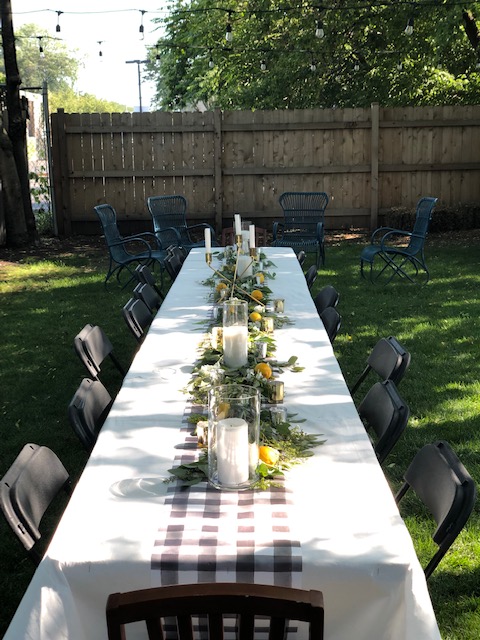

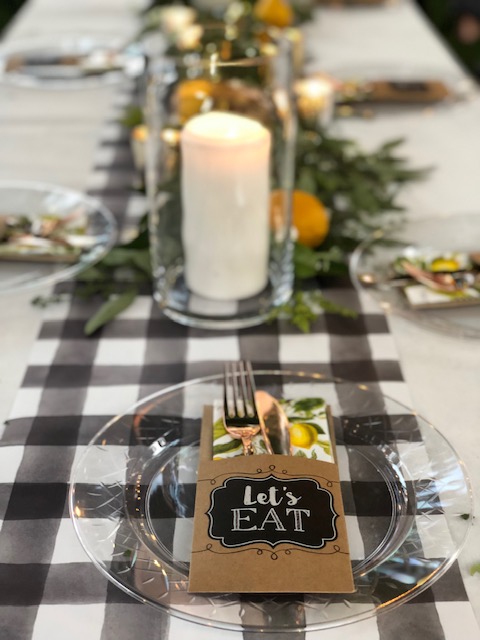

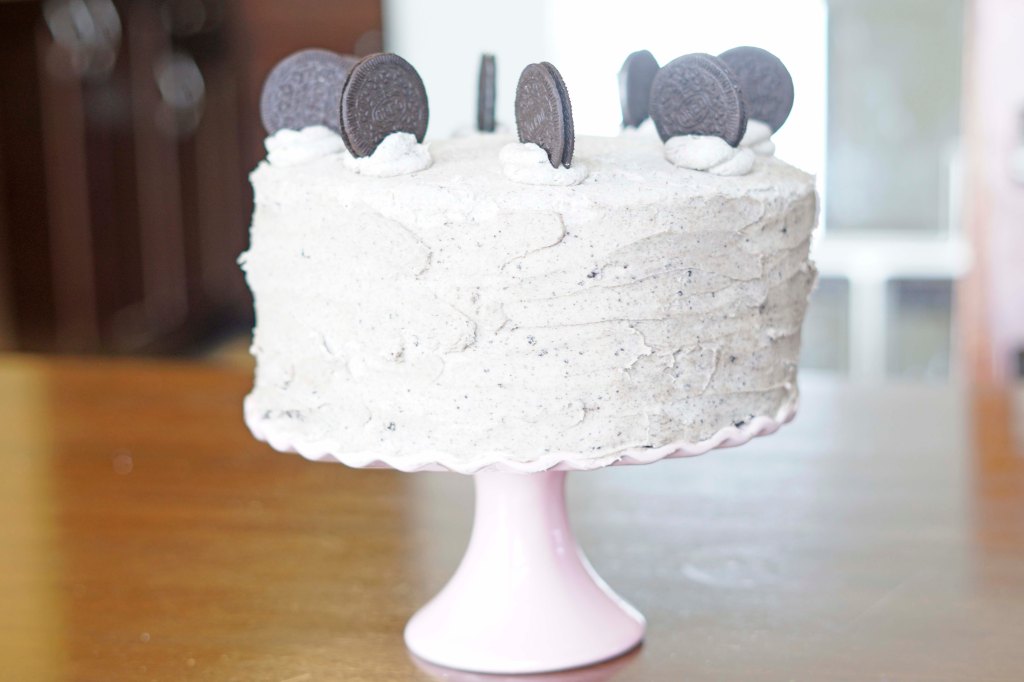
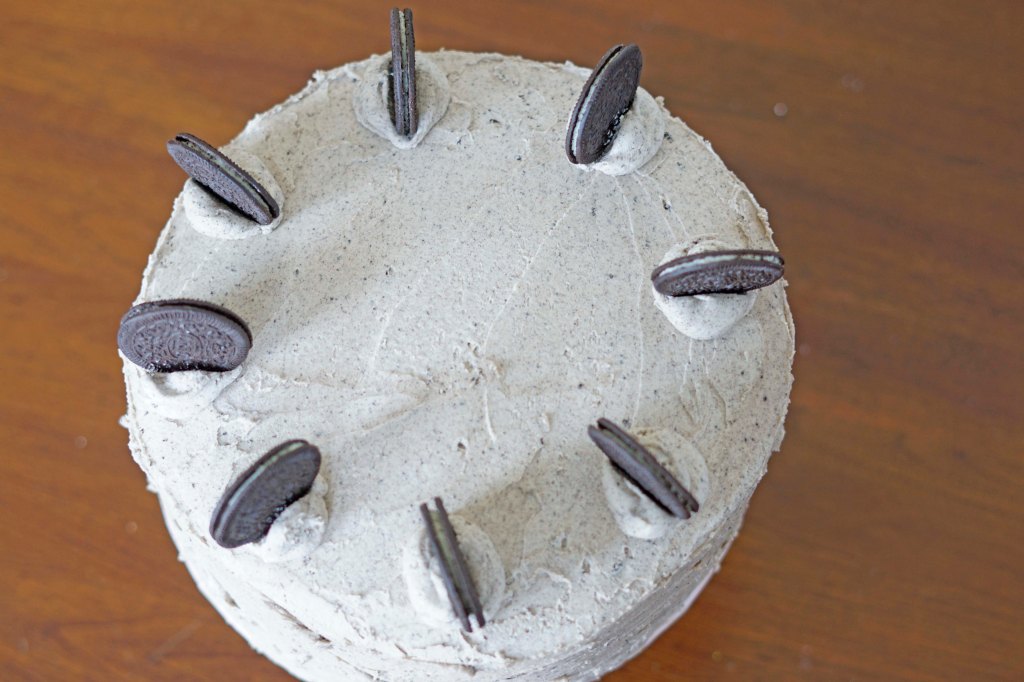
This week our sweet friend Emily hosted a dinner party outside and requested a dessert. I was happy to oblige and thought for a long time about what would be the best dessert for 16 guests that did not need to be chilled before hand and would be pleasing to most people. I settled on a chocolate cake with cookies and cream filling and icing. I figured you can’t go wrong with cookies and cream. Turns out – I was right!
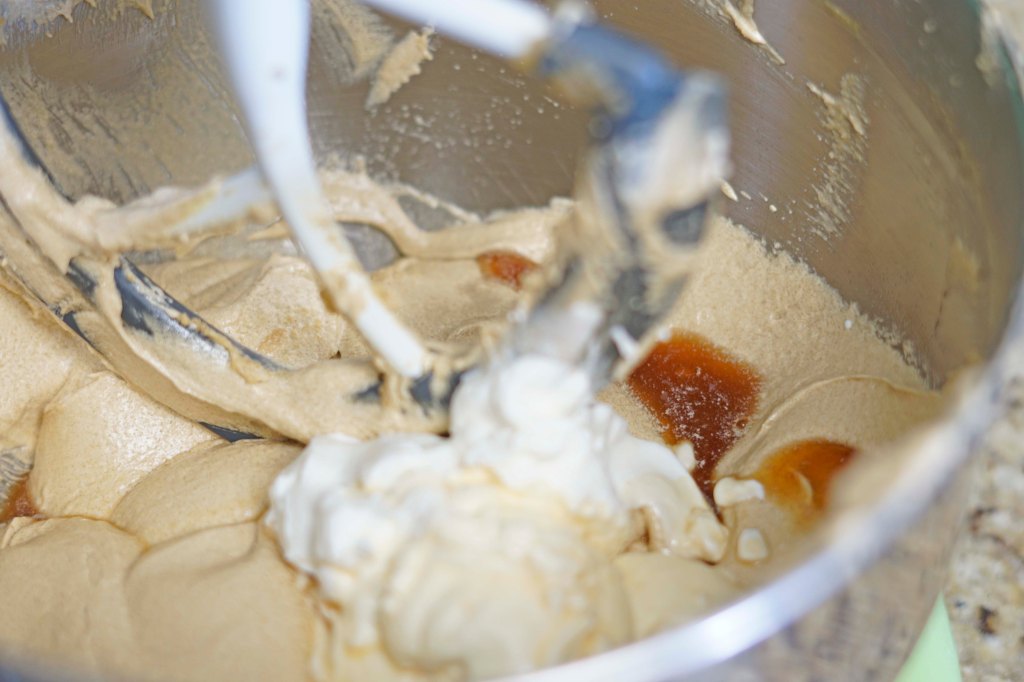
I ended up combining two recipes to make my cake last night. I chose the chocolate cake from Bake from Scratch because the picture looked so delicious. (If you have been following for a while you know I have a love/hate relationship with this publication- this scored them another point on the love column). Then the filling and icing from Cake by Courtney because I have been dying to have an excuse to try one of her recipes (I have been a little nervous though about making her cakes without a practice round because I’ve heard that she bakes at a different altitude and her recipes may need a little tweaking)! The filling and icing were amazing. I am not actually going to feature them here on the blog today but if you want to go check them out – look here!
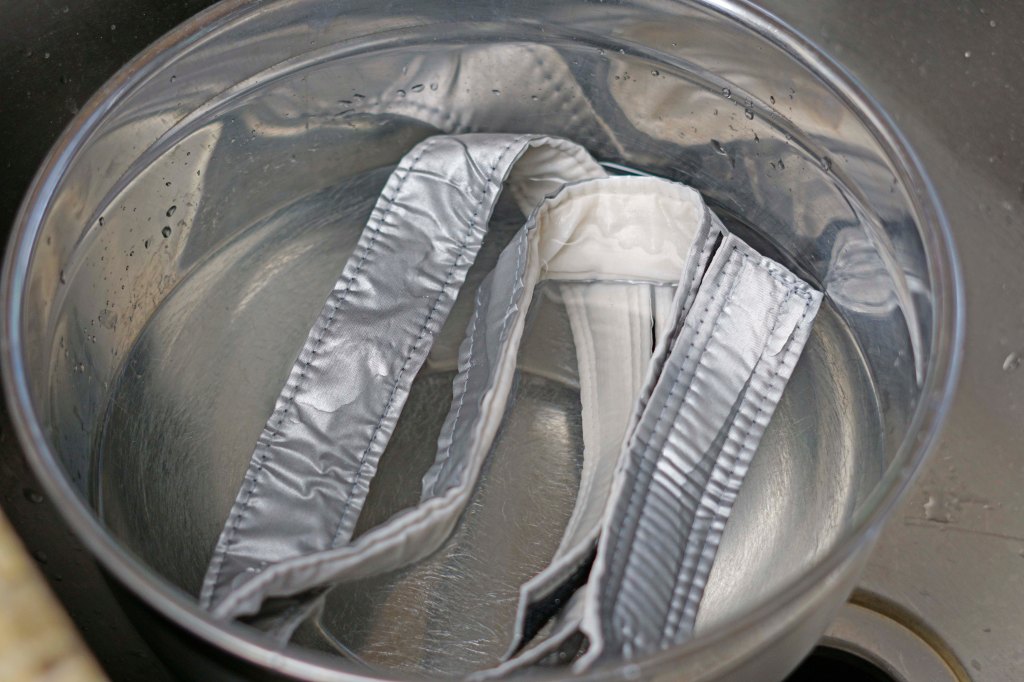
To begin baking, I preheated my oven to 350 F degrees. I also buttered my 9-inch baking pans, put a circle of parchment in the bottom and then lightly floured them. I also put my brand new cake strips into a bowl of water to soak them while I prepared the batter. Cake strips help to keep the outside of the pan at a cooler temperature, aiding in the whole batter baking at the same time and hoping to avoid the dome of cake that usually rises up in the middle and takes longer to cook while the edges over bake.

The ingredients for this recipe are- 1 cup softened unsalted butter, 3 cups packed dark brown sugar, 4 room temperature eggs, 1 cup room temperature sour cream, 1 tablespoon vanilla, 1 teaspoon kosher salt, 1 tablespoon baking soda, 2 1/4 cups all purpose flour, 1 cup dark cocoa powder and 1 1/3 cups boiling water.
The first step I did was to combine the flour, cocoa, salt and baking soda in a bowl and stir all together. I set it aside until I needed it later.
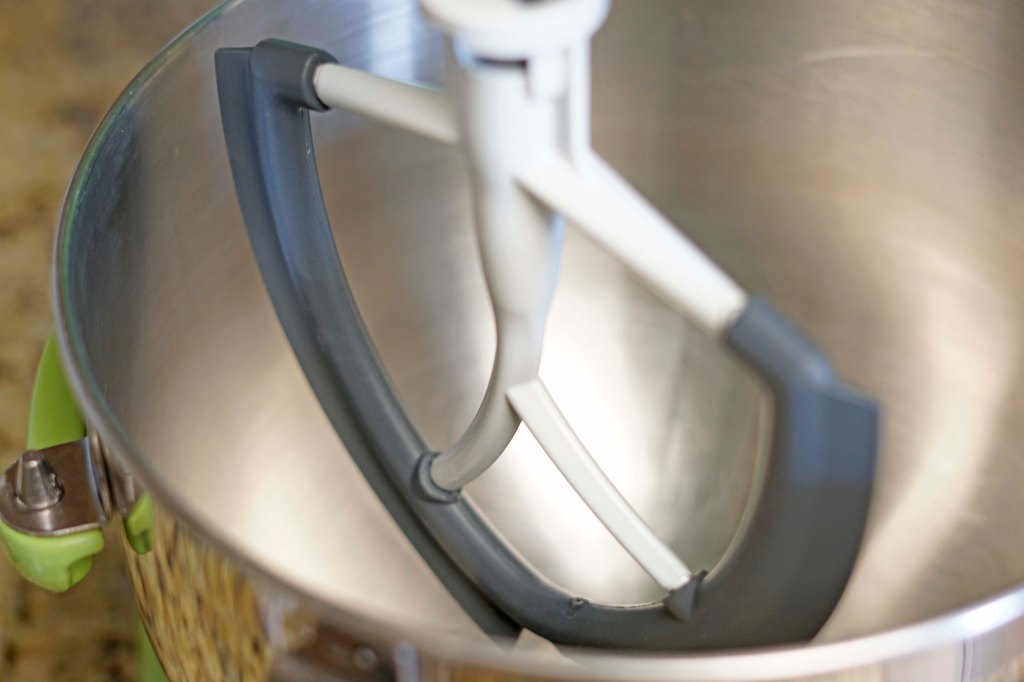

I fitted my stand mixer with my new paddle attachment with a flexible edge to help scrape the bowl while mixing. (I was so excited to find out they make these in coated metal now, because I had another one that was plastic and I snapped it after the first batch of cookie dough-ugh!). I added the softened butter and the brown sugar to the bowl. I turned the mixer on slow to mix them together and then turned the machine up to medium and beat them together for 3 minutes until the mixture looked lighter in color and texture. I stopped the machine and scraped down the sides and bottom of the bowl as needed.
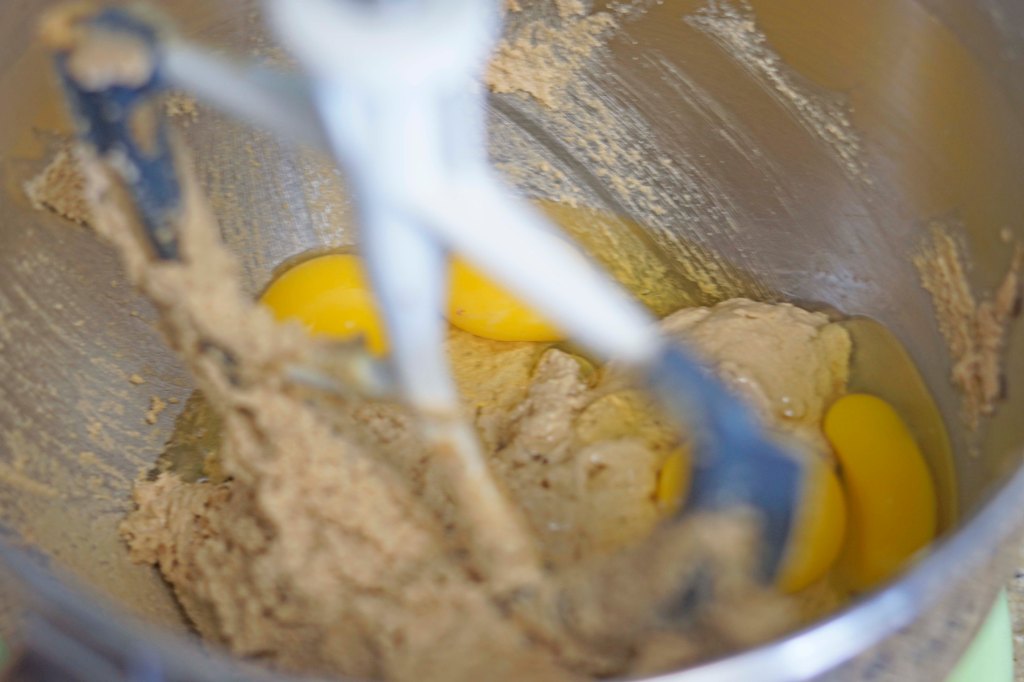
Next, I added my eggs all at the same time to the bowl and turned the mixer on slow for about 15 – 20 seconds and then up to medium again to beat the batter for 3 minutes until the mixture is nice and fluffy. I scraped the bottom of the bowl to make sure all the mixture was incorporated. Look at how silky smooth that looks!

Then I added the sour cream and the vanilla and only mixed until there were no more visible streaks of sour cream. At this point the batter looked a little broken, but I just moved on to the next step with high hopes to see what would happen.

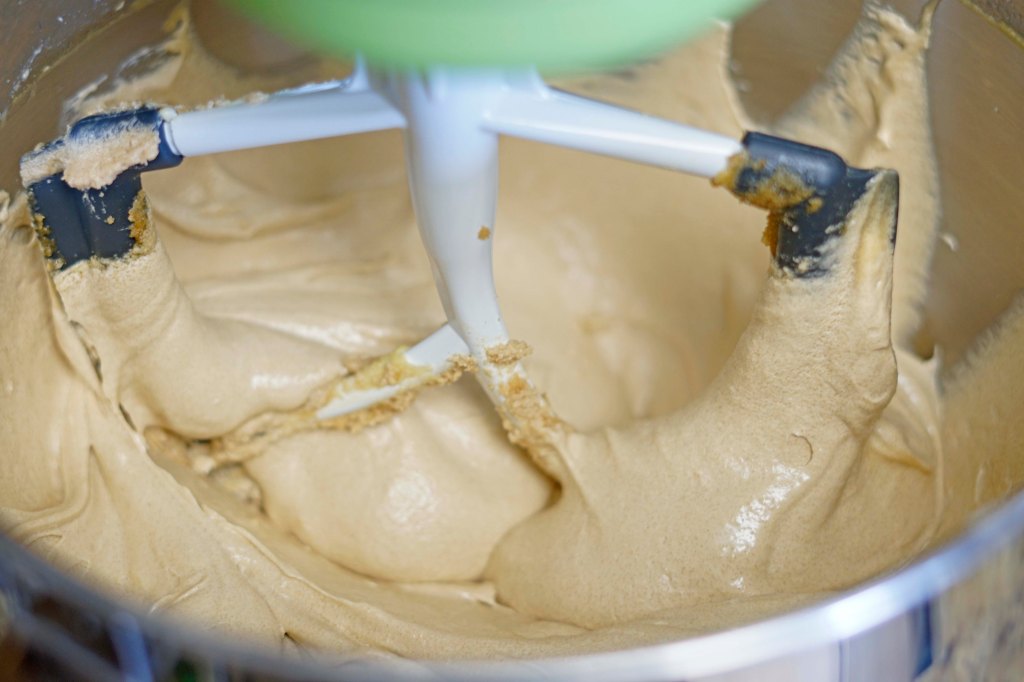
I turned the mixer on low and slowly added the dry ingredients to the batter. I only mixed until there were no more streaks of the dry mixture visible to make sure not to over mix. I could not believe how silky and smooth the batter looked at this stage.
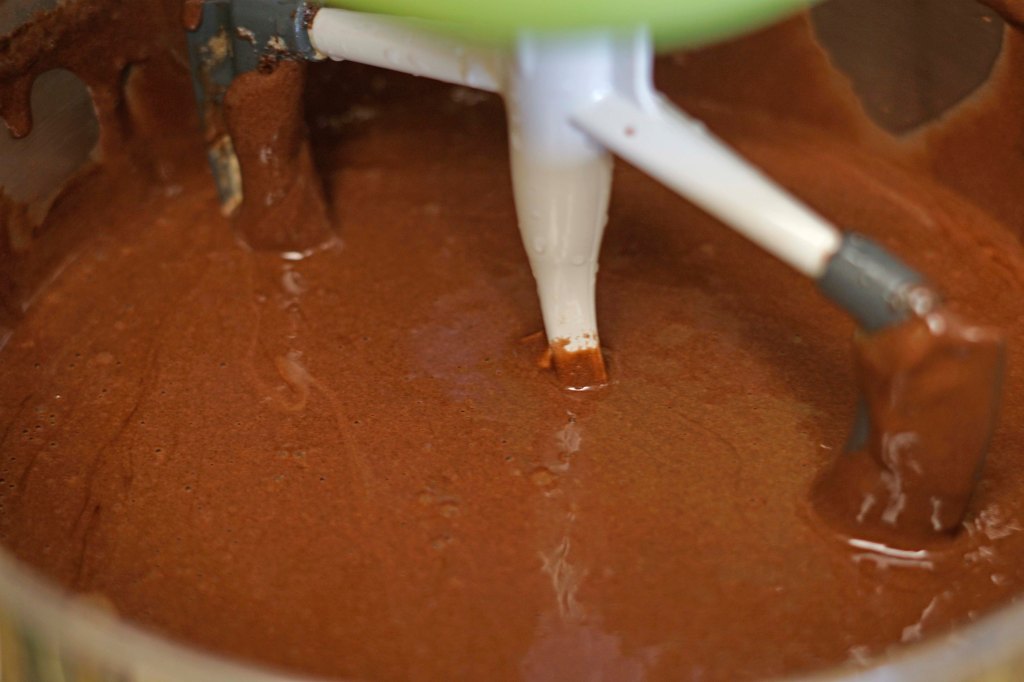
Next, I put my liquid mixing cup of water into the microwave and turned it on high for about 3 minutes, until the water began to boil. Then I turned the mixer back on low and slowly streamed the hot water into the batter until the mix was all smooth. The batter was pretty runny at this stage, but it was to be expected from the hot water. I have never made a batter this thin before, but I was excited to see how it would turn out.

Since I only had 2 9-inch cake pans, I poured as equally as I thought possible, part of the batter into each pan. Then I removed my cake strips from the water and used my hand to wring out the excess. I wrapped them around the cake pans and put the cakes in the middle of oven for 30 minutes. I checked them with a toothpick to make sure it came out clean.
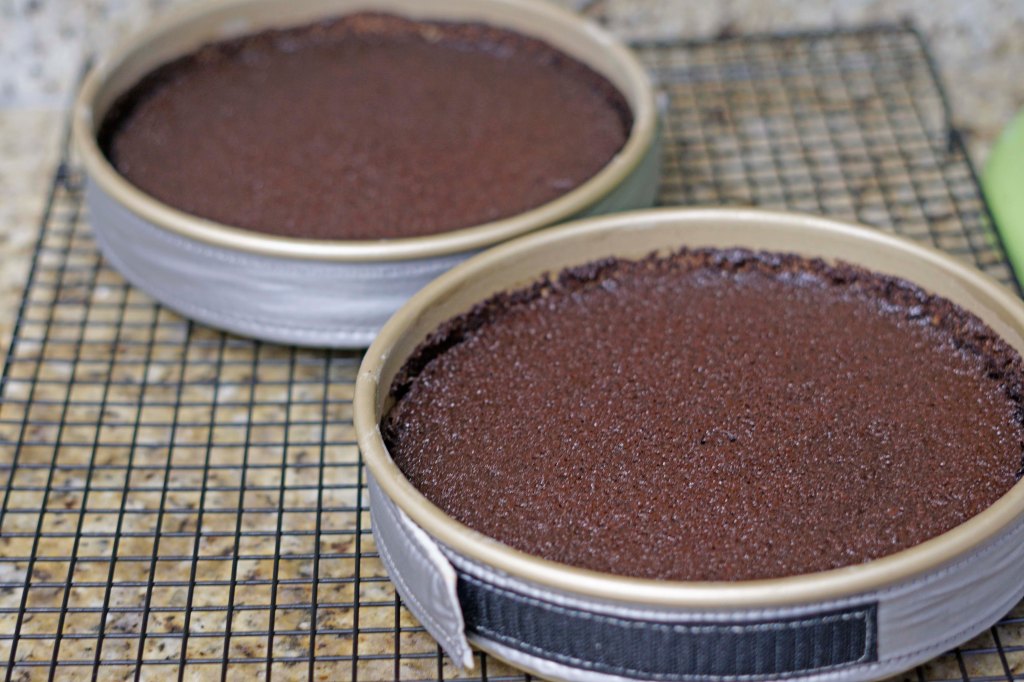

After the cakes came out of the oven, I took the cake strips off and let the pans cool for 15 minutes. Then I inverted the cakes onto a cooling rack and let the finish cooling. After I inverted the cakes, I took one of pans, cleaned it out and put it in the freezer for about 5 minutes to finish cooling off. Then I buttered, parchment papered and floured the pan. I poured the rest of the cake batter into the pan (I had it stored in the refrigerator covered in plastic wrap while the other cakes baked).
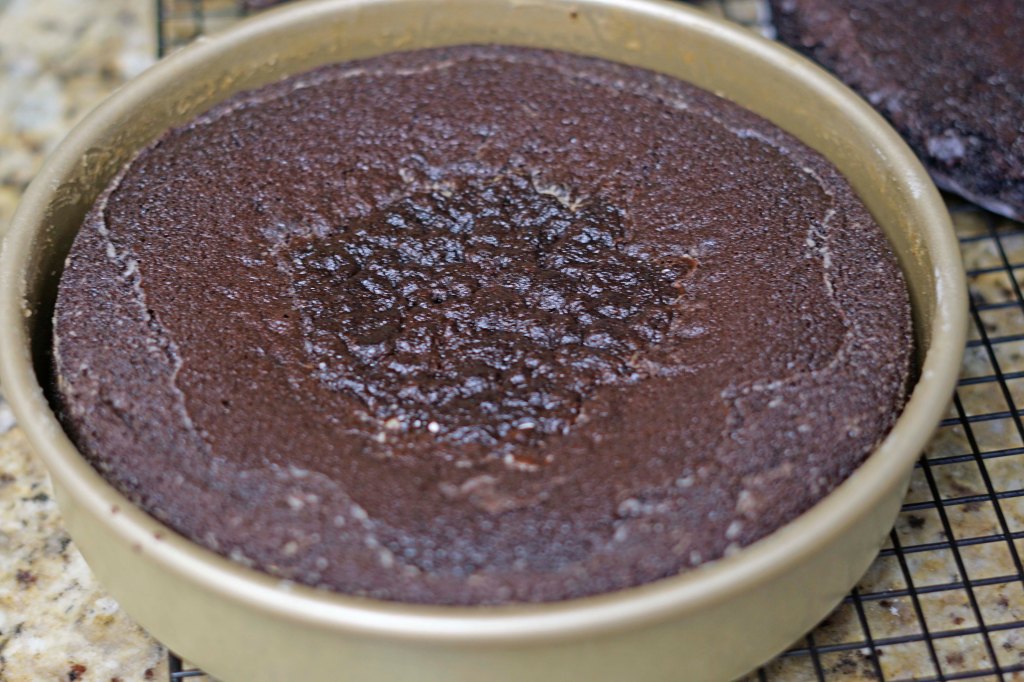
I baked the last cake without a cake strip to see if it would make a difference. It turns out I left the most batter for the last cake which made it bigger and it did dome up and then sink a little, which neither of the other cakes did while baking. After I trimmed off the top it turned out to be around the same size as the other two layers, but it was for sure not as even. I’m sold on the cake strips!
After all the cake layers were baked, I wrapped them in plastic wrap and placed them in the freezer to chill and be easier to handle the next day when I stacked, filled and iced them to turn them into cookies and cream cake for the party.
Final Thoughts:
- This is a cake you will have dreams about – it is so good!
- I can’t wait to try to turn this into muffins to see if they are as good as Kaldi’s!
- I couldn’t believe how heavy this cake was after I was finished with it. I kept having to hand it off to Kevin while we waited for our Uber to pick us up because my arms were so tired.
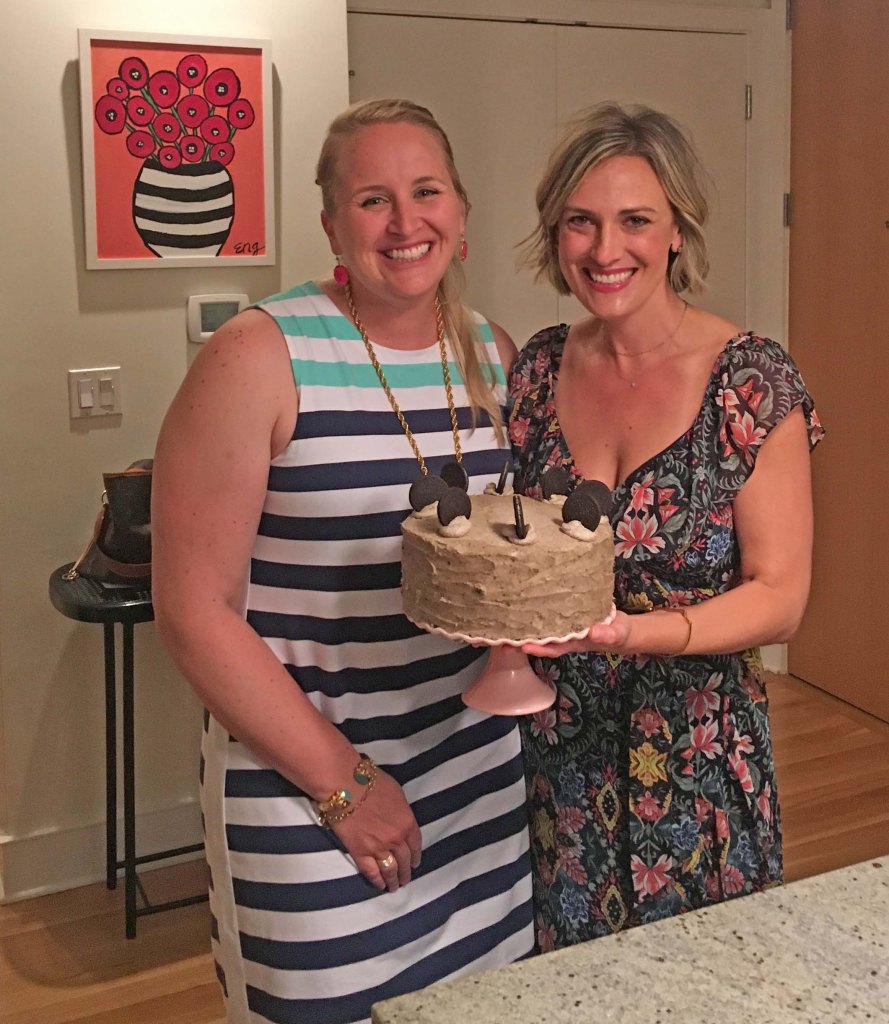
- I’m so sad that I forgot to get a picture of a slice of the cake with the filling!
- Would you guys be interested in seeing how to make the fillings and icings of cake and how to complete one?
Recipe: Chocolate Dream Cake
Ingredients:
- 1 cup softened unsalted butter
- 3 cups packed dark brown sugar
- 4 room temperature eggs
- 1 cup room temperature sour cream
- 1 tablespoon vanilla
- 1 teaspoon kosher salt
- 1 tablespoon baking soda
- 2 1/4 cups all purpose flour
- 1 cup dark cocoa powder
- 1 1/3 cups boiling water
Instructions:
- Preheat your oven to 350 F degrees. Grease 3 9-inch baking pans with butter, place a round of parchment in the bottom and dust with flour. Place cake strips in water to soak (if using).
- In a medium bowl combine then salt, baking soda, flour and cocoa powder and mix together. Set Aside.
- Place butter and sugar in the mixing bowl of your stand mixer fitted with a paddle attachment and beat together until mixed. Then increase speed to medium and beat until fluffy- 3-4 minutes. Scrape the bottom and sides of the bowl as needed.
- Add eggs and beat until mixed and then increase speed and best for 3-4 minutes until light in texture and color. Scrape the bottom and sides of the bowl as needed. Add sour cream and vanilla and mix until incorporated. Scrape the bottom and sides of the bowl as needed
- With the mixer on low slowly add the dry ingredients until fully incorporated. Do not over mix. Stop and scrape the sides and bottom of the mixing bowl.
- With the mixer on low. Slowly stream the boiling water into the batter and mix only until the mixture is smooth and combined.
- Divide the batter equally between each of the cake pans. Pull cake strips out of water and squeeze out excess. Place strips around the outside of the pans and secure.
- Bake the cakes for 28-30 minutes. Test with a toothpick to make sure it comes out clean when finished baking.
- Allow the cakes to cool for 15 minutes in the pan. Then invert onto a cooling rack to finish cooling.
- Top with any filling and icing of your choice or wrap layers individually in plastic wrap and place in the freezer for later use.
- Enjoy!
Recipe adapted from Bake from Scratch Holiday 2018 magazine

Looks dark and delicious.
LikeLike
It is an amazing chocolate cake recipe! I’ve even tried it as cupcakes and it worked great for that too. I have made so many chocolate cakes and this one is the best by far- the flavor is wonderful.
LikeLiked by 1 person