
Something major happened this week at our house. Our oldest son started preschool. He was able to get one of a very few spots in our local public school early childhood program and has been super excited about going to “his” preschool. Its is an awesome mixed aged Montessori program and he will be in the same classroom for the next three years. The only down side for me is that it is five full days. So I’m missing one of my best buddies during the day, but I know it is best for him and he is so excited that it has really made it pretty easy. My littlest buddy misses him too but did get to participate in his first solo library class this week and LOVED it! Keeping with our back to school theme this week, I made a back to school homemade version of one of our family favorite snacks – Cheeze-its!
I came across a recipe on Sally’s Baking Addiction and after doing a quick google search, I realized that there are tons of recipes out there for homemade Cheeze-its. The version from Sally’s website ended up looking the easiest and I even took a few steps out and simplified it even more! A food processor makes this recipe fast and easy and reminds me slightly of making pie dough. These crackers turned out DELICIOUS! I had to make myself walk away from the tray while these crackers were cooling because I was pretty sure there would not be any crackers left for anyone else to try.

There are only 6 ingredients in this recipe! Seriously so easy! You will need, 6 ounces sharp cheddar cheese, 6 tablespoons cold unsalted butter cut into pieces, 1 cup all purpose flour (fluffed, scooped & leveled), 1 1/2 teaspoons corn starch, 1/4 teaspoon salt, 2 tablespoons ice cold water. You can also add salt on the top before baking or Tony Chachere’s seasoning for a slightly more grown up taste.

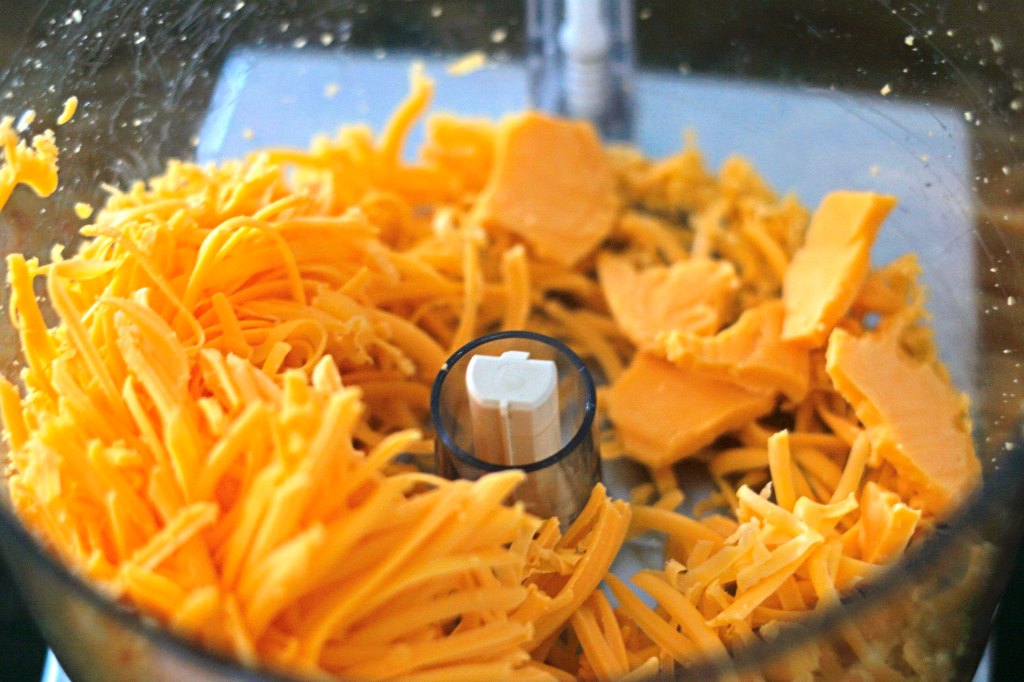
To begin, I put my food processor to work and shredded my cheddar. This is seriously the fastest way ever to shred cheese!
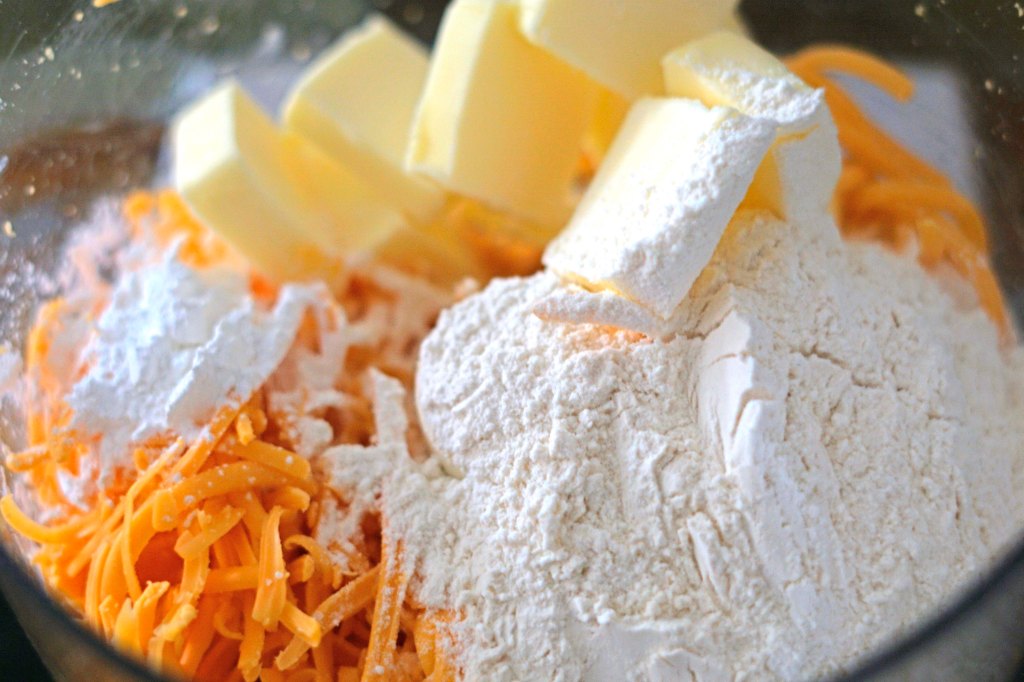
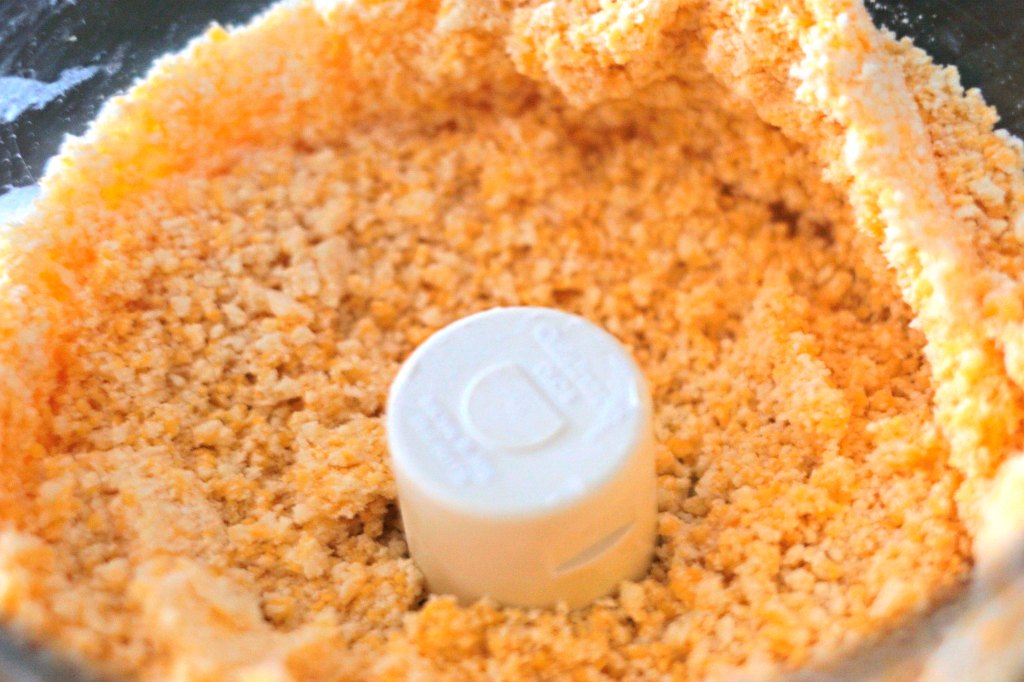
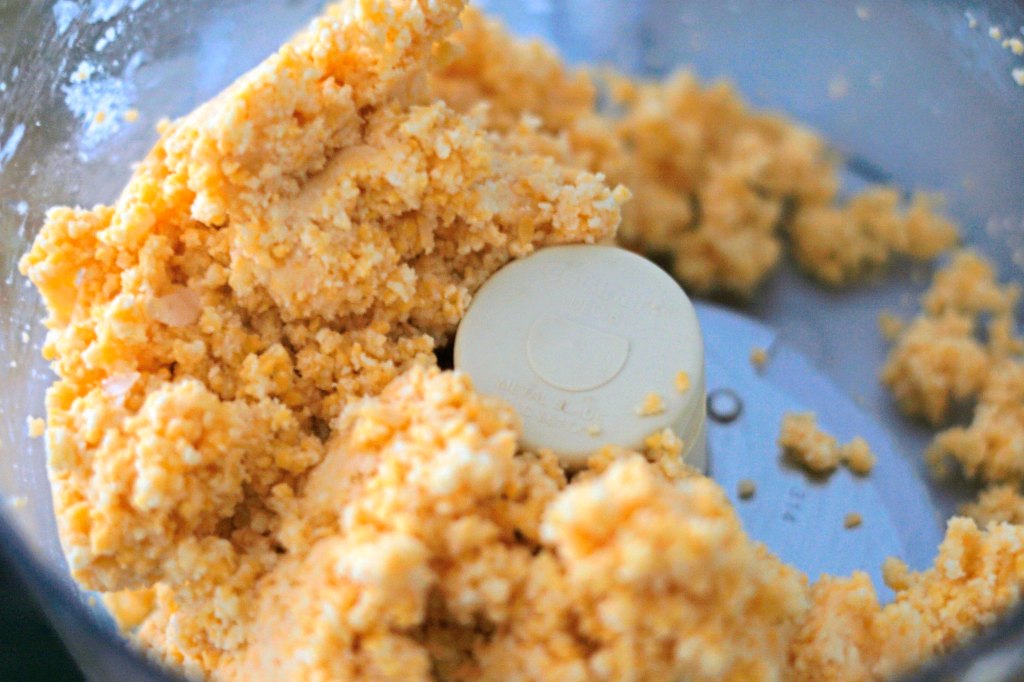
Next, I emptied out my food processor and traded out the shredding attachment for the blade. I added the cheese back along with the flour, salt, corn starch and butter. I let the machine run for about 10 – 15 seconds until the ingredients resemble wet, coarse sand. Then I add the cold water to the mixture and pulsed it for about 7 – 10 pulses until most of the ingredients stuck together in a large clump.


After it came together, I dumped the mixture onto a piece of parchment paper on top of baking sheet that fits in my fridge and used my hands to gently knead it together just 4 – 5 times until it all looked more cohesive, but careful not to overwork it. Then I put another piece of parchment paper on top and rolled the dough out to about 1/4 inch thickness. I put the baking sheet with the dough on it into the fridge for 45 minutes to chill and firm up.


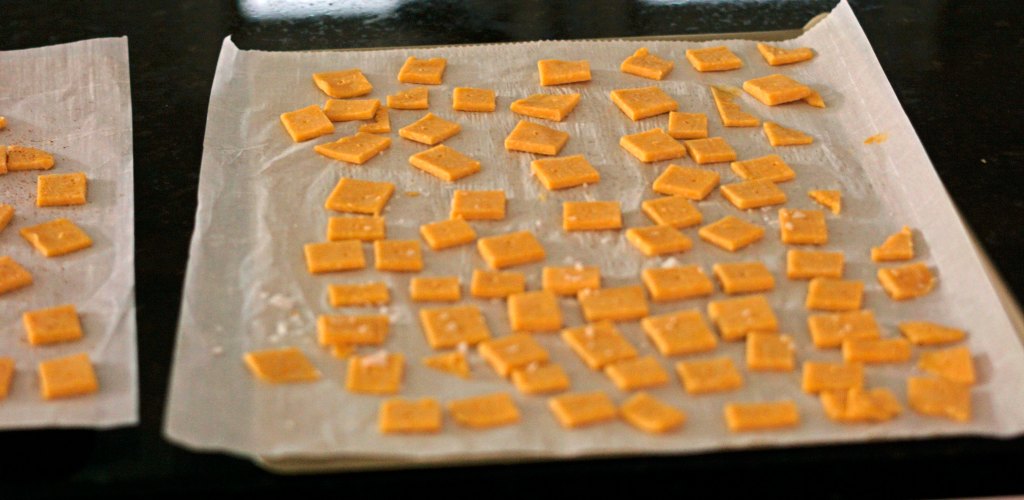
Right before pulling the dough out of fridge, I turned on my oven to 350 F degrees to preheat it while I shaped the crackers. After the dough is chilled, I removed the top piece of parchment paper and placed it on a second baking sheet. Then I used a pizza slicer to make long skinny strips. I turn the dough 90 degrees and cut a second set of long skinny strips to make squares. After that, I enlisted the help of my toddler helpers to use the back of a skewer to make holes in the middle of each square (Just a heads up…cut the sharp side off the skewer next time…we only had one small accident.) Finally, I spread the crackers out over two baking sheets and set them back in the fridge for about 10 minutes because it was pretty warm in my kitchen and the crackers were getting a little soft.
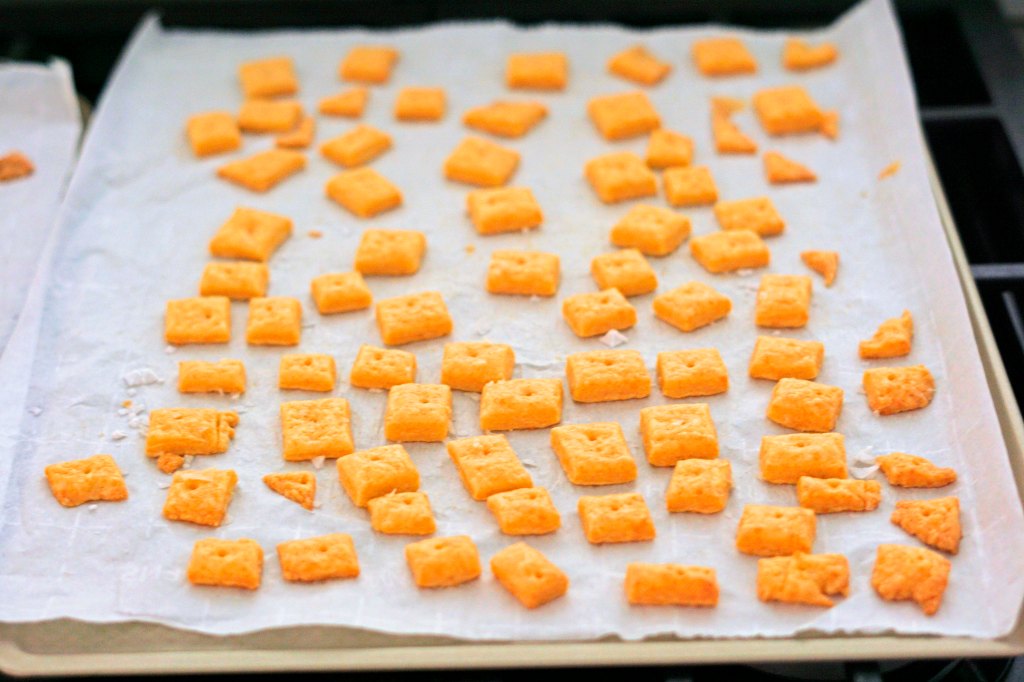
After the quick chill down, I topped some of my crackers with salt and some with seasoning and then placed the trays in the oven for 16 minutes. I pulled the crackers out and let the crackers cool completely on the baking trays. If you prefer a crispier cracker (looking at half the Owens crew here who like the extra toasty box) you can leave your crackers in the oven for up to 20 minutes.

Final Thoughts:
- These are super yummy & cheesy snacks that I feel totally great feeding my family because I know exactly what is in them.
- I took these to a girls night and they were a hit with grown ups too and went great with some adult beverages.
- These would be a great addition on a meat & cheese board!
- You can experiment with different kinds of hard cheeses instead of just cheddar if you want to mix it up.
- You can also mix up seasonings on the top if you want or you could mix in some fresh herbs like thyme or chopped rosemary for a more grown up flavor.
- I’m trying to figure out if I can use this as a crust for a tart of some kind… let me know if you have any suggestions!
Recipe: Homemade Cheesy Snacks
Ingredients:
- 6 ounces shredded sharp cheddar cheese
- 6 tablespoons unsalted cold butter cut into pieces
- 1 cup all purpose flour (fluffed, scooped & leveled)
- 1 1/2 teaspoons corn starch
- 1/4 teaspoon salt
- 2 tablespoons cold water
- Extra salt for topping or seasonings such as Tony Chachere’s seasoning
Instructions:
- Use your food processor to shred your cheddar cheese. Dump out the cheese. Trade out the shredding blade for the food processor blade.
- Add the cheese back to the food processor along with the butter, flour, corn starch and salt. Process for 10 – 15 seconds until it resembles coarse, wet sand.
- Add the water to the mix and pulse 7 – 10 times, until most of the mixture clumps together. Dump the mixture onto a parchment lined baking sheet and knead together for just a few turns until it is cohesive. Place a second piece of parchment on top and roll the dough to 1/4 inch thickness. Place the baking sheet into the fridge and chill for 45 minutes.
- Preheat the oven to 350 F degrees.
- Pull the dough out of the fridge. Remove the top parchment and use it to line a second baking sheet. Slice long skinny strips into the dough. Rotate the pan 90 degrees and slice long skinny strips again forming small squares. Use a skewer to make a hole in the middle of each square. Spread the squares out on both baking sheets. Chill for another 10 minutes if your dough becomes soft.
- Top with salt or seasoning and bake for 16 – 20 minutes depending on how crunchy and toasty you prefer your cheese crackers. Allow to cool on the baking sheets.
- Enjoy!
Recipe adapted from Sally’s Baking Addiction
