
This week I began thinking about what new skill I would like to work on and I immediately thought about how long I have been wanting to learn how to make different types of buttercream icing. We were already signed up to donate dinner to another family this weekend and I realized was a great way to bake and give it away. So I thought it was time to start at the beginning:
Vanilla Cake with Vanilla Icing. Basic on Basic.
I searched the web for a recipe that I could make with all the ingredients that I already had at home and included a buttercream variety that I had never made before. I found a recipe at https://livforcake.com/ and prepared myself for a new baking adventure. One of the first things that I needed to figure out when I was going to find the time to make this cake. We had a busy day on Saturday, park and donut playdate with friends at one of our favorite parks followed by watching another couples’ son so that they could have an adult day date. Both activities were wonderful but meant that it would be an after bedtime baking night for me. Luckily I had looked over the recipe earlier that morning and pulled out all the eggs, butter and buttermilk during the day that needed to be at room temperature before baking.


This recipe used the traditional creaming method to make the cake batter. This method entails starting the batter by mixing the butter and sugar together, then adding the eggs and flavoring, followed by the flour mix, milk, flour mix, milk and ending on flour mix.


I learned a few things while making this cake batter. First, I did not mix my butter and sugar long enough. It was slightly lighter in color than the original butter color and I now realize it should have been quite lighter. This cake also taught me that kosher salt does not belong in cakes (it is my favorite for cookies because you get a big salty bite next to a super sweet chocolate chip – it isn’t such a wonderful surprise in a cake)
Kosher salt might not actually be the king of baking salt
I also should have spent more time mixing each egg in before putting the next one into the batter. I get a little time conscious while baking and need to focus on slowing down, paying more attention to what I am making, and learning how to tell if things are finished by appearance, texture, smell, and taste instead of only time.
I also realized that I was supposed to have 6 inch or 8 inch round cake pans and mine were 9 inch pans. I didn’t have another option so I just went with it for this cake but I believe that a combination of my lack of mixing enough and my big pans resulted in slightly short and slightly dense – but VERY tasty – cakes.


The cakes cooled in the pans for 10 minutes and then were turned out and finished cooling in the fridge.
I was super excited about making the buttercream icing since it was something that I had never made before. The cake was really just a reason to make the icing! I had heard of Swiss meringue buttercream and seen it being made many times before on one of my many favorite baking shows but had never actually gone through the steps myself. I read a sample of the Bouchon Bakery cookbook and they said you should always strain your eggs – I attempted to this with my egg whites and…it failed miserably! I separated my whites and yolks (not sure yet what I’ll do with those 6 yolks sitting in my fridge now..) and then attempted to strain the whites – and – then – I just dumped them in the mixing bowl because they were not going through the strainer for anything!


Next, I added the sugar and whisked the two together. Then I put the mixing bowl directly over the double boiler and hooked my candy thermometer onto the bowl. I whisked the mixture until it reached 160 F degrees. It went much faster then I thought it was going to. The best thing about doing this in the mixing bowl of the mix master, is that as soon as it came to temperature, I was able to just throw it on the machine with the whisk attachment and let it start whipping up into a beautiful, super shiny, super white meringue. It made me a little sad to add the butter into the meringue because it took on a slight yellow color. I also learned that when the recipe says unsalted butter, you should actually go grocery shopping, because salted butter does not taste as great in you buttercream. Finally I decided to add vanilla bean paste to the icing instead of just vanilla to add the speckles and try to hide the yellow tint. My husband’s review of the icing was “Oh wow…light, fluffy & RICH” – I’ll take that as a success (with room to improve).


The final steps of this cake was to assemble it. As I looked around my kitchen I realized that I was going to be pretty bummed about my short, wide, dense cake that I was giving away. I also realized that if I just stacked and iced the cakes, I would never be able to taste the combination of cake and icing – super selfish – I know – but I was super curious. So I decided to level the cakes and then cut them with the largest circle cutter I had and stack four layers to make a petit cake that was slightly taller. I put strips of parchment paper under the cake as a way to protect the plate. When I finished I was able to just pull the strips out and the extra icing and sprinkles came right off and the plate looks beautiful for serving. I added buttercream between each layer and I also decided to stick a straw down the middle of the cakes to try to make sure it didn’t slide all around while we were delivering it. I did a quick crumb coat of icing and then threw it in the fridge to harden up. I finalized it with another coat of buttercream that I finished by pulling the icing up from the bottom to the top to make lines in the icing. It looked a little plain when all finished so I decided that sprinkles were needed to make it look finished and to “hide” my finalized edges.


So here are my final thoughts on this cake and icing:
- I need different cake pans
- Kosher salt might not actually be the king of baking salt
- Make sure you know how much unsalted butter you need – oops!
- I need to spend more time whipping my ingredients to add my air to my batter
- I can make a cake that tastes good without a cake mix
- I MADE SWISS MERINGUE BUTTERCREAM AND IT TASTED AWESOME!!
- What do I do with all the extra buttercream that is hard as rock in a container my fridge?
I hope that the family enjoys the cake and that they don’t mind unknowingly being my taste testers.
Recipe inspired by Liv for Cake at ttps://livforcake.com/vanilla-cake/
Vanilla Cake with Vanilla Buttercream
Ingredients
Vanilla Cake:
- 2 1/4 cups all-purpose flour
- 2 1/4 tsp baking powder
- 3/4 tsp salt (not kosher salt)
- 3/4 cup unsalted butter room temperature
- 1 1/2 cup granulated sugar
- 3 large eggs room temperature
- 1 1/2 tsp vanilla
- 1 cup buttermilk or whole milk, room temperature
Vanilla Buttercream:
- 6 large egg whites
- 1 1/2 cups granulated sugar
- 2 cups unsalted butter room temperature (I accidentally used one cup salted and one cup unsalted – don’t do it!)
- 2 tsp vanilla bean paste
Instructions
Vanilla Cake:
- Preheat oven to 350F. Grease and flour two 8″ cake rounds and line with parchment.
- In a medium bowl, whisk flour, baking powder, and salt until well combined. Set aside.
- Using a stand mixer fitted with a paddle attachment, cream butter and sugar on med-high until pale and fluffy (approx. 3mins). Reduce speed and add eggs one at a time fully incorporating after each addition. Add vanilla.
- Alternate adding flour mixture and buttermilk, beginning and ending with flour (3 additions of flour and 2 of milk). Fully incorporating after each addition.
- Bake for 30-35mins or until a toothpick inserted into the center comes out mostly clean.
- Place cakes on wire rack to cool for 10mins then turn out onto wire rack.
Vanilla Buttercream:
- Place egg whites and sugar into the bowl of a stand mixer, whisk until combined.
- Place bowl over a double boiler on the stove and whisk constantly until the mixture is hot and no longer grainy to the touch (approx. 3mins). Or registers 160F on a candy thermometer.
- Place bowl on your stand mixer and whisk on med-high until the meringue is stiff and cooled (the bowl is no longer warm to the touch (approx. 5-10mins).
- Switch to paddle attachment. Slowly add cubed butter and mix until smooth.
- Add vanilla and whip until smooth.
Assembly:
- Place one layer of cake on a cake stand or serving plate. Top with approximately 1 cup of buttercream. Repeat with remaining layer and crumb coat the cake. Chill for 20mins.
- Frost the top and sides of the cake and smooth with a bench scraper.
- Press sprinkles gently along the bottom of the cake and sprinkle along the top.
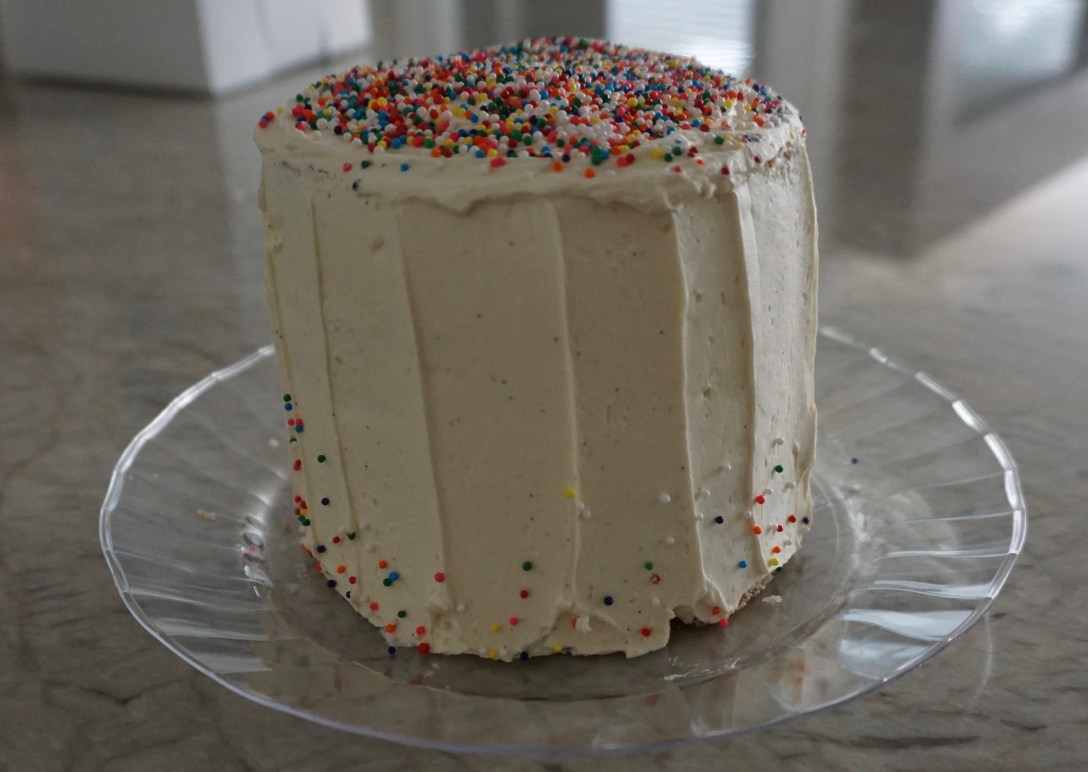
Final Final Thought : I have a lot of work to do on taking pictures while baking!
Also – why is the only thing I can see in this picture that little chunk of icing missing from the bottom of that cake????

Looks beautiful!
LikeLike
Thank you!
LikeLike