
As January rolled around this year, I took some time to think about my goals for 2019. I realized that one of my biggest goals is keeping up with my progress towards writing 52 blog posts before my one year deadline. I have so loved this blog and all that it has done for me in so many unexpected ways. Mostly, it has made me brave in the kitchen and it is so much fun. Alright, enough of the mushy stuff, on to the baking!
In the past, I have tried making soft pretzels before but they have never really turned out great. So I searched several places around the internet for some good recipes to try. I finally came across this recipe on Sally’s Baking Addiction for easy homemade soft pretzels. One of the best things about this recipe is that the total time for the recipe is 40 minutes. Almost every other recipe I read required rise times and this one seemed so simple that I knew that I needed to give it a try. It turned out as easy as she said it would be and they received rave reviews from my test panel – my wonderful neighbor Emily, my boys and Kevin. As always, there are some things that I would do differently next time, but this was a great start.
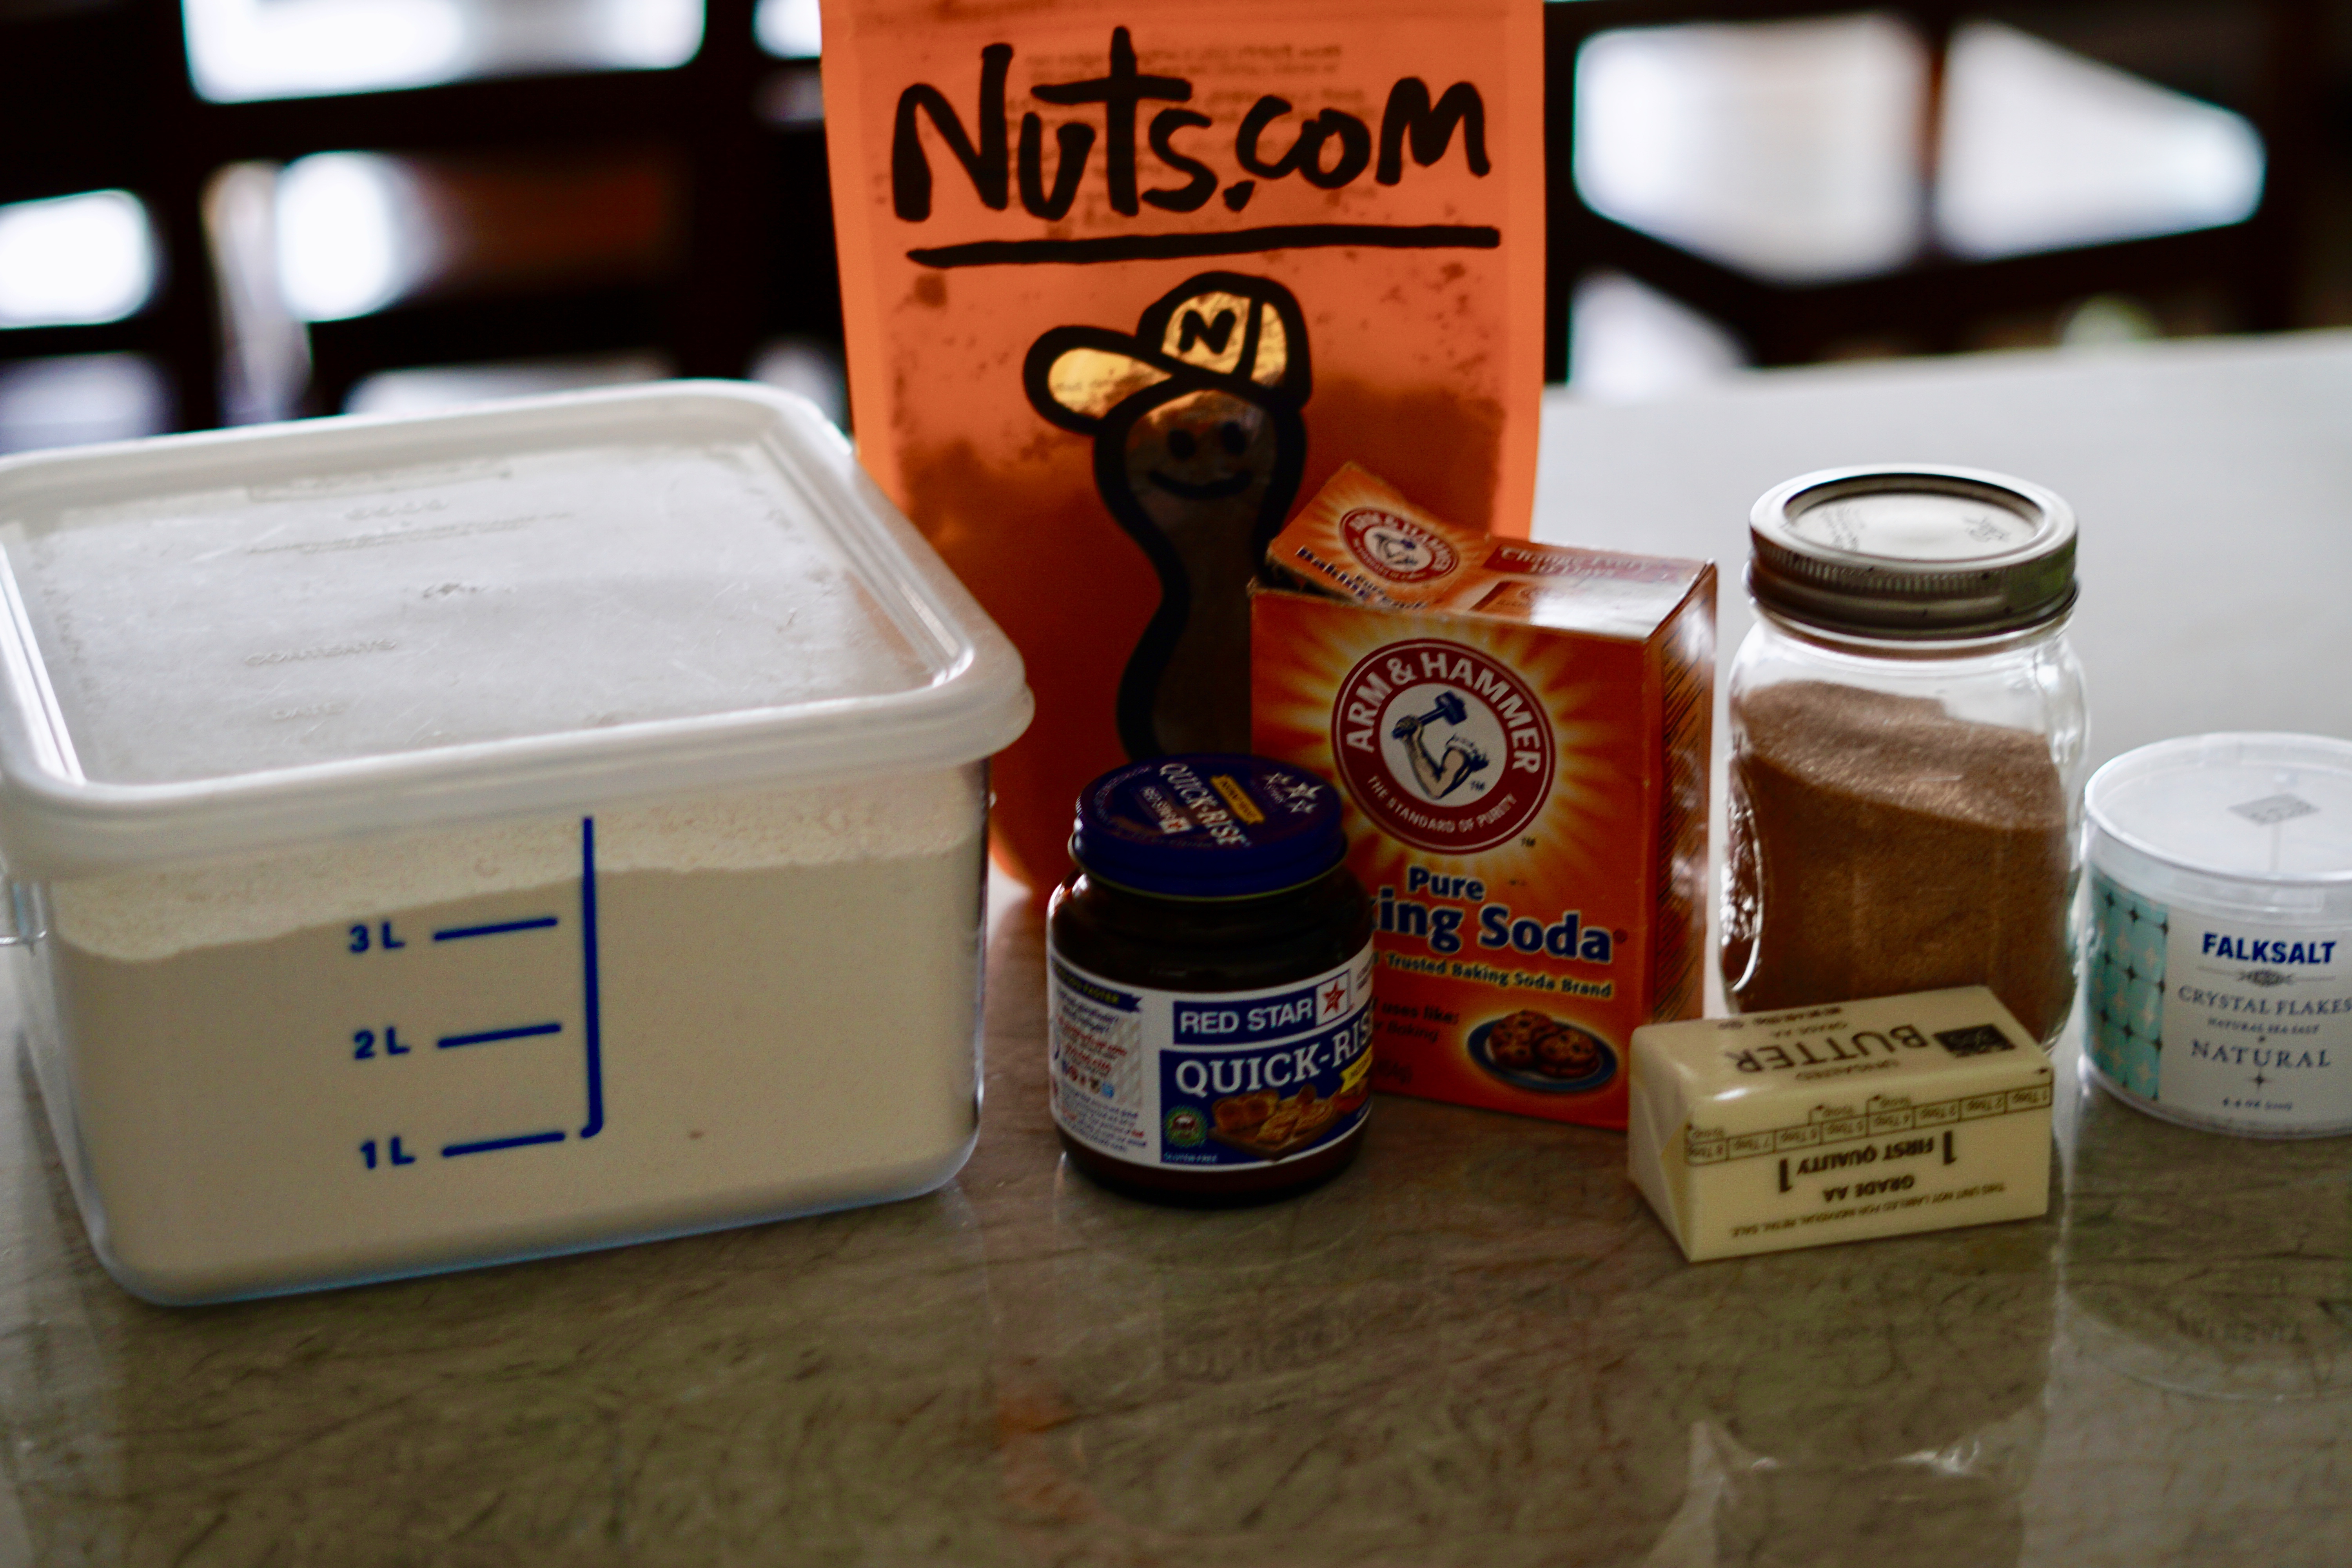
The ingredients needed for this recipe are simple. For the dough – flour, yeast, brown sugar, water, butter and salt. The baking soda is used for the baking soda bath before the pretzels are baked and then flaky salt and cinnamon sugar is used for toppings.
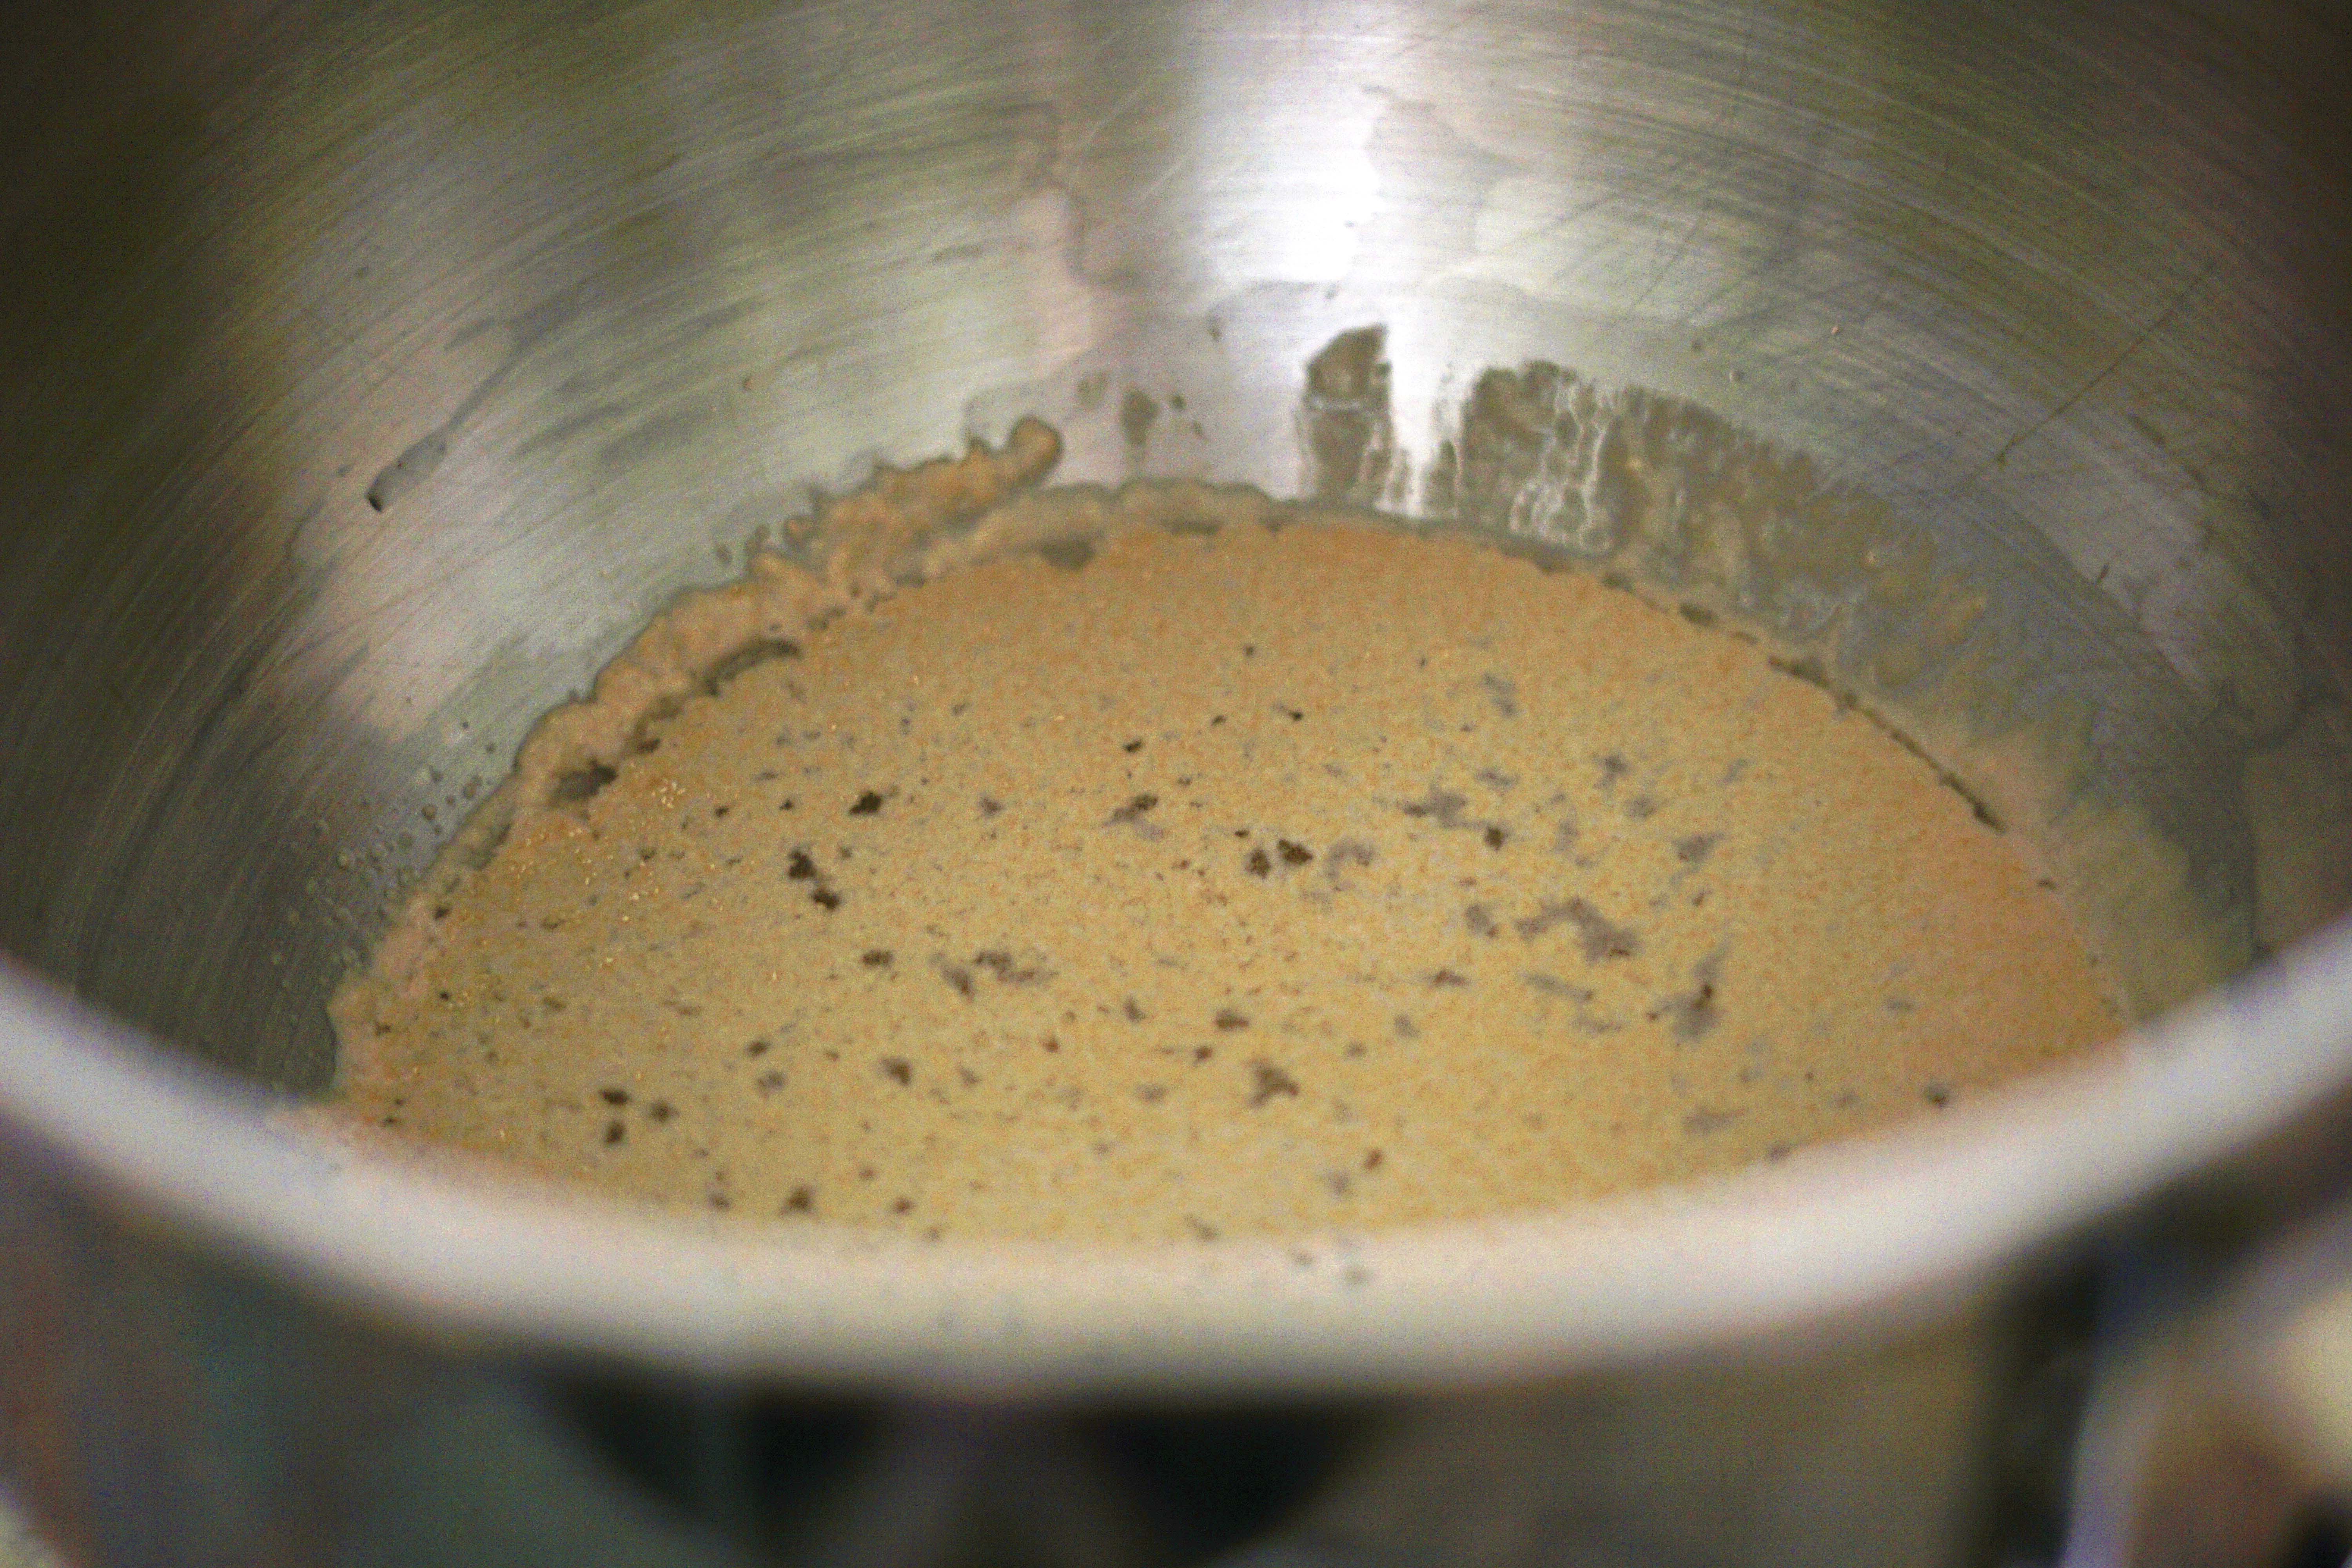
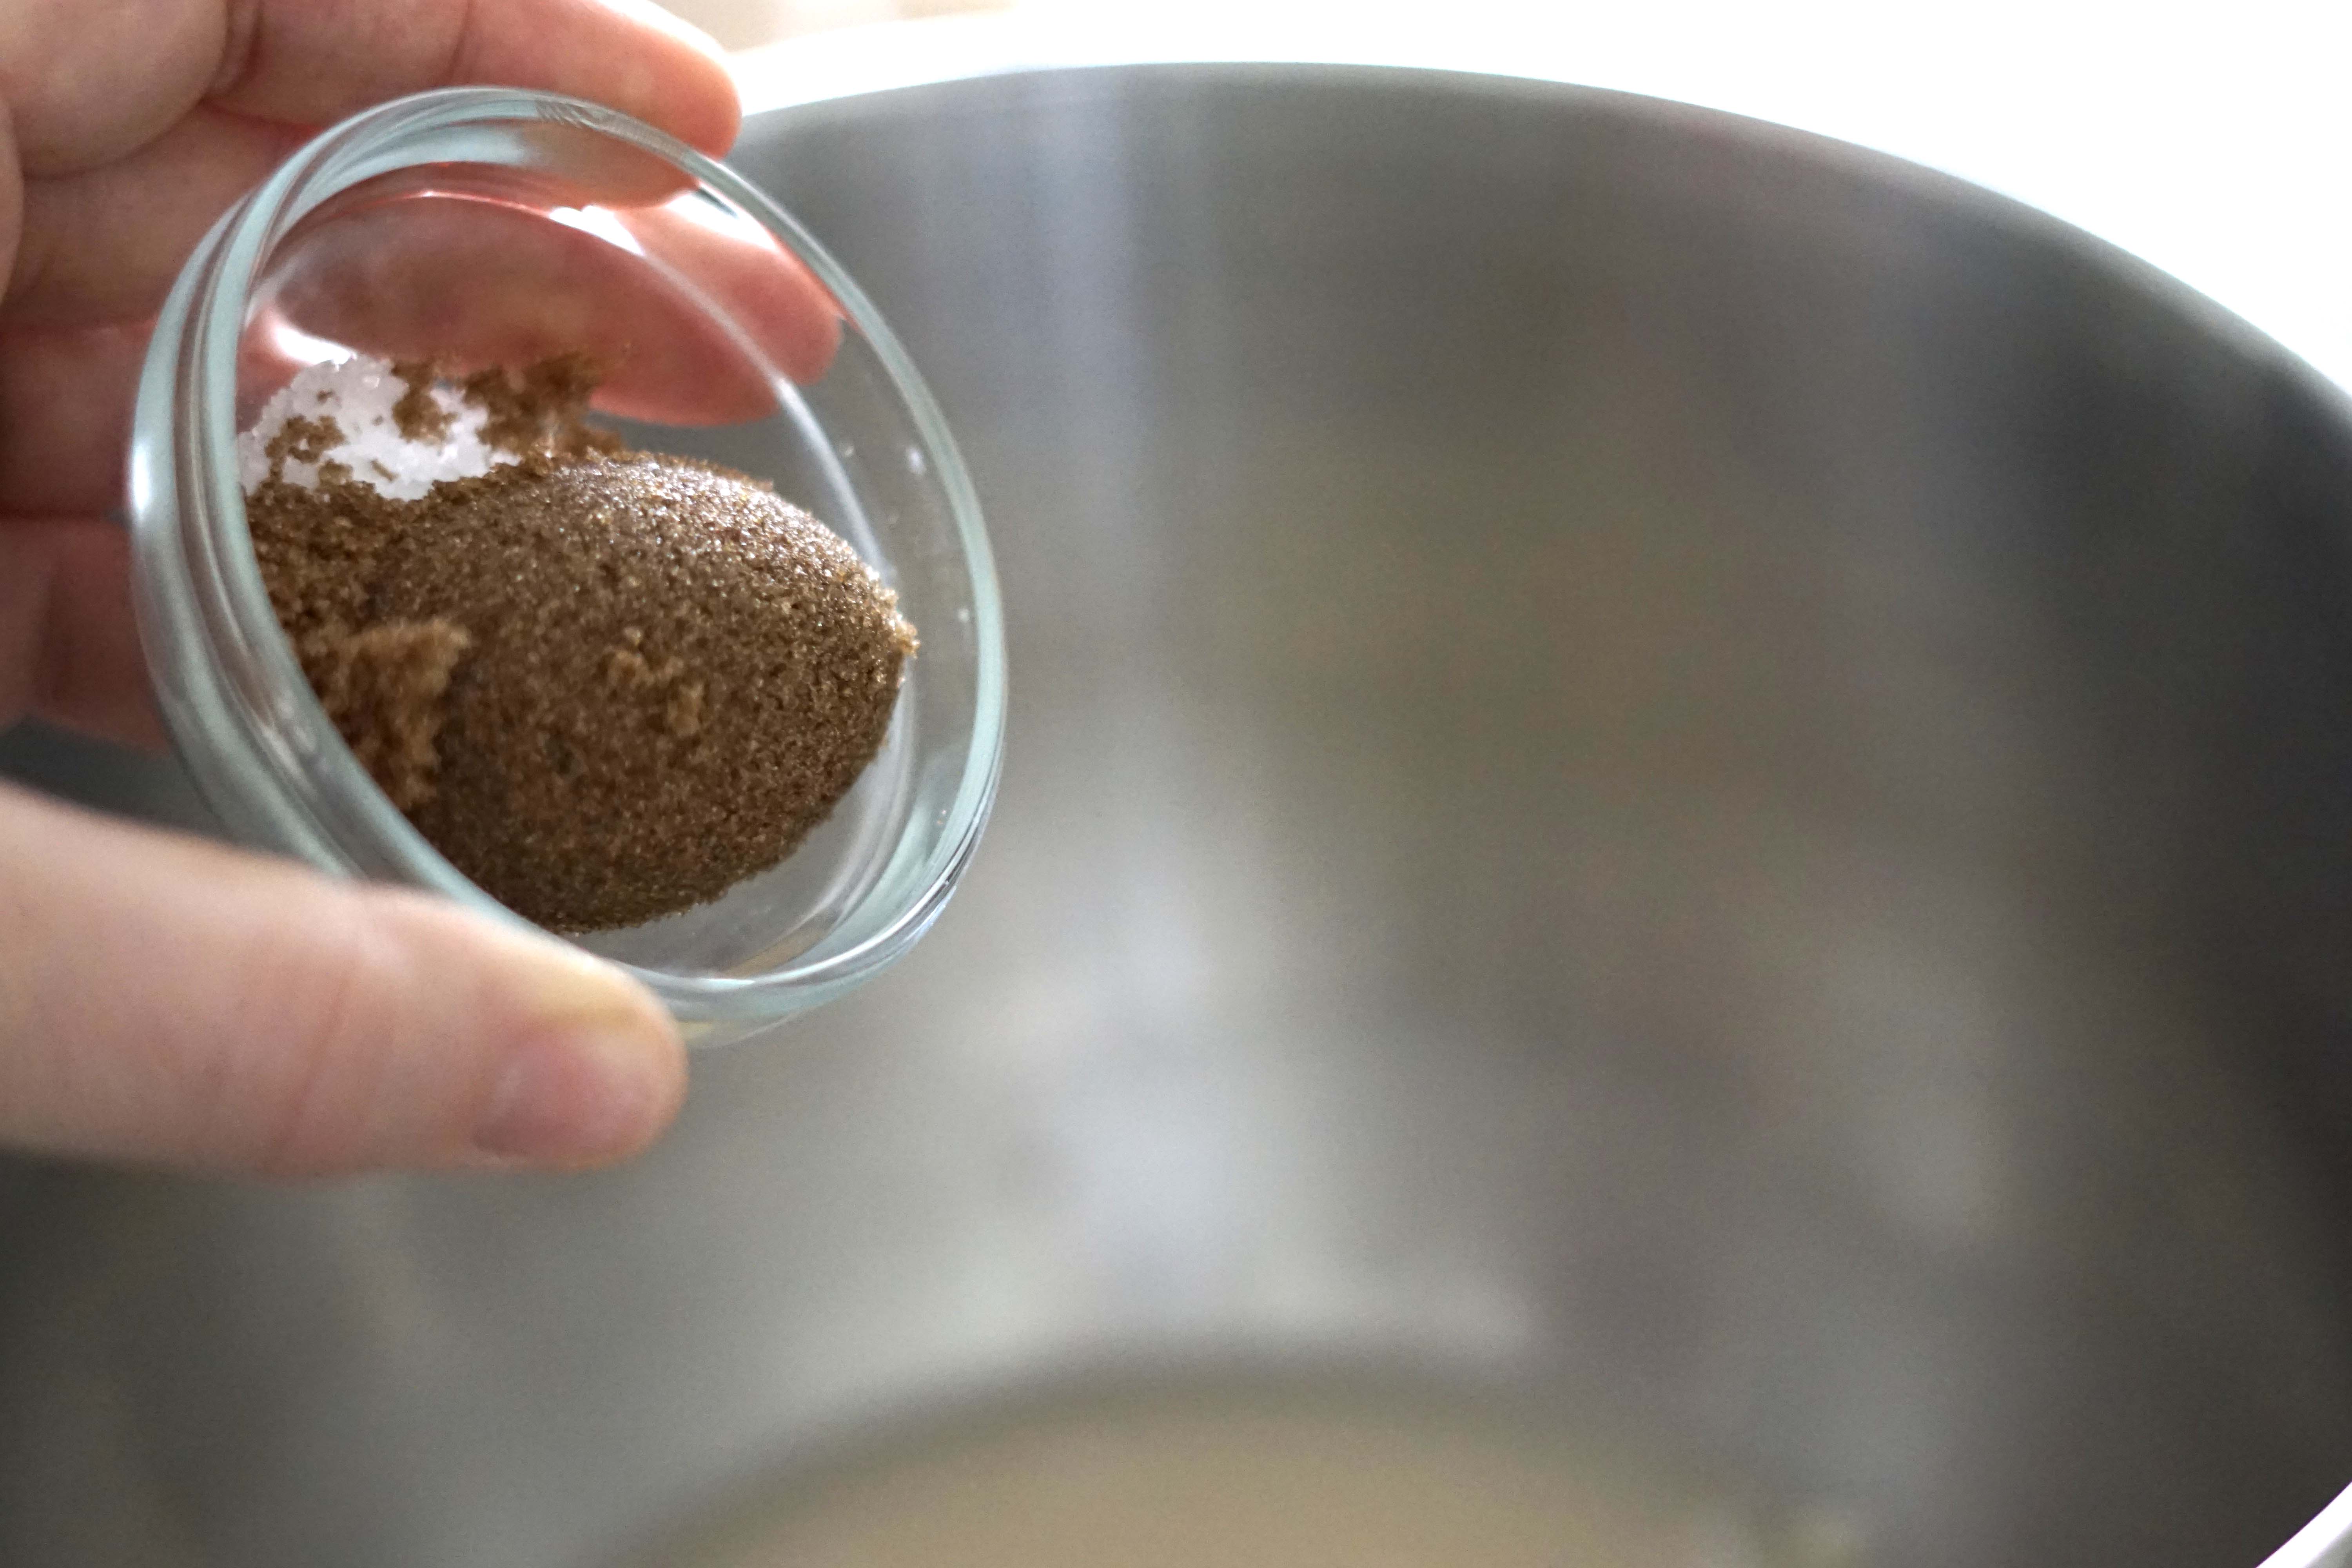

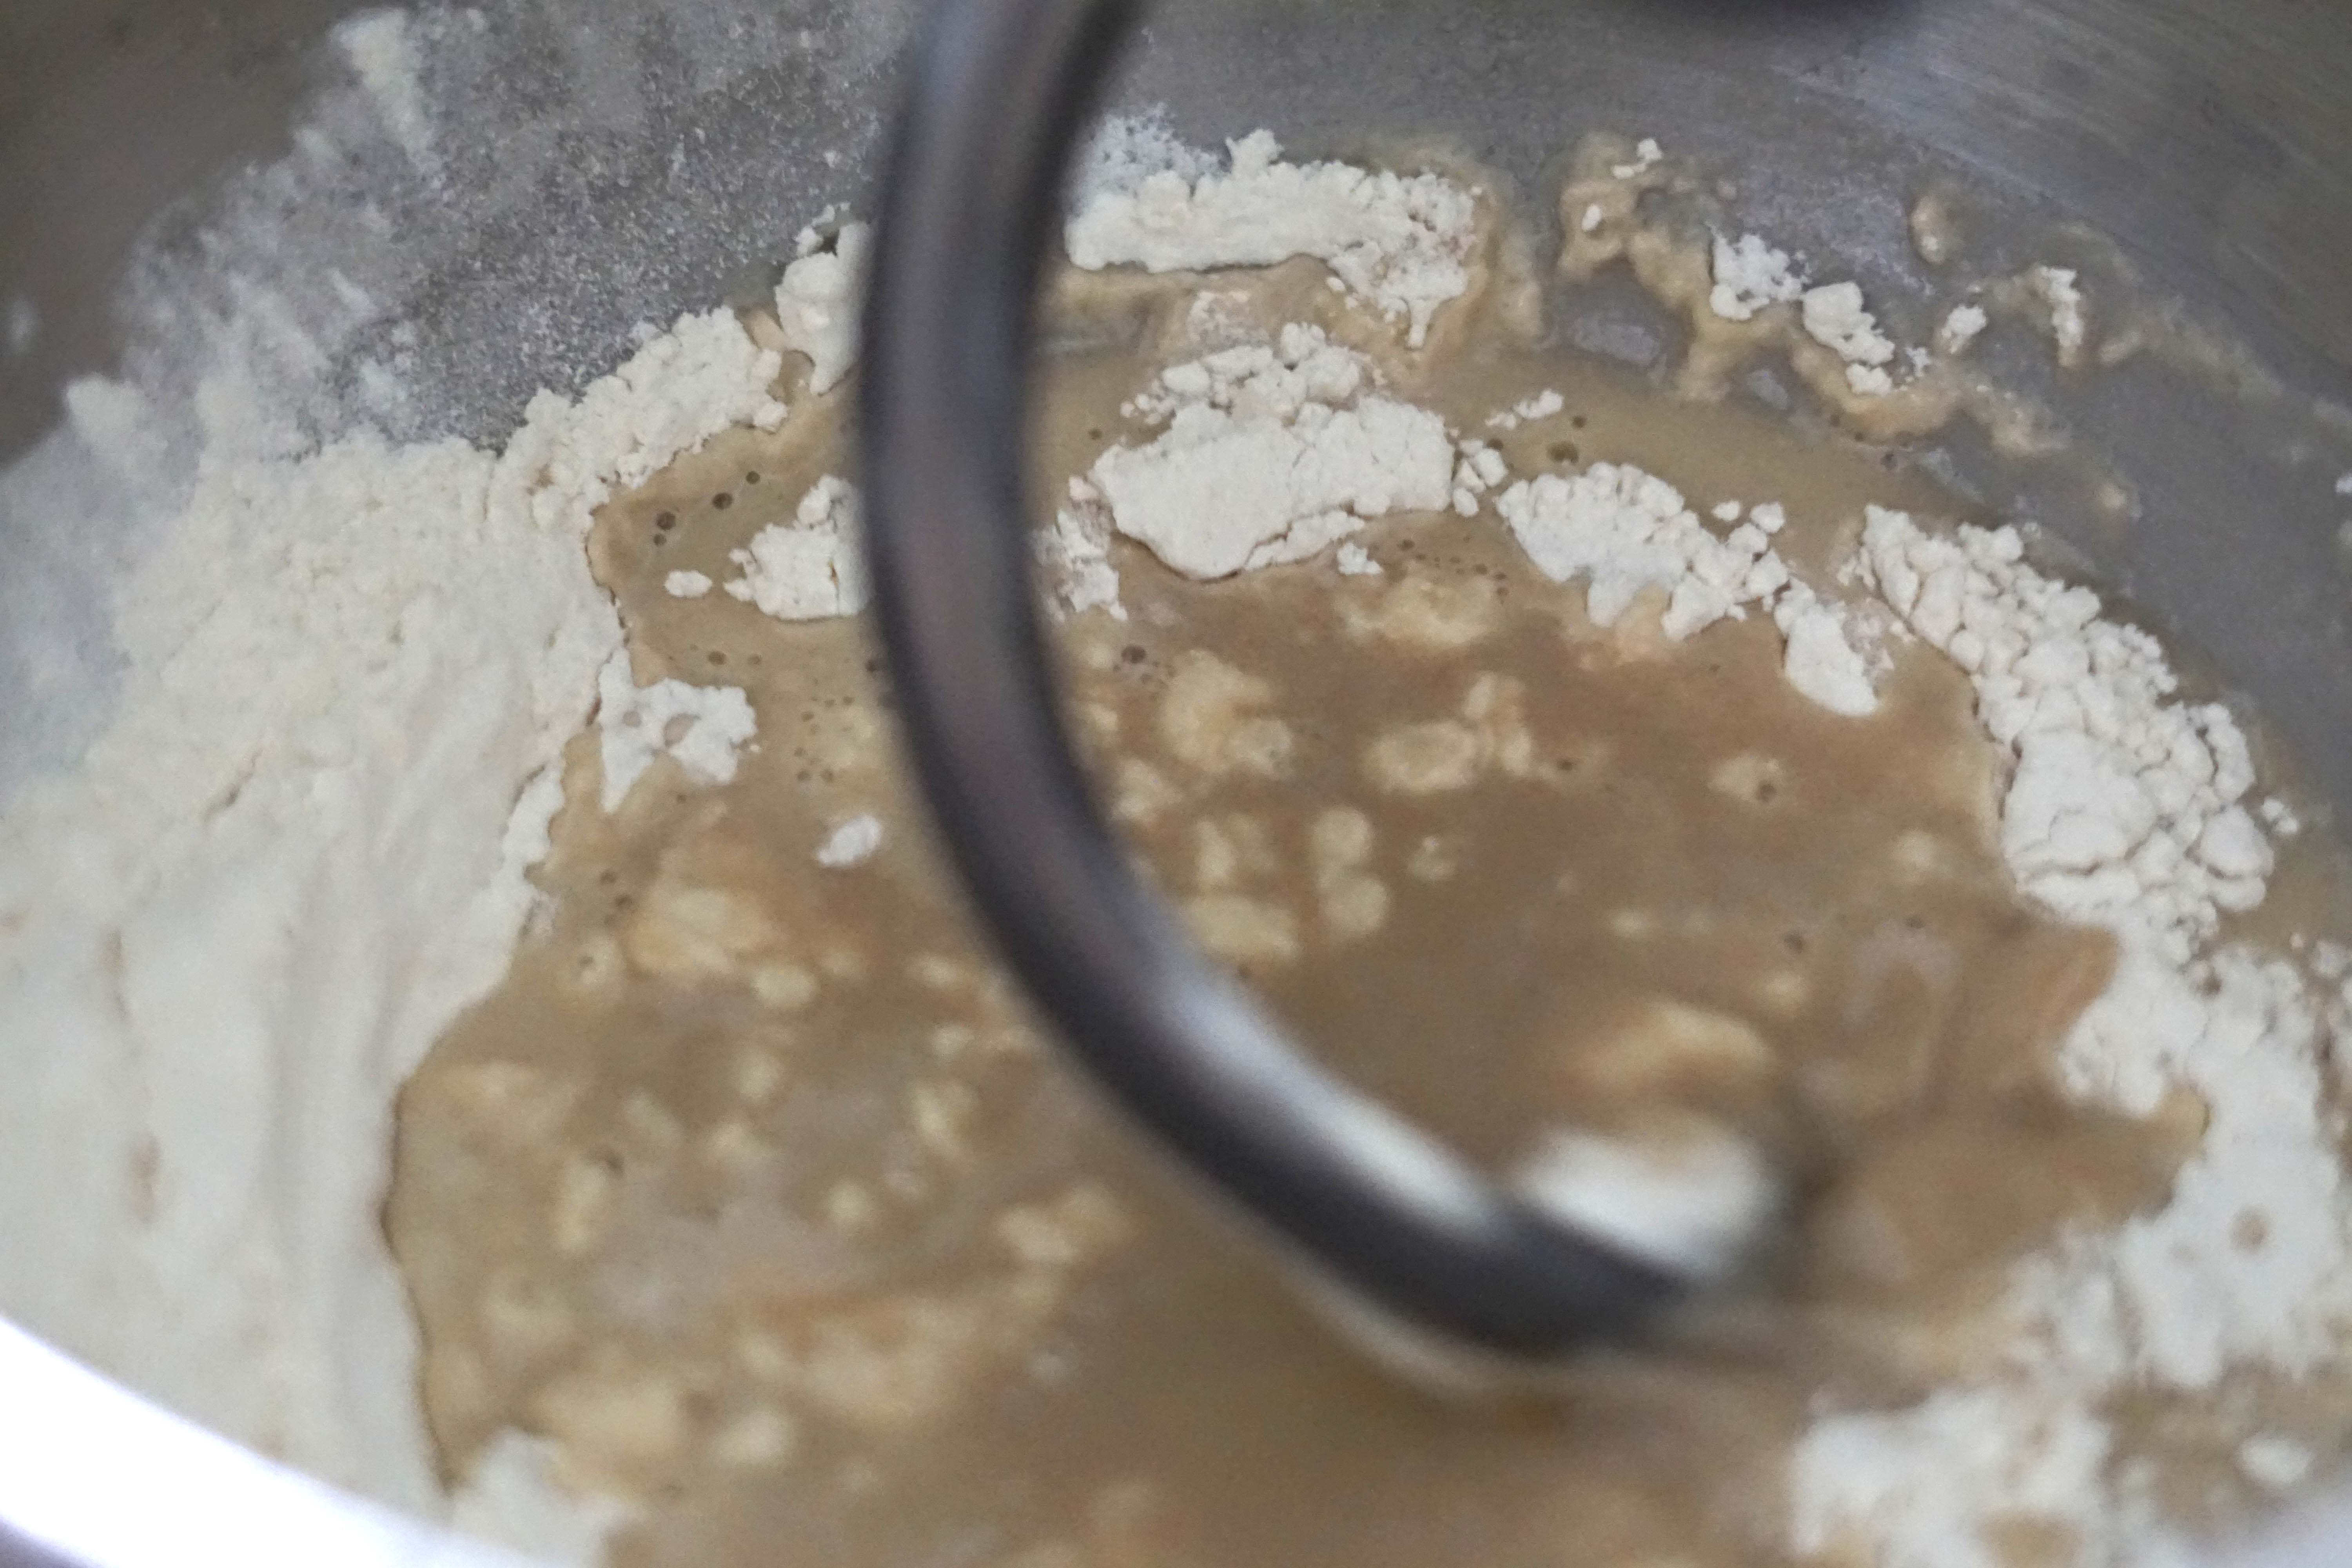
To begin this recipe I bloomed 2 1/4 teaspoons of instant yeast in 1 1/2 cups warm water in the bowl of my mixmaster. I made sure that the water was between 110F and 115F degrees. Then I whisked in 1 teaspoon salt and 1 tablespoon of brown sugar. Next, I whisked in 1 tablespoon melted and cooled unsalted butter. I attached the dough hook and slowly added all purpose flour one cup at a time until it came together into a rough dough.
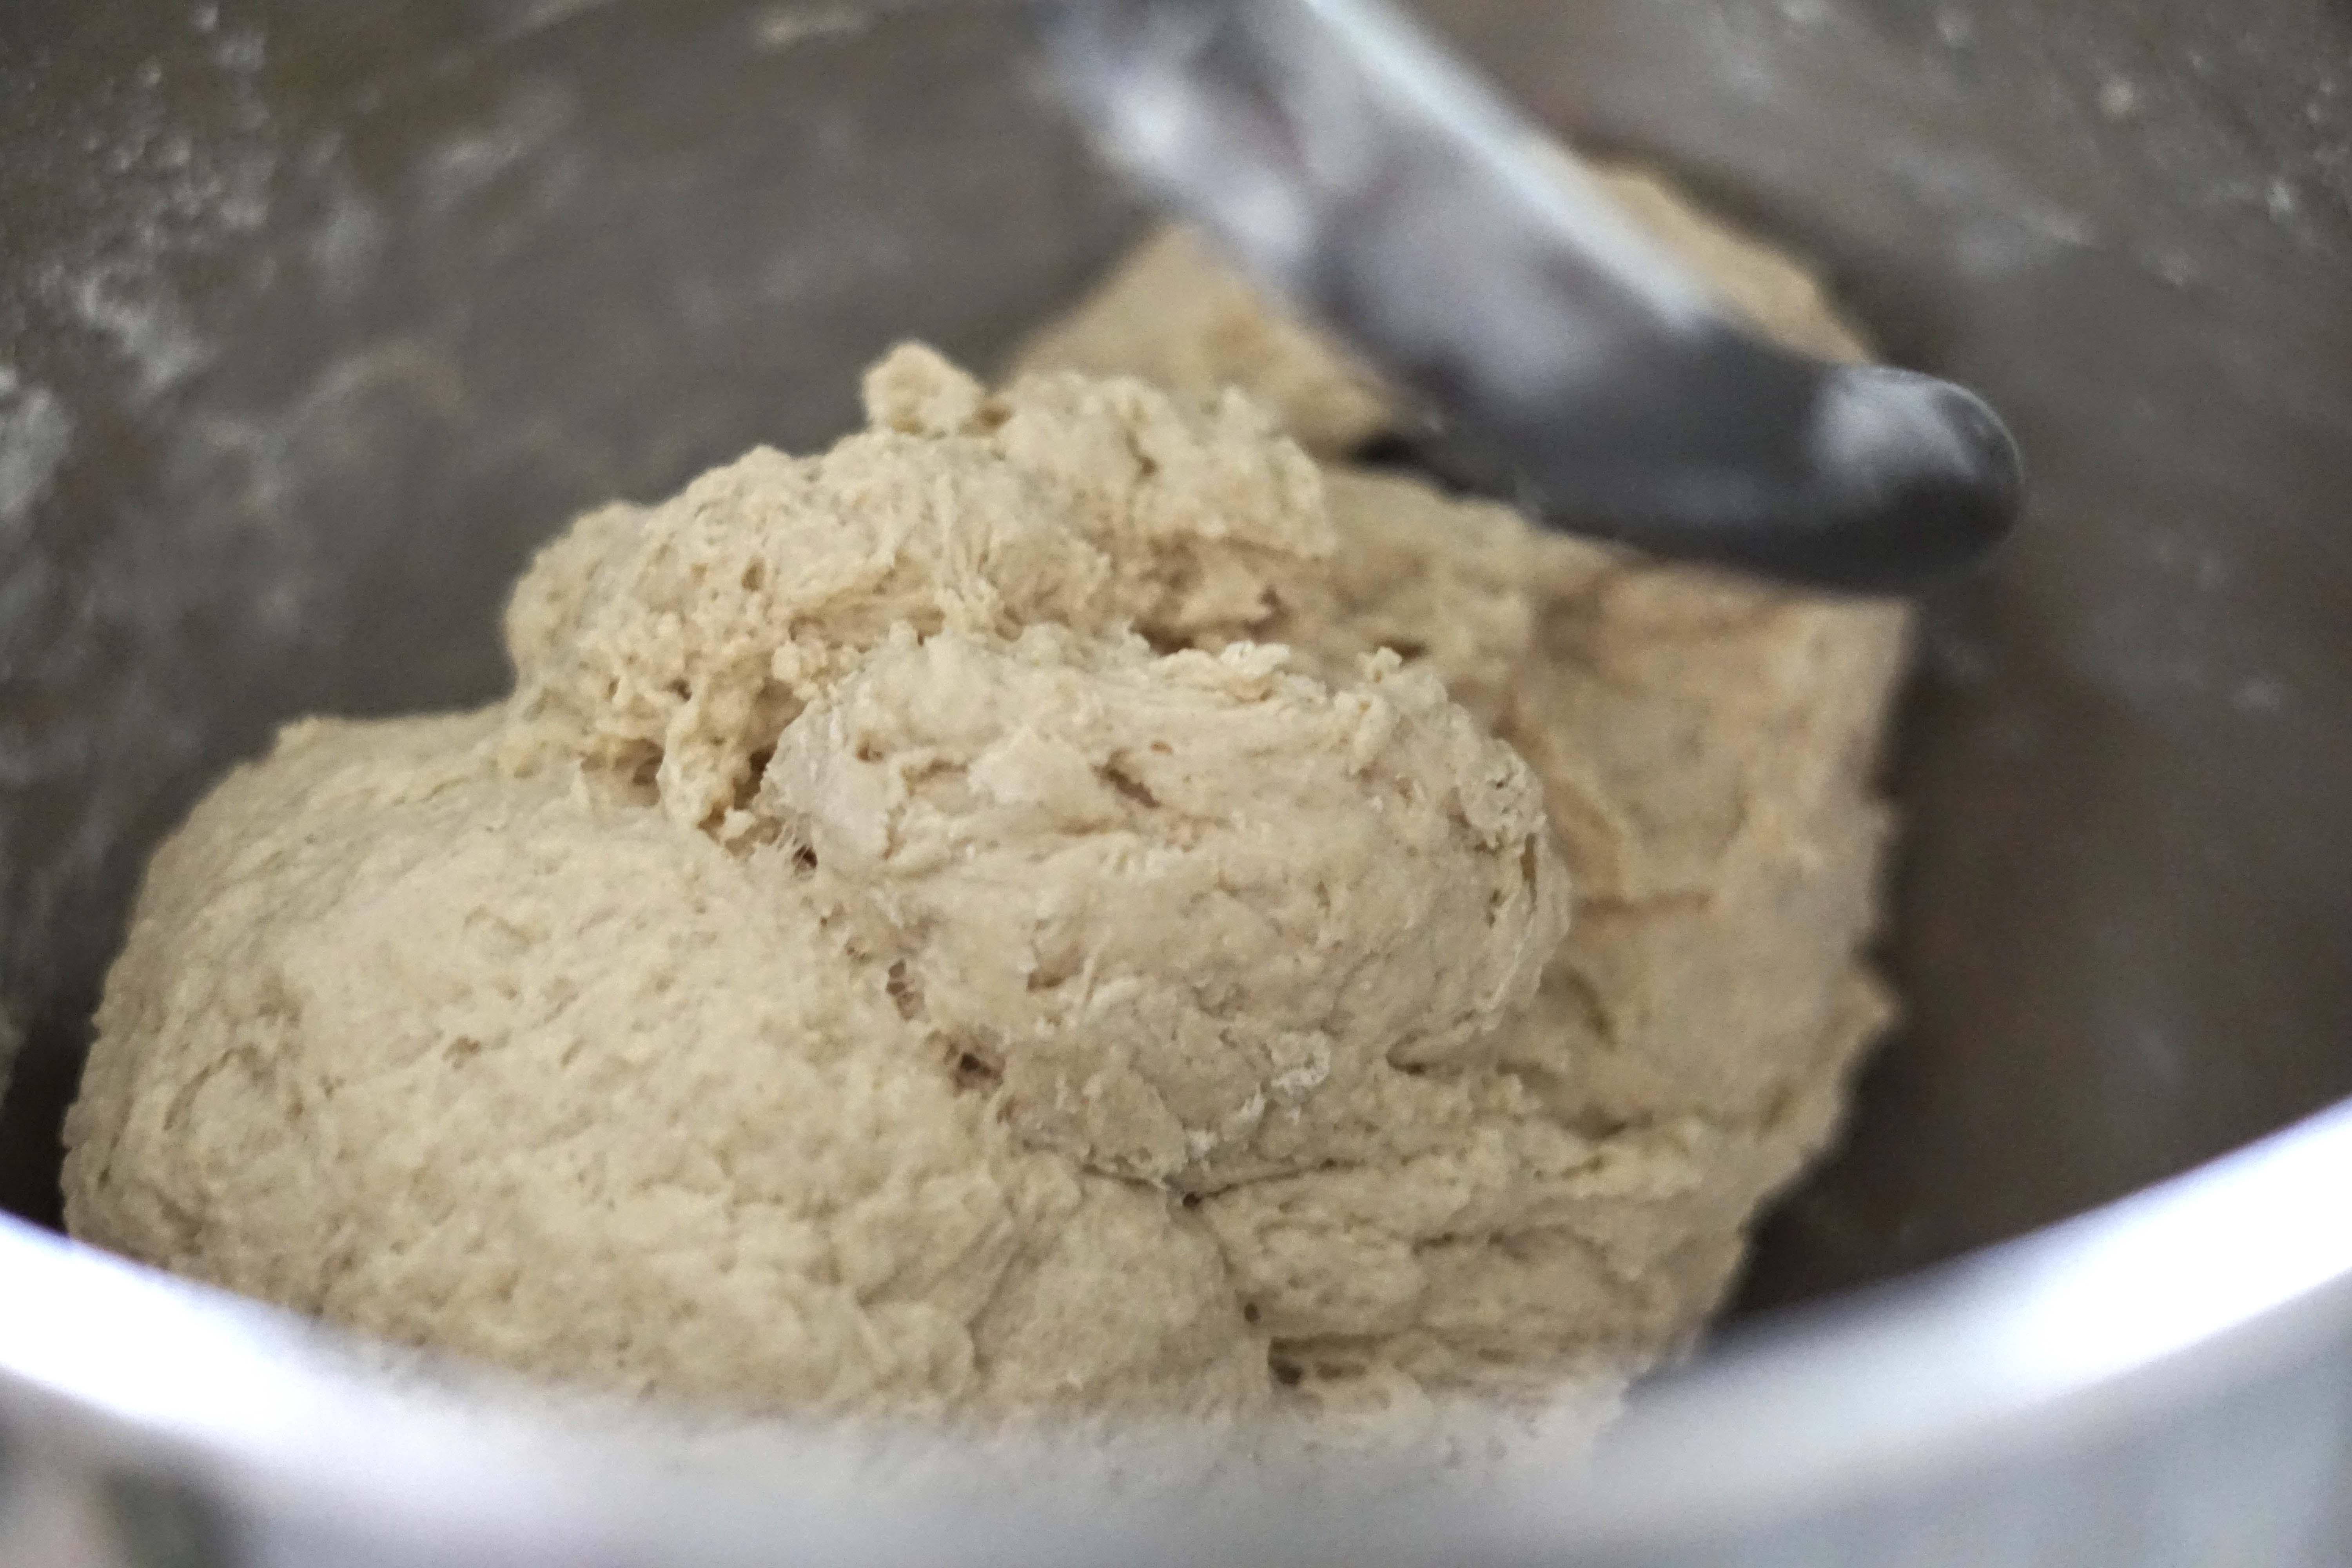

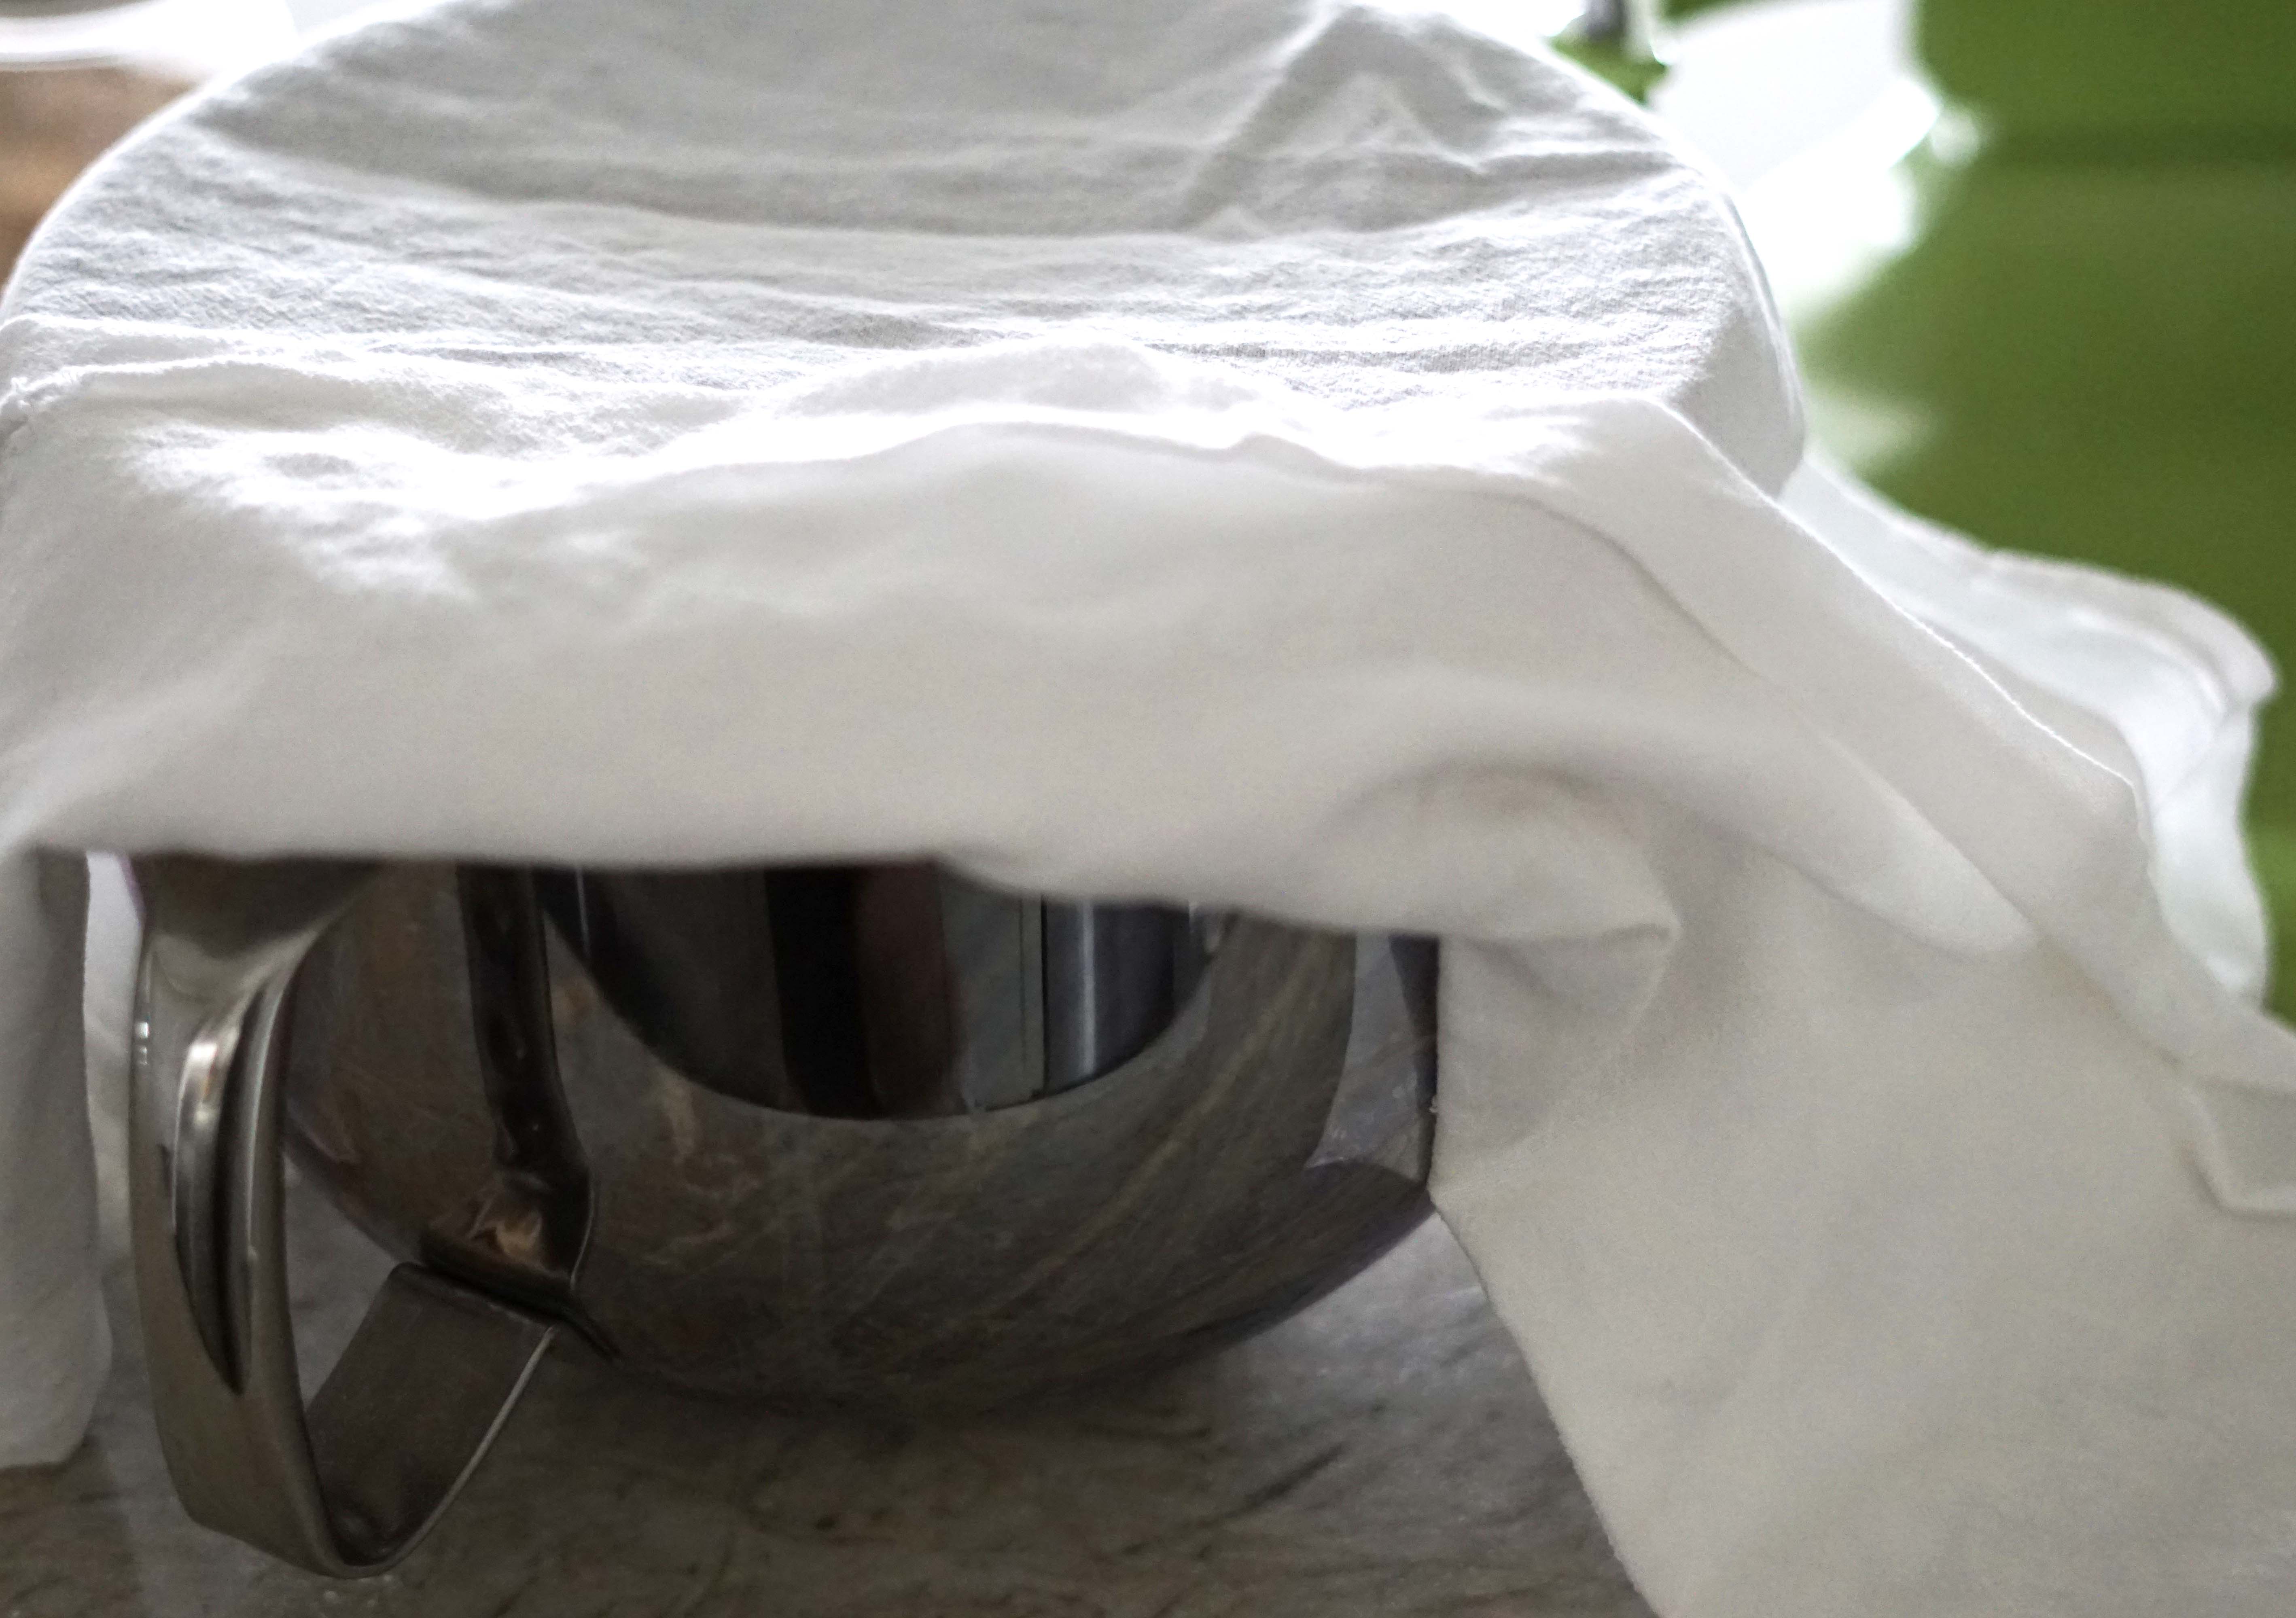
On the day that I made these, it took about 4 cups of flour. After the dough came together I turned the speed up to medium-low and let the machine kneed the dough for 3 minutes. Then I removed the dough hook and covered the bowl with a tea towel and let it rest for 10 minutes. I think that I should have kneaded my dough for longer. After it rested my dough was less cohesive than I think it should have been.
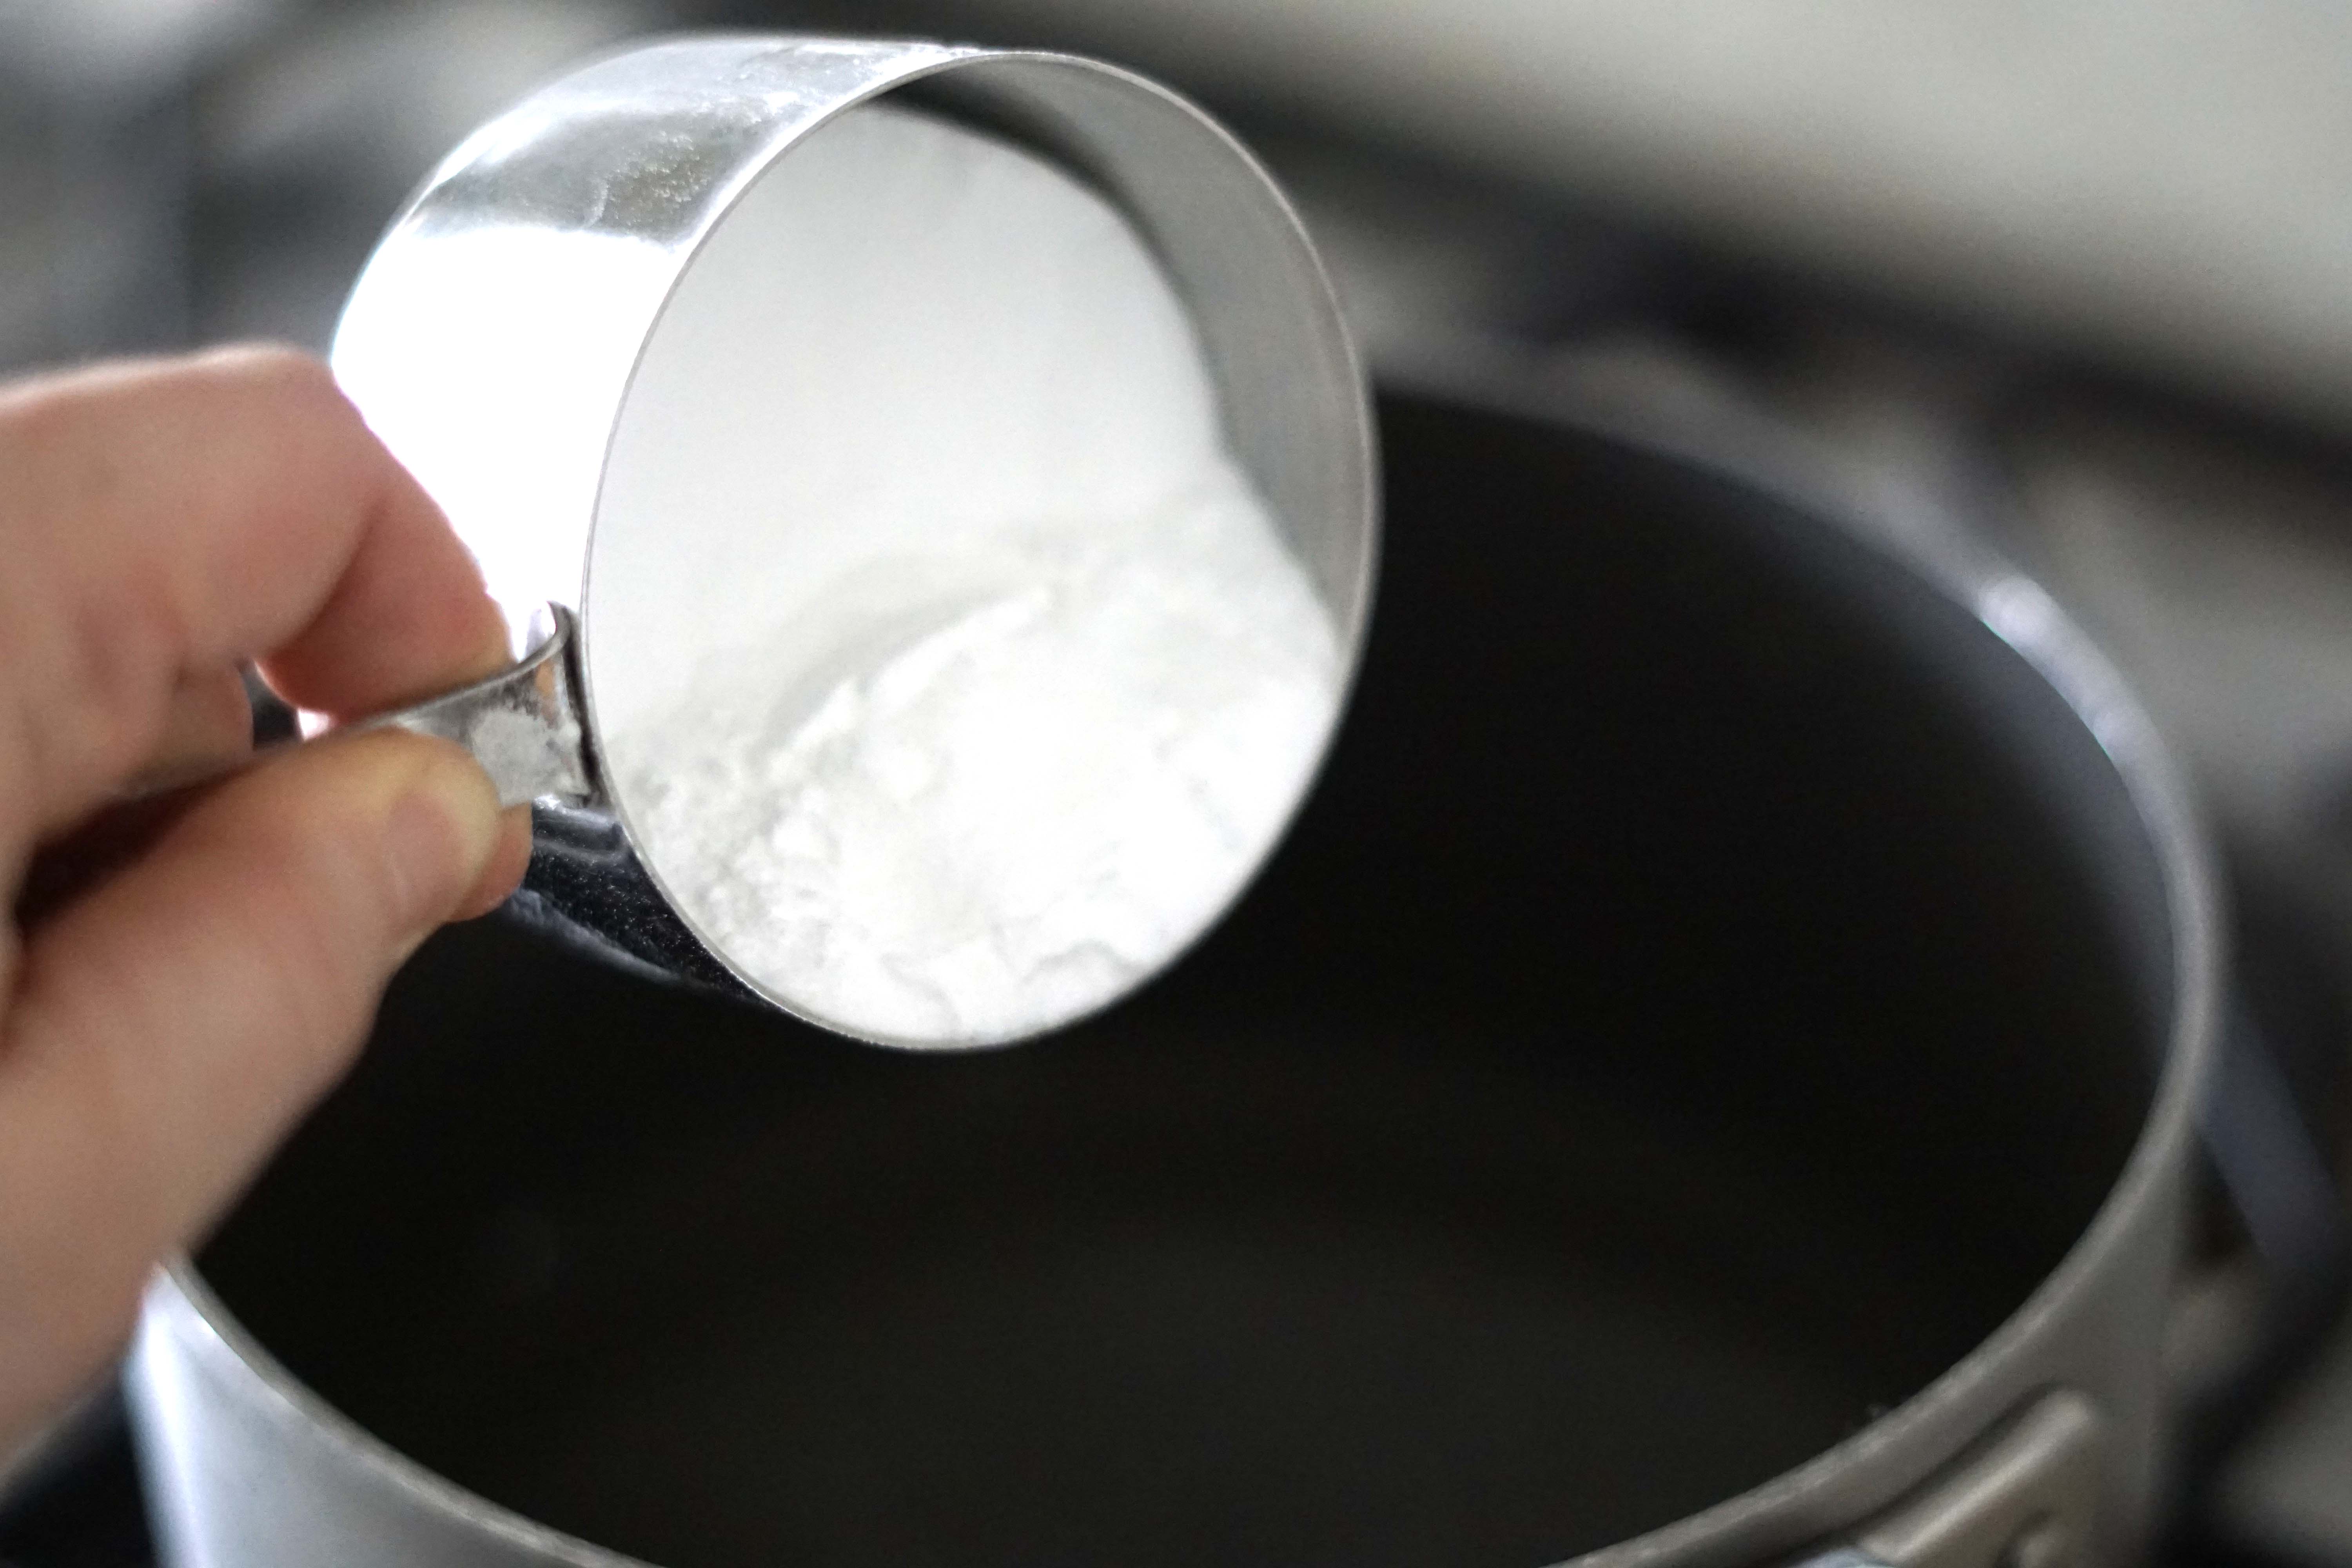
While the dough was resting, I prepared the baking soda bath. I filled a large pot with 9 cups of water and a half cup of baking soda. I brought the water to a simmer so that it was ready to boil quickly after I shaped the dough. Then I lined two baking trays with parchment paper so that they are ready for the shaped dough as well. I also took this time to turn my super slow oven on to preheat at 400F degrees.
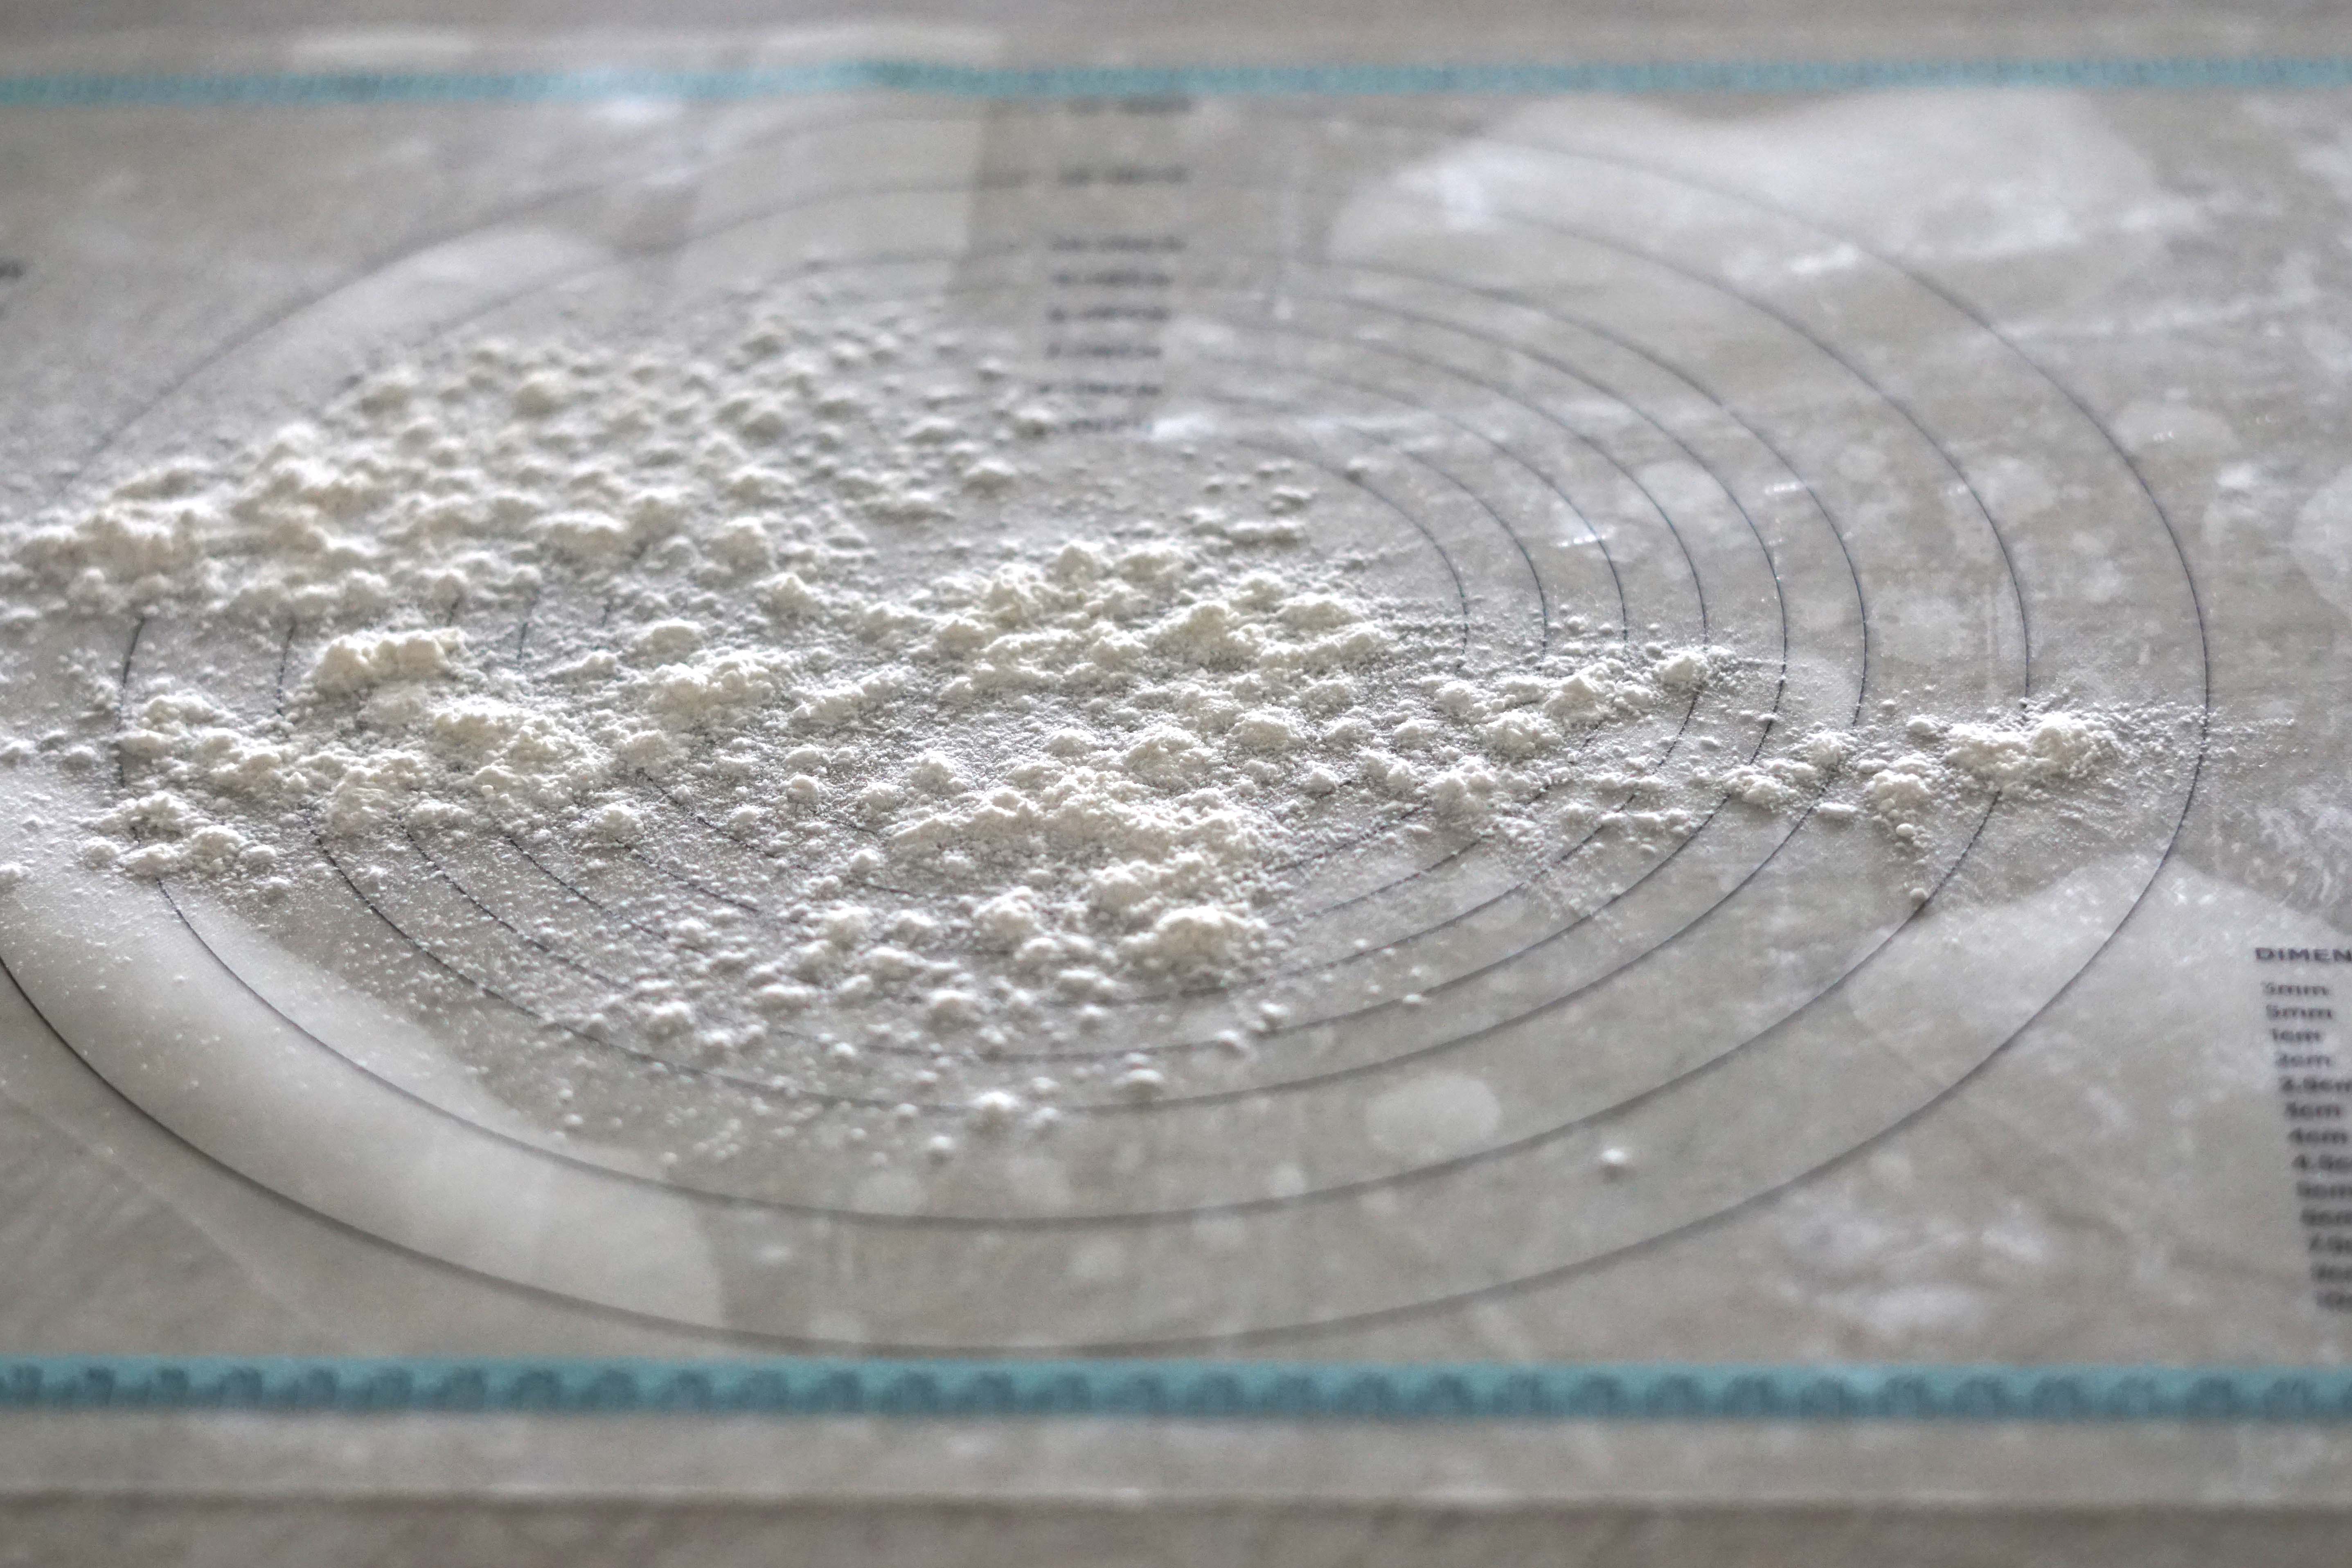

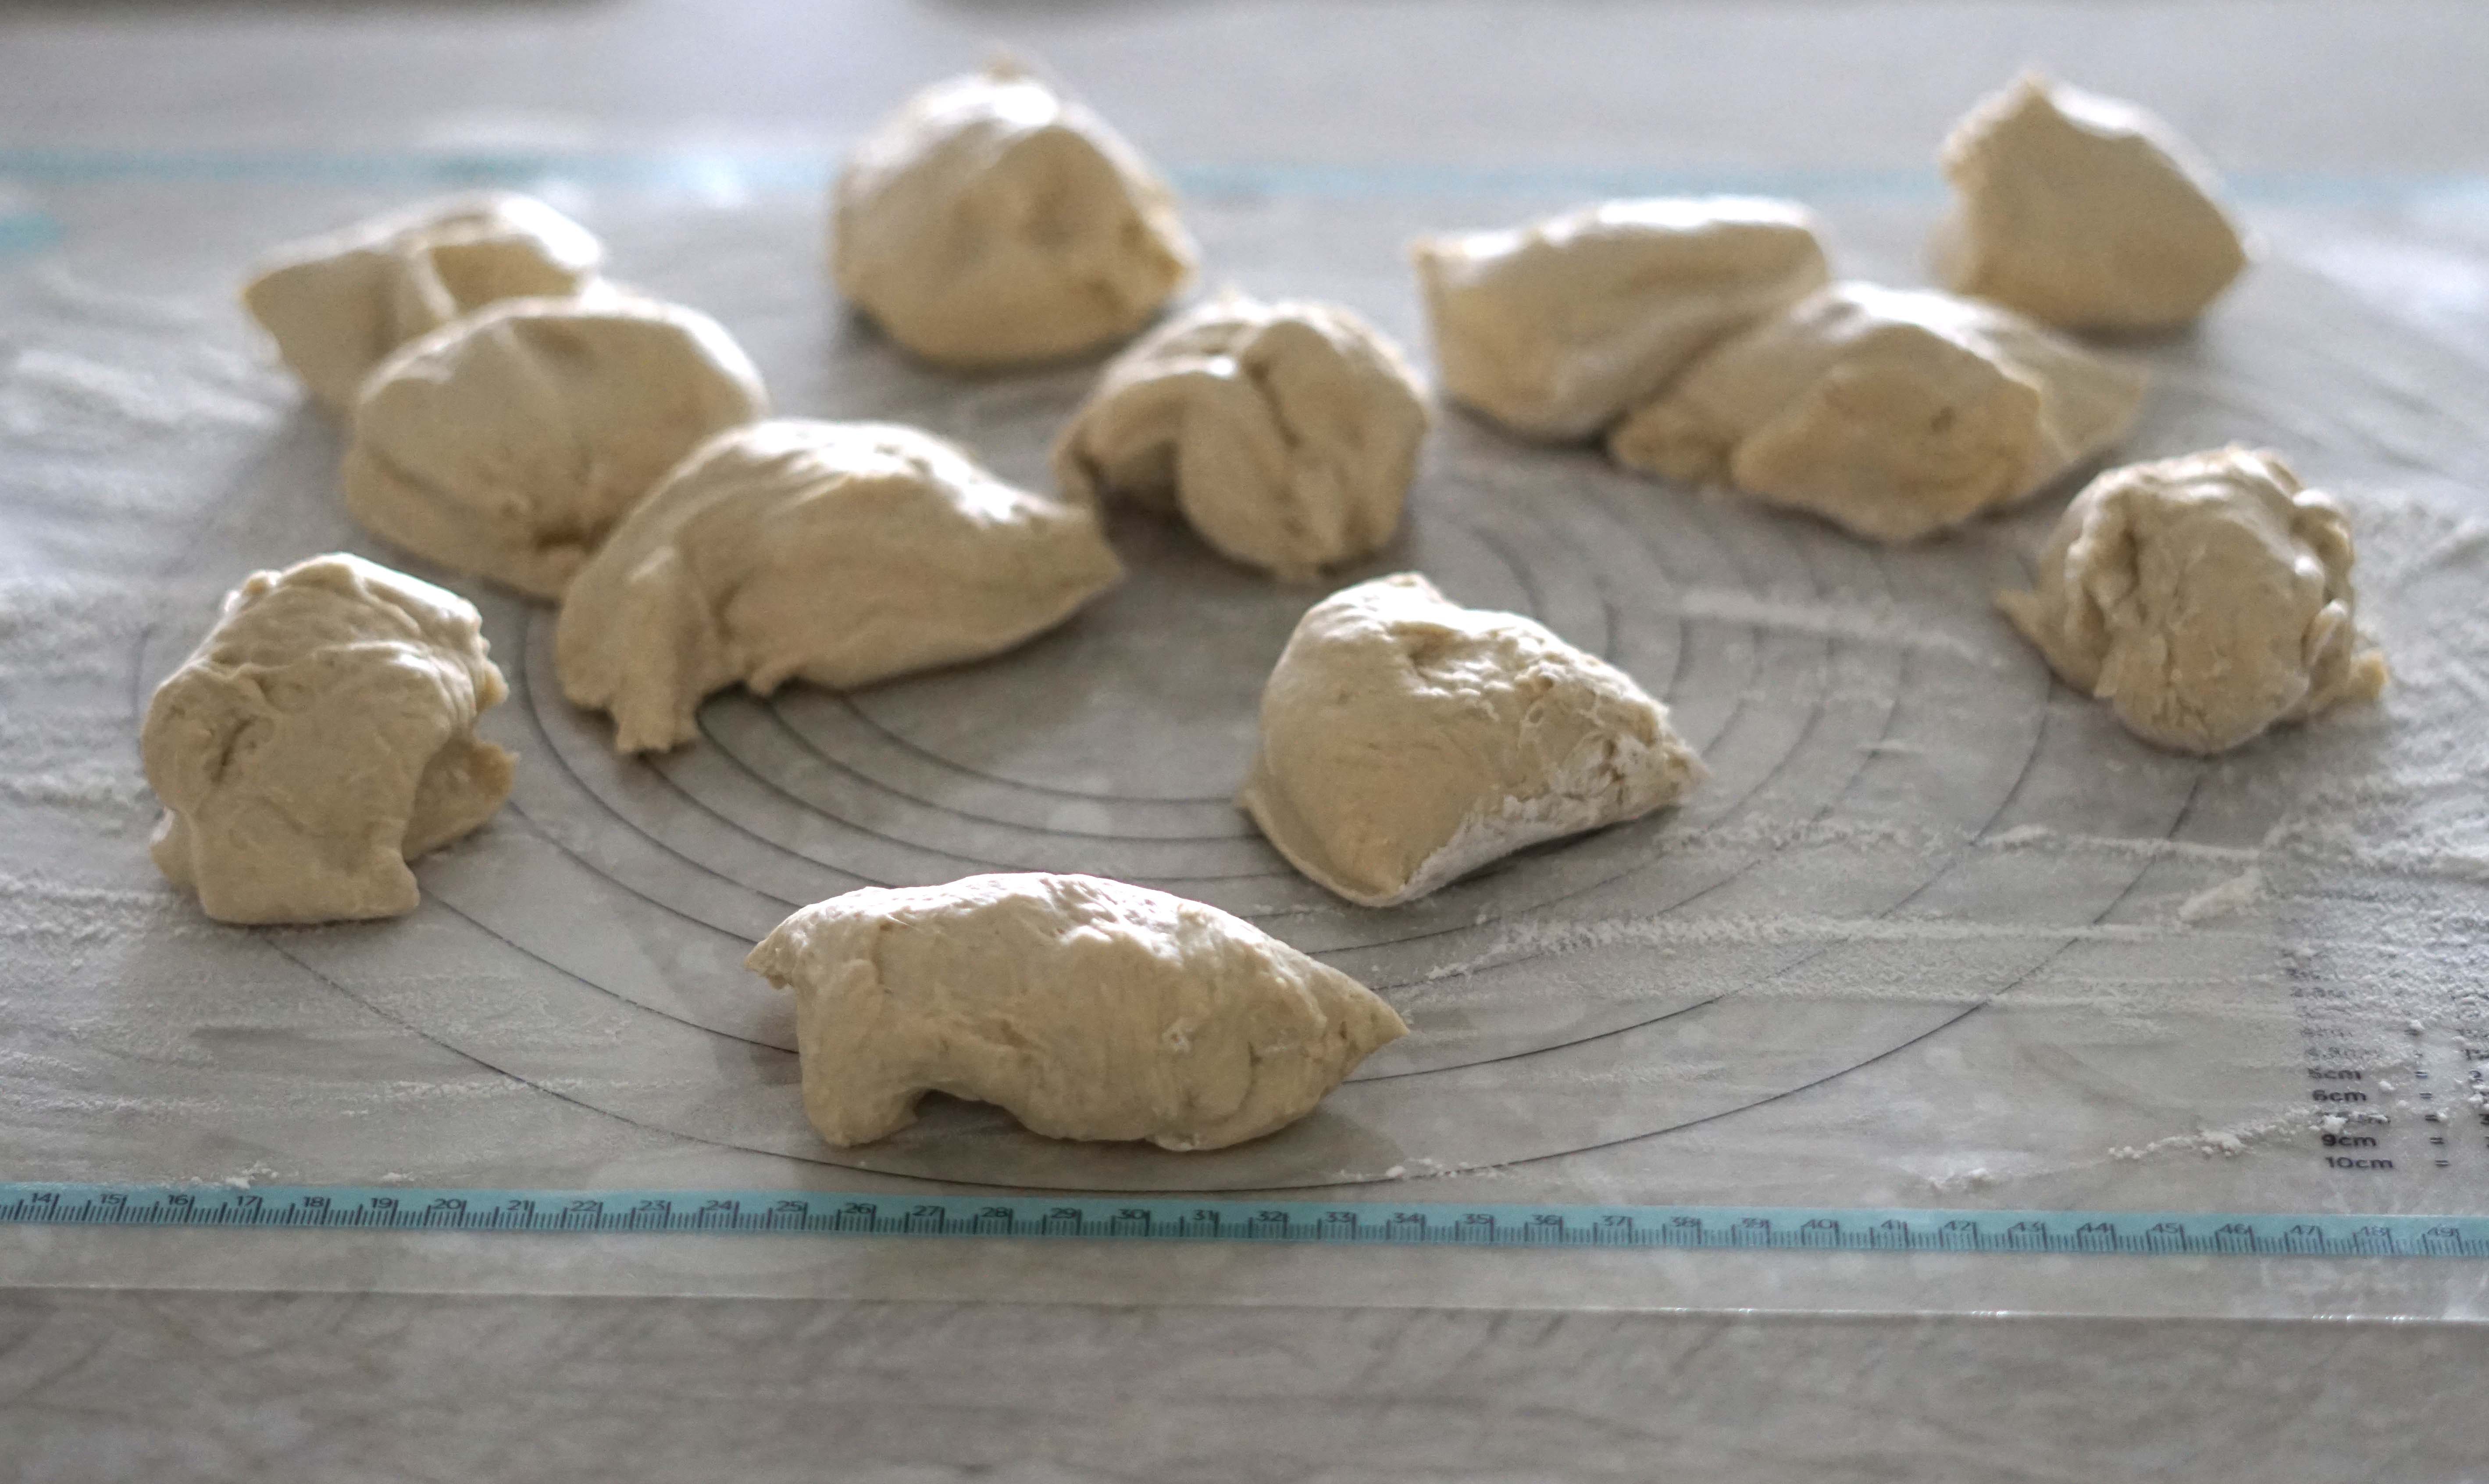
After the 10 minutes, I lightly floured my dough mat and turned out the pretzel dough. Then I used a pizza roller to slice the dough in half. I sliced those 2 halves in half. Next, I sliced each of the 4 halves into thirds. This gave me 12 almost equal pieces. A few were larger and smaller, so I borrowed some from the bigger pieces and added them to the smaller pieces in an effort to make them all equal.

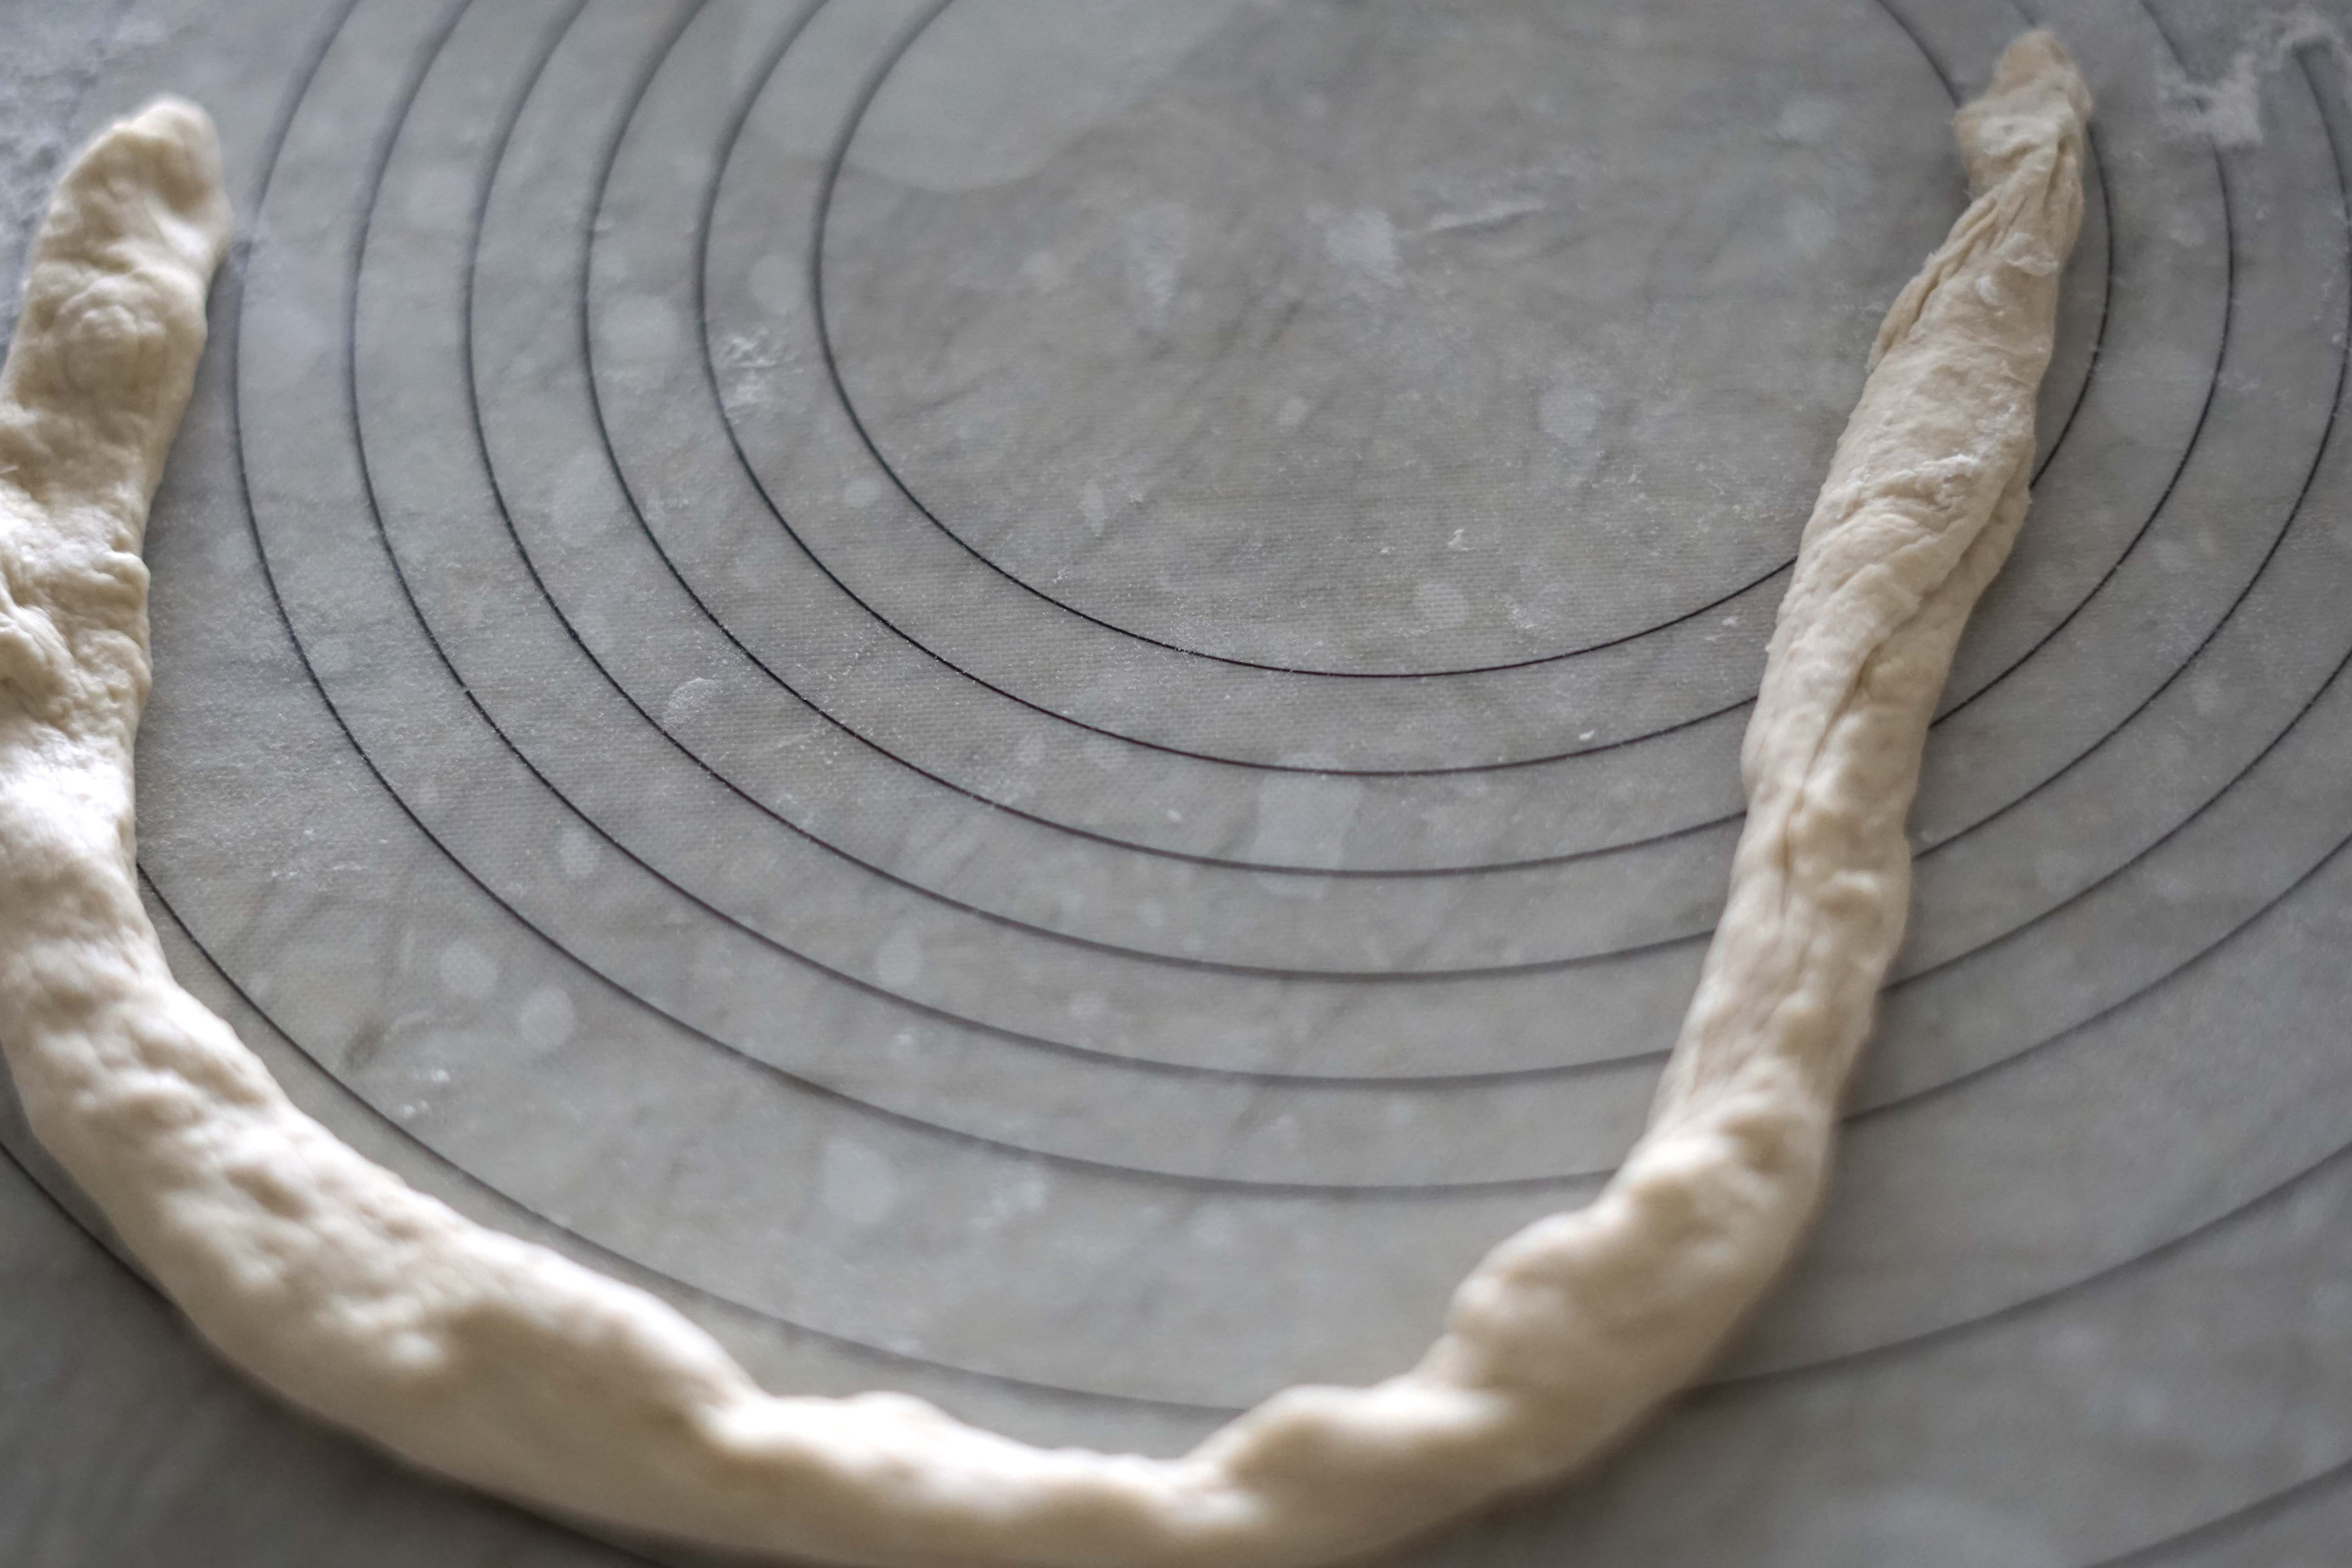
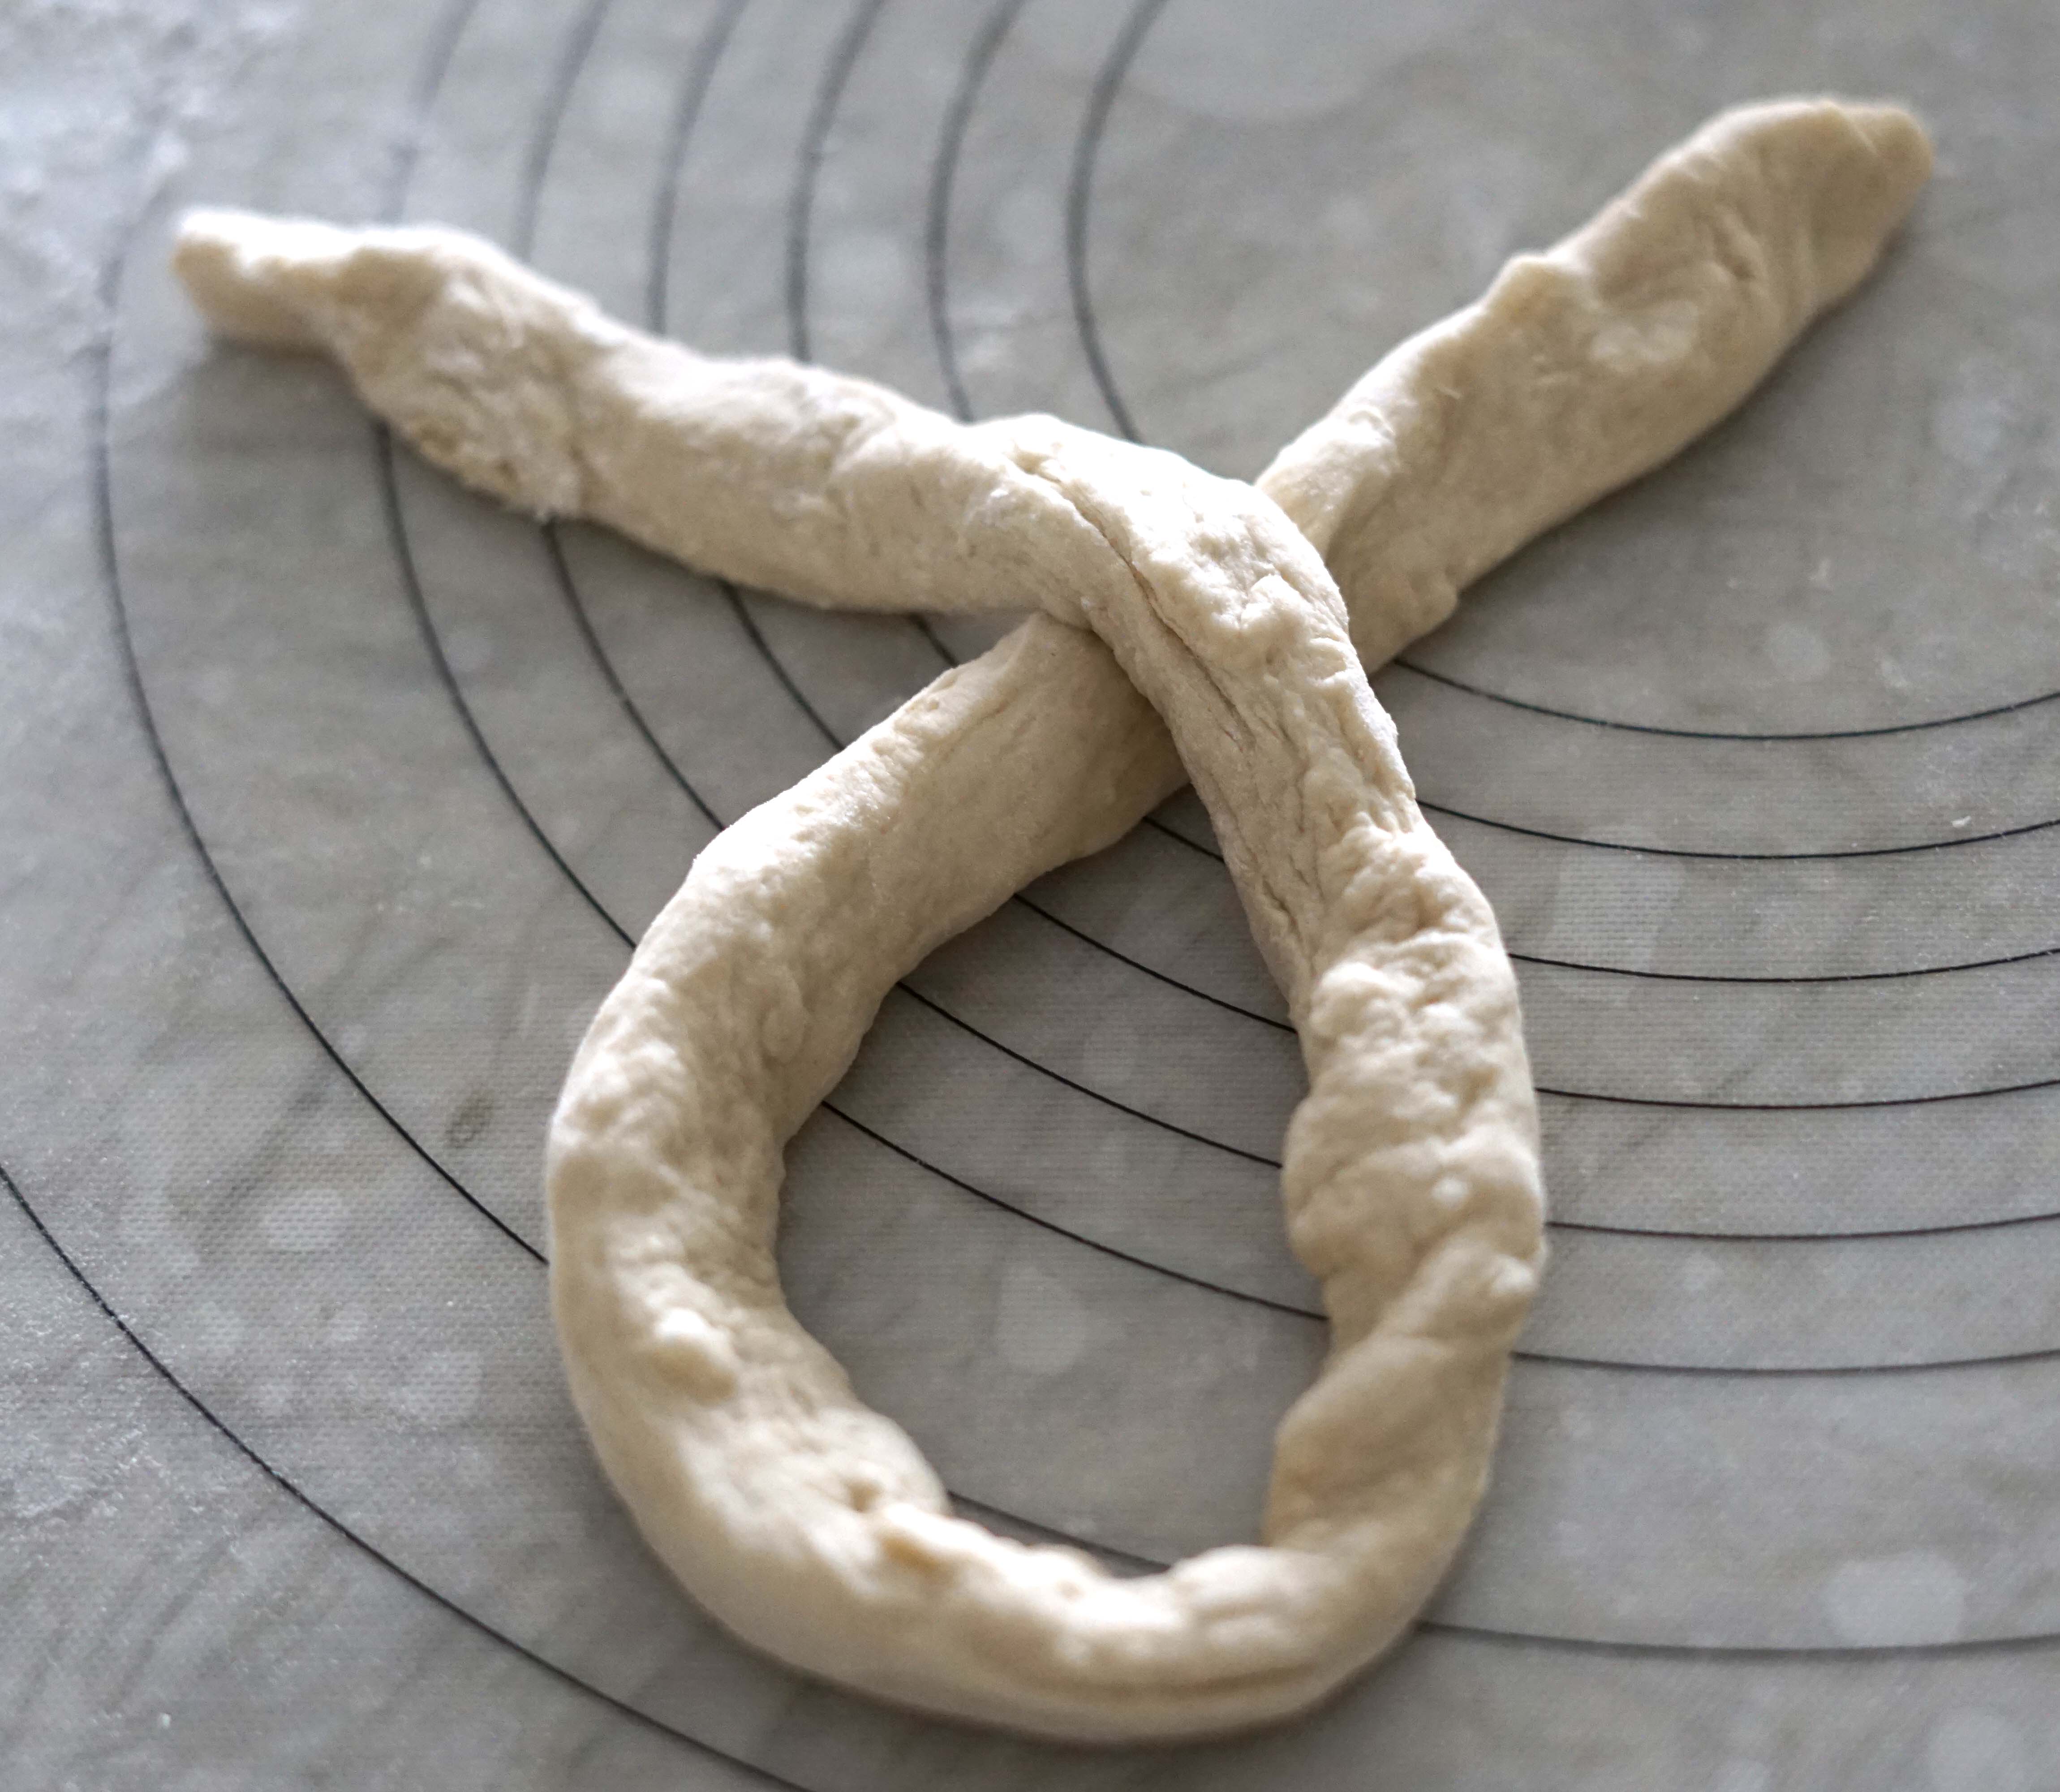
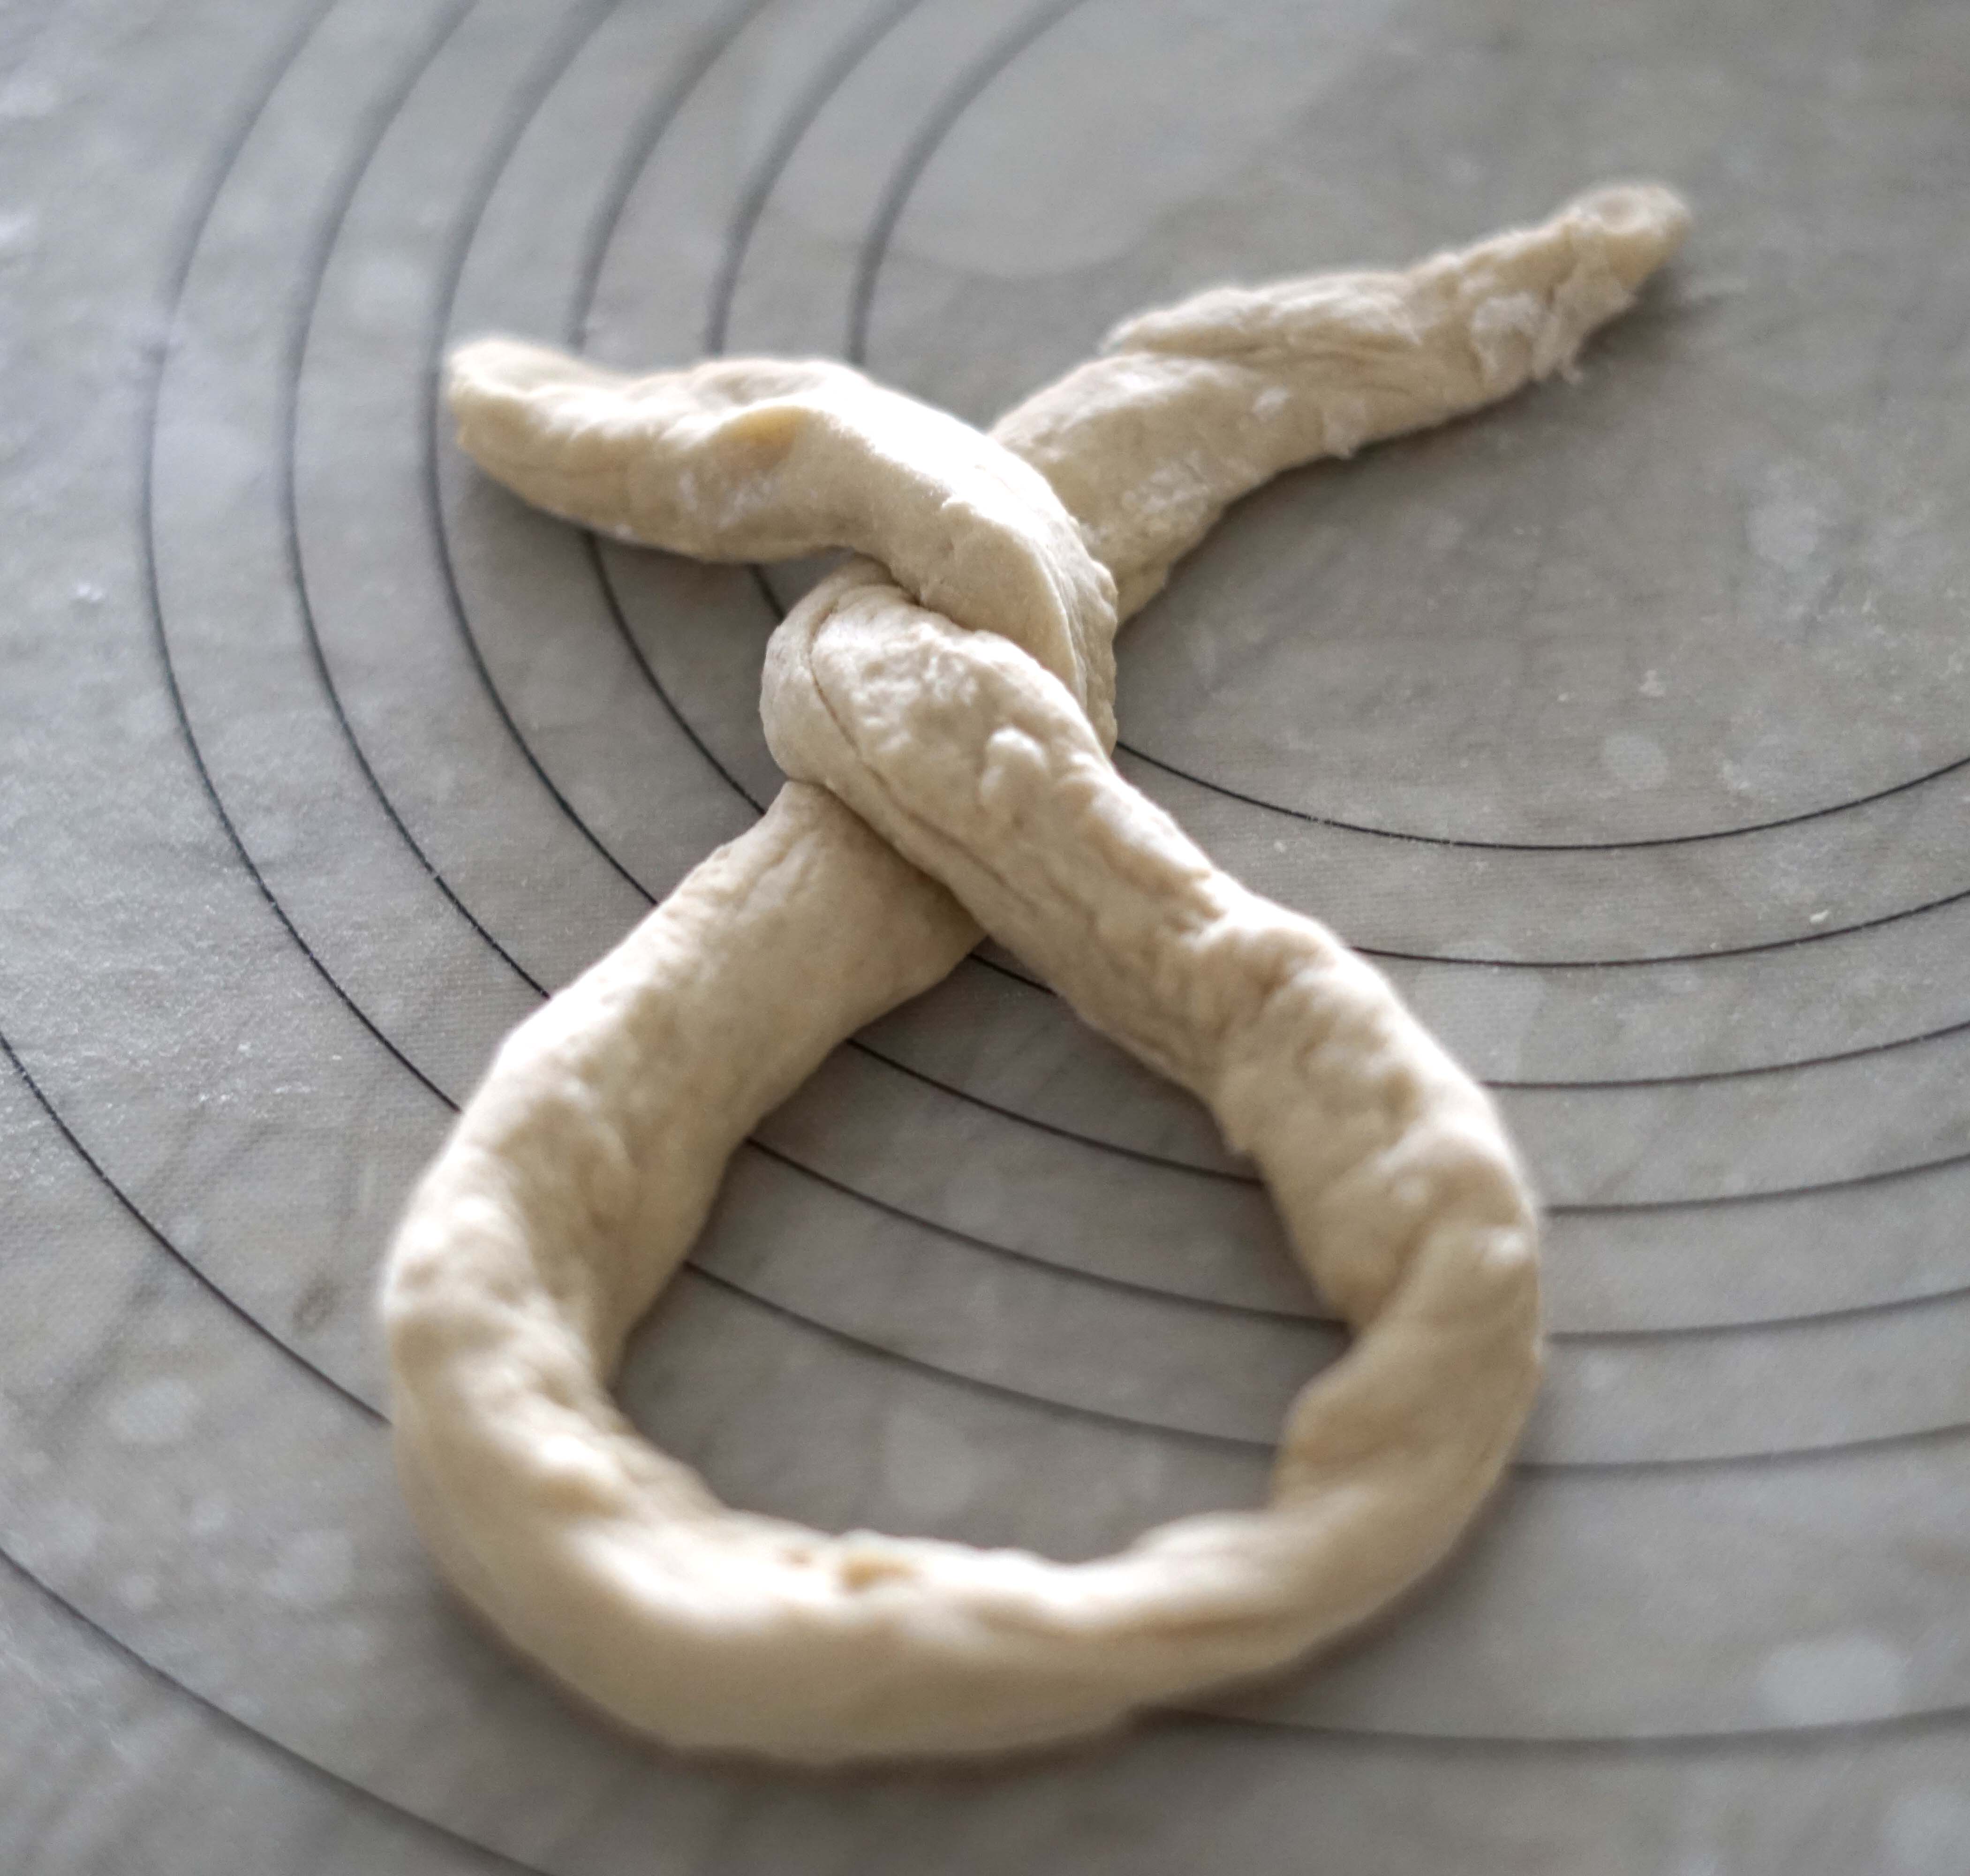
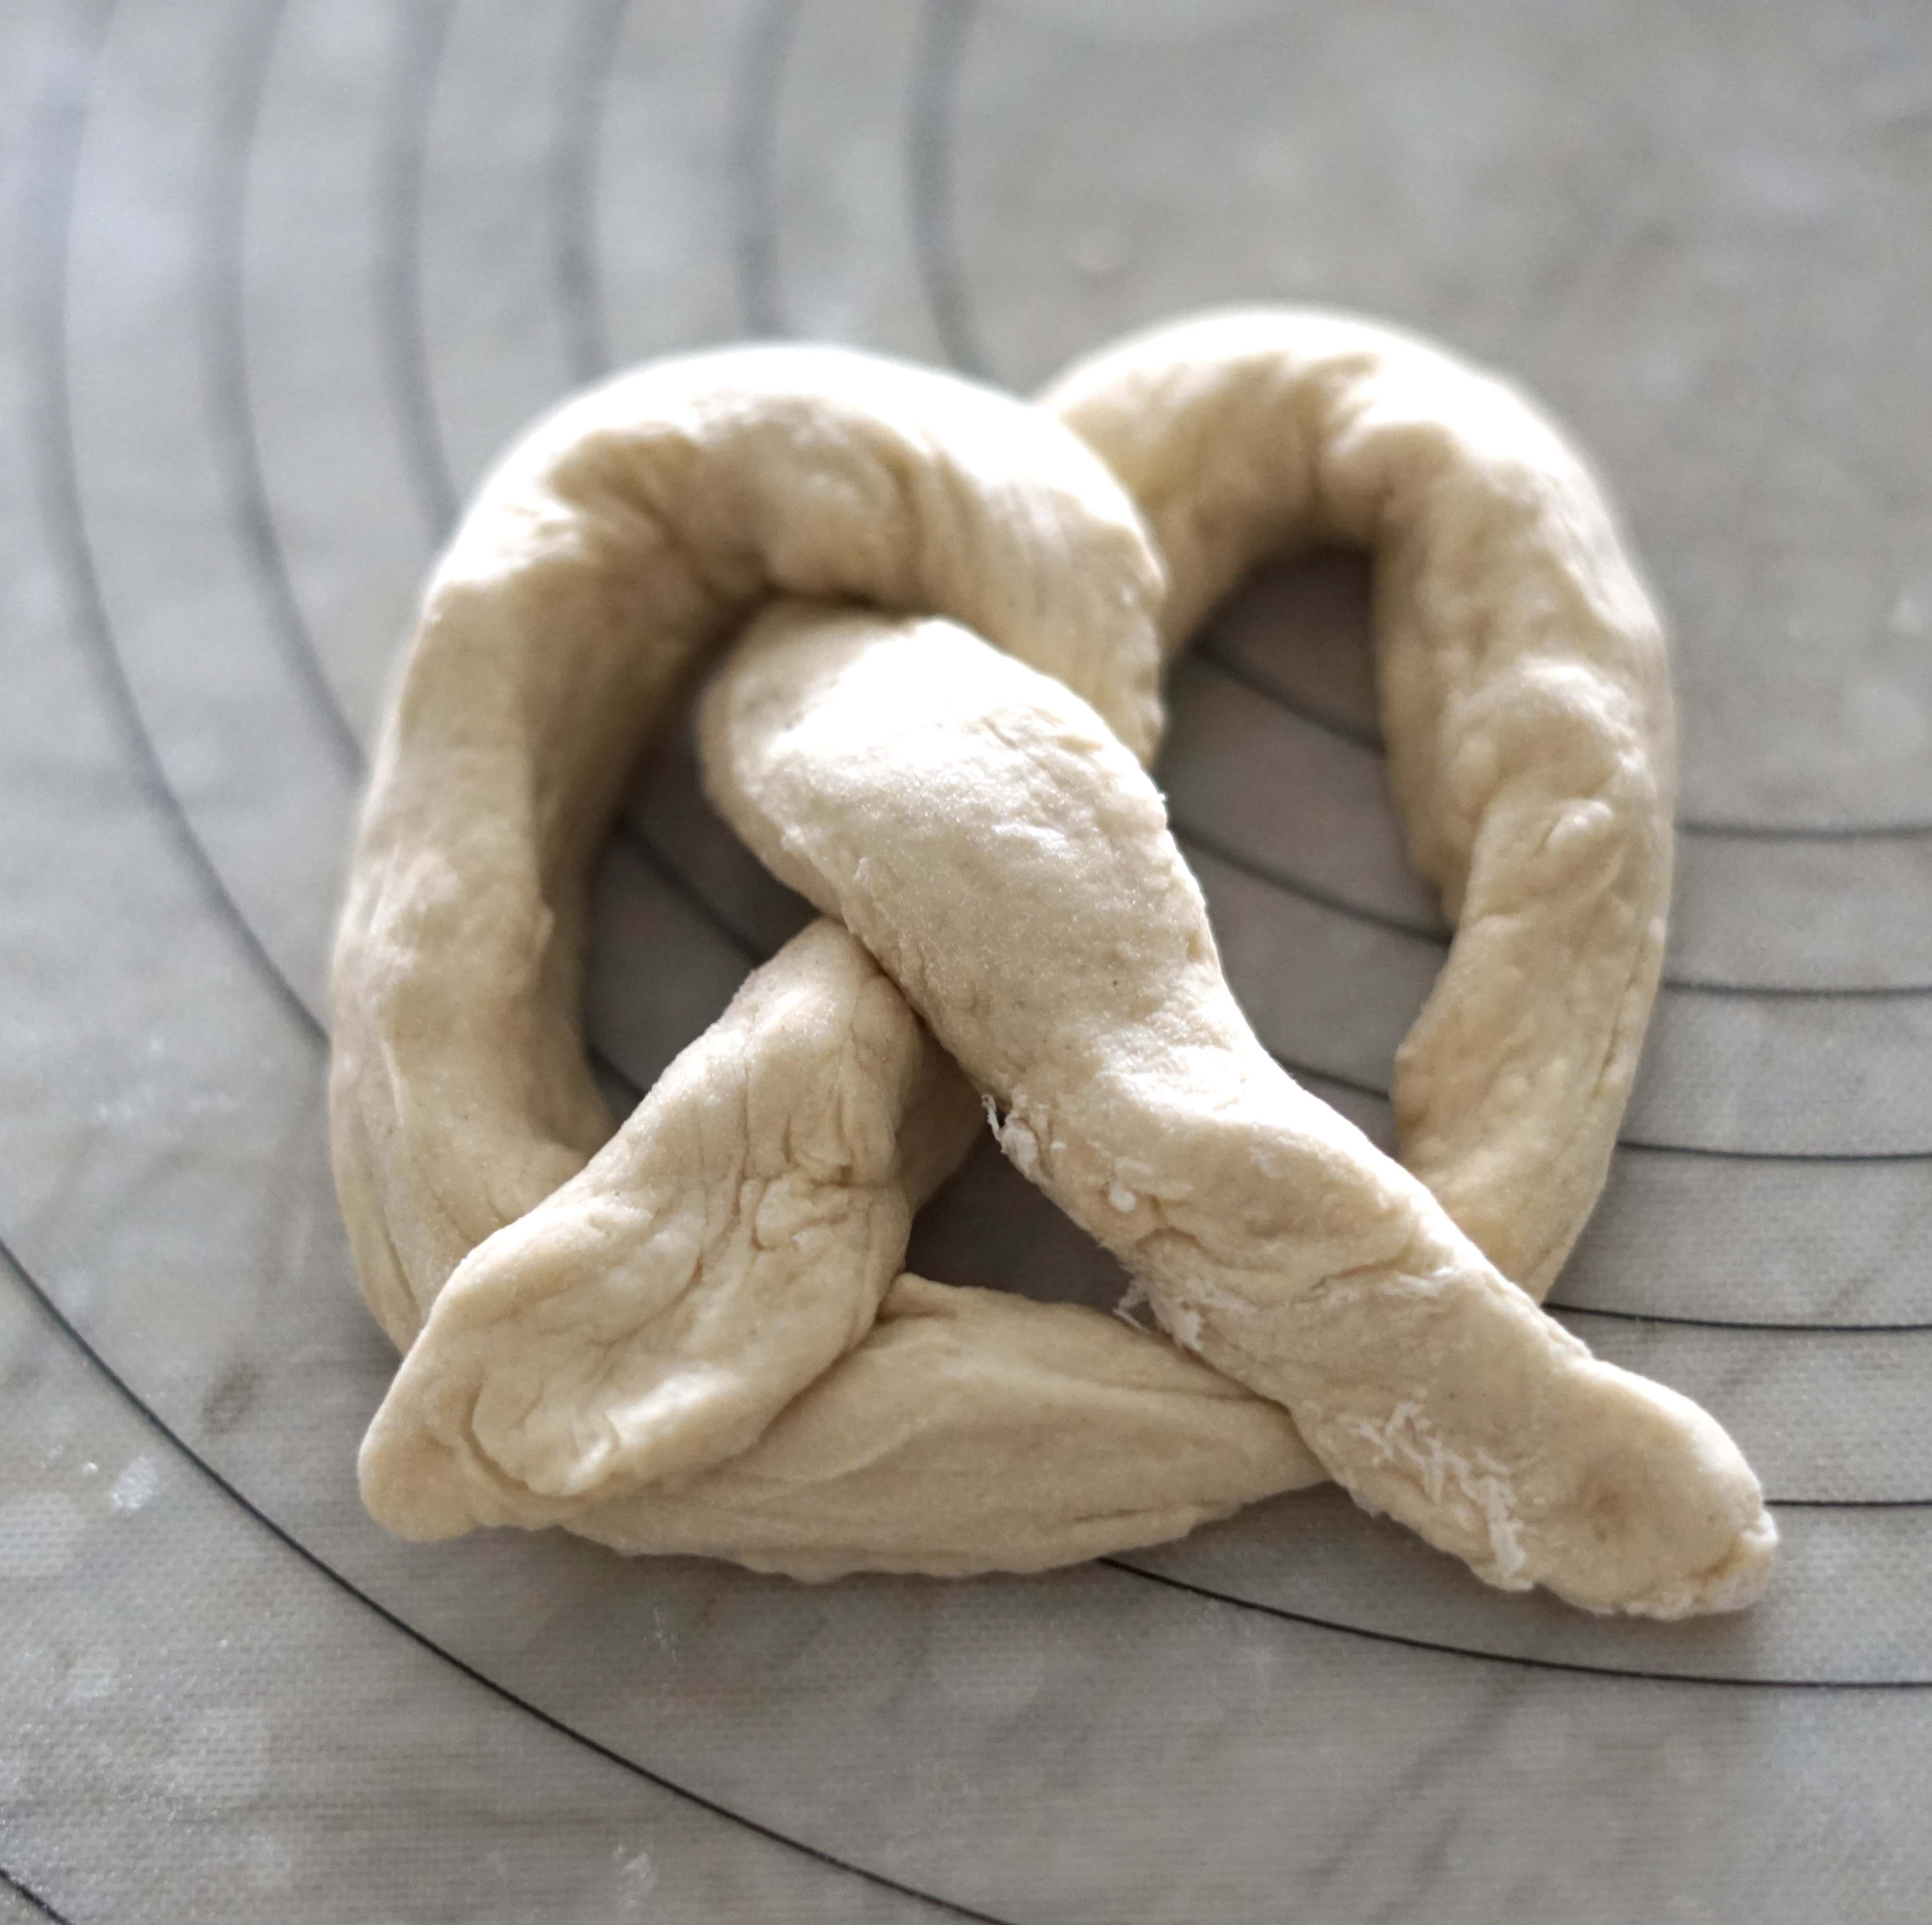
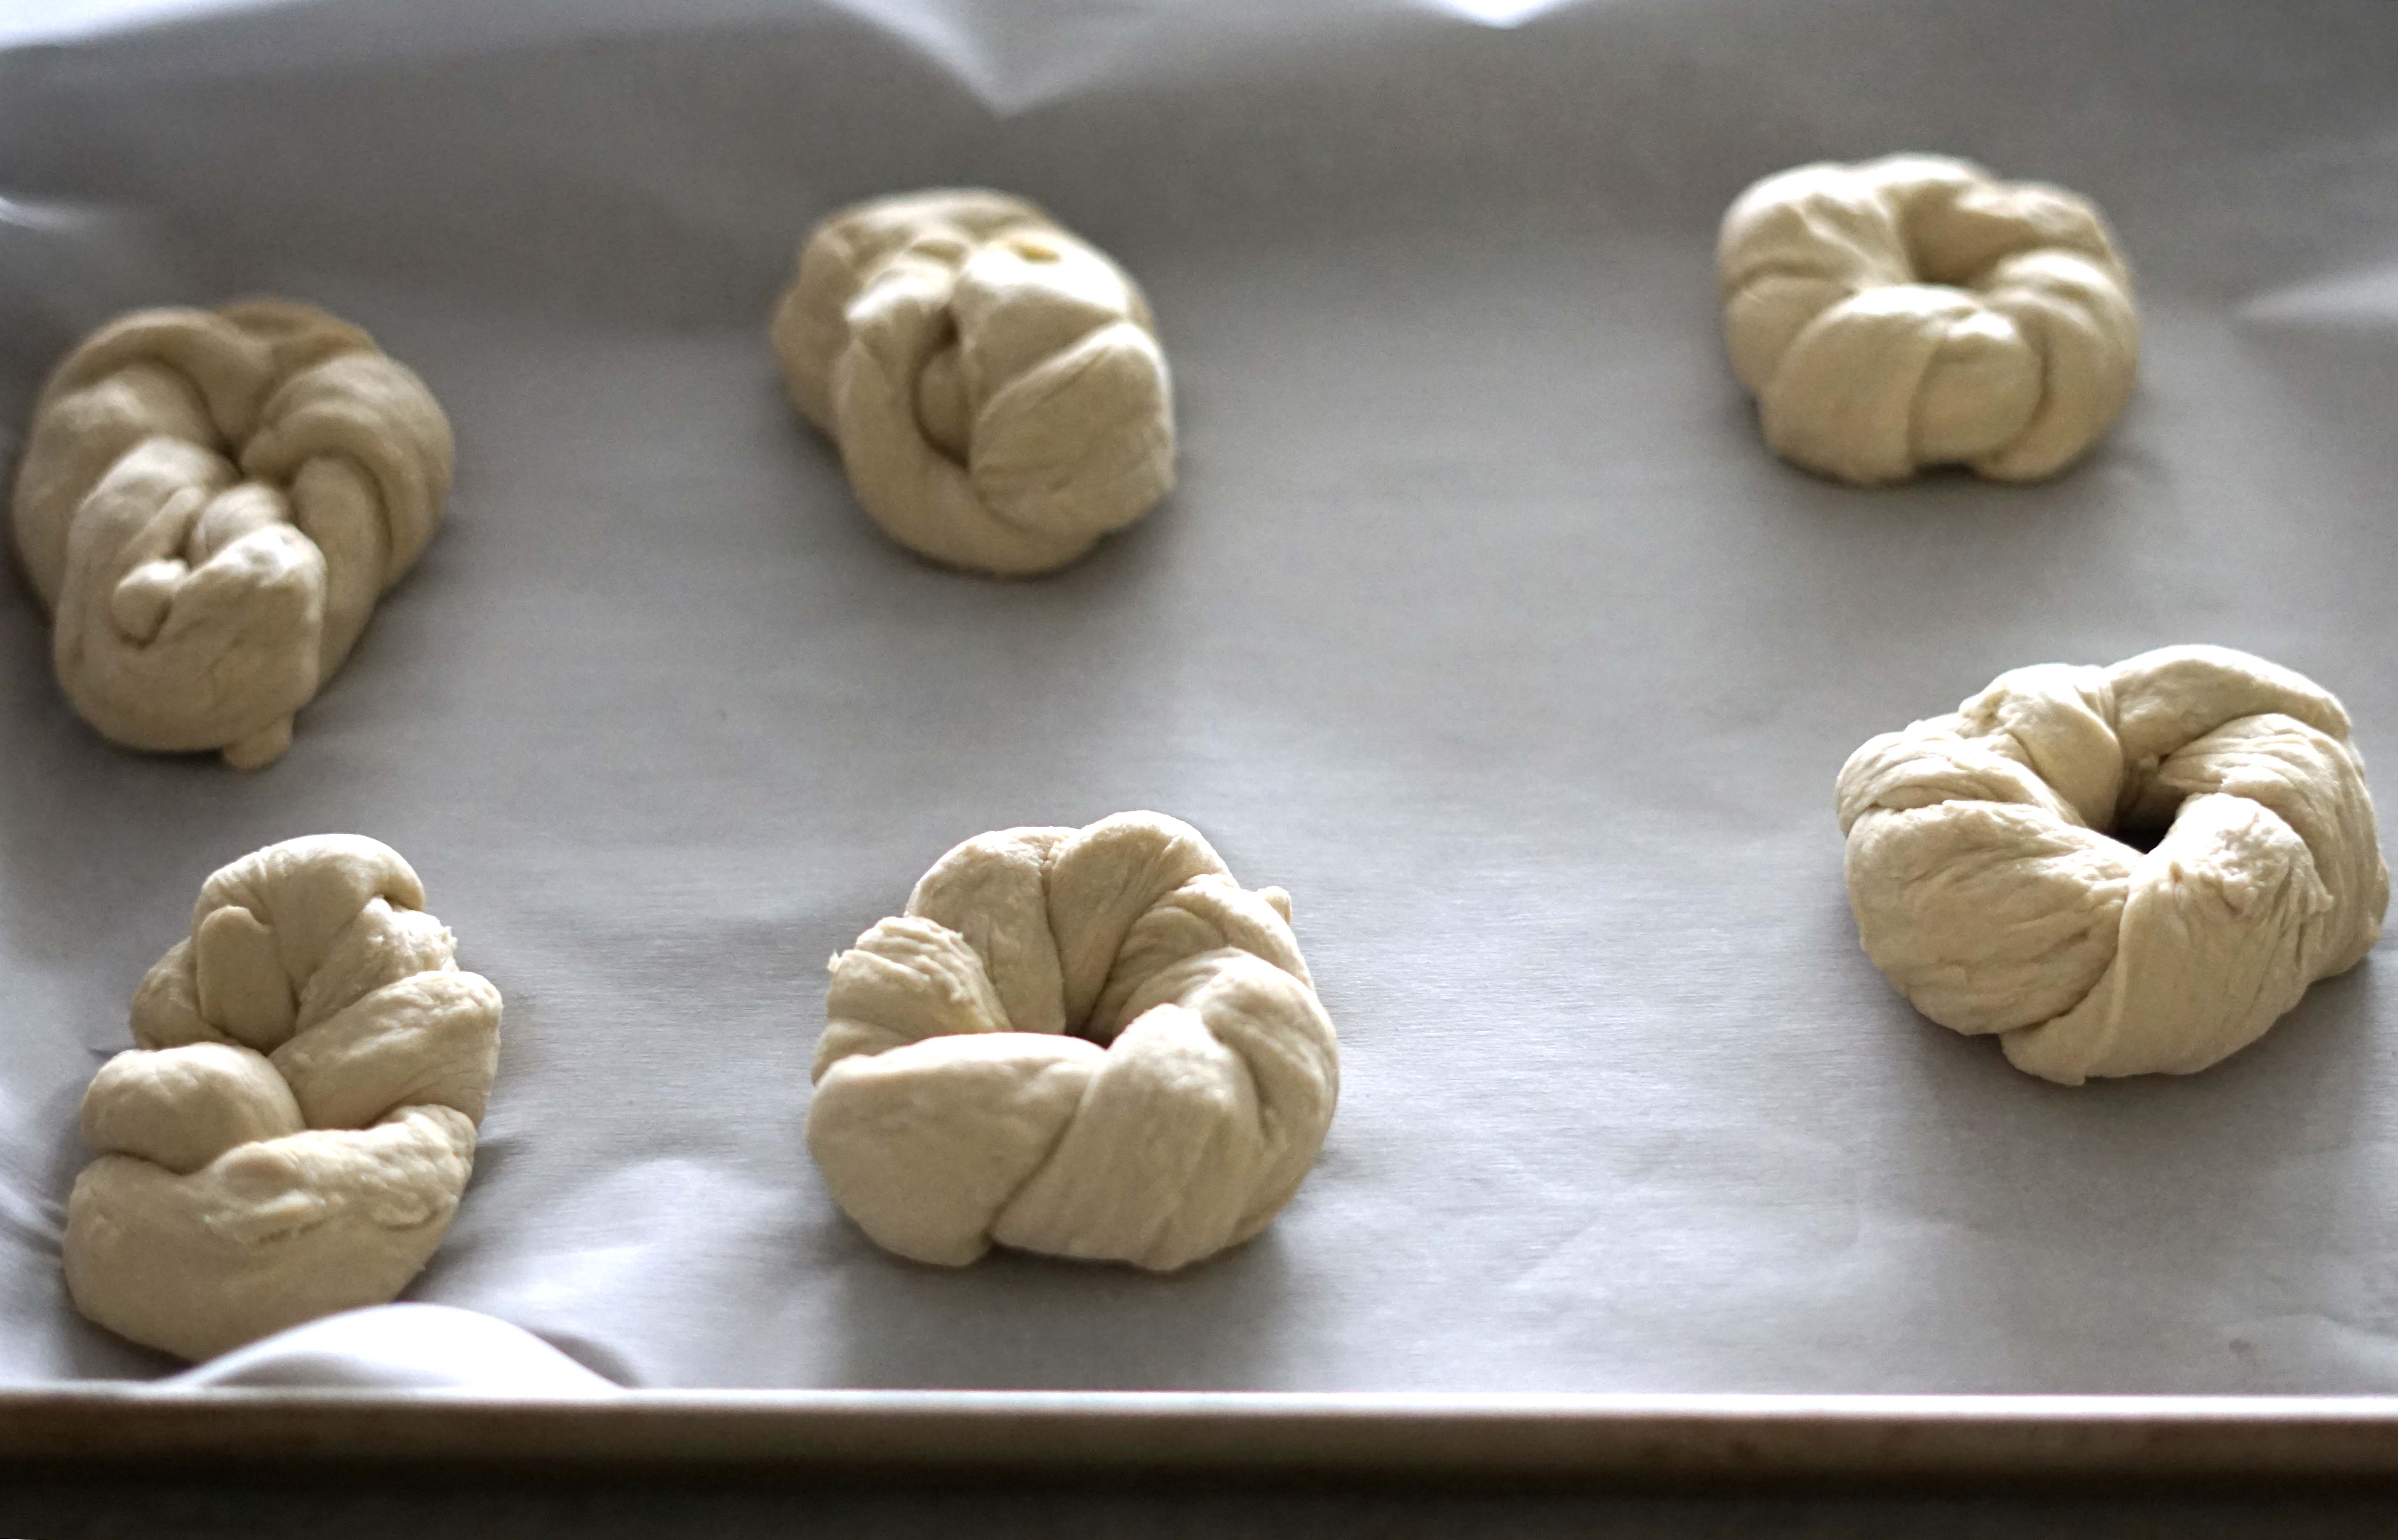
To shape the pretzels, I took a piece of dough and used my hands to roll it out to around 20 – 22 inches. This is where I really noticed that the dough wasn’t as smooth as I wished it would have been. Then I shaped the dough into a large U shape. I crossed the right piece over the left and then twisted them one more time. After that, I folded the ends down so they rested on top of the bottom of the U. I used my fingers to open up the big loops a little and pressed the ends into the dough to make sure they were securely attached. I shaped 6 of the pretzels this way and then had some fun with the other 6 and tried some different shapes with varying degrees of success.
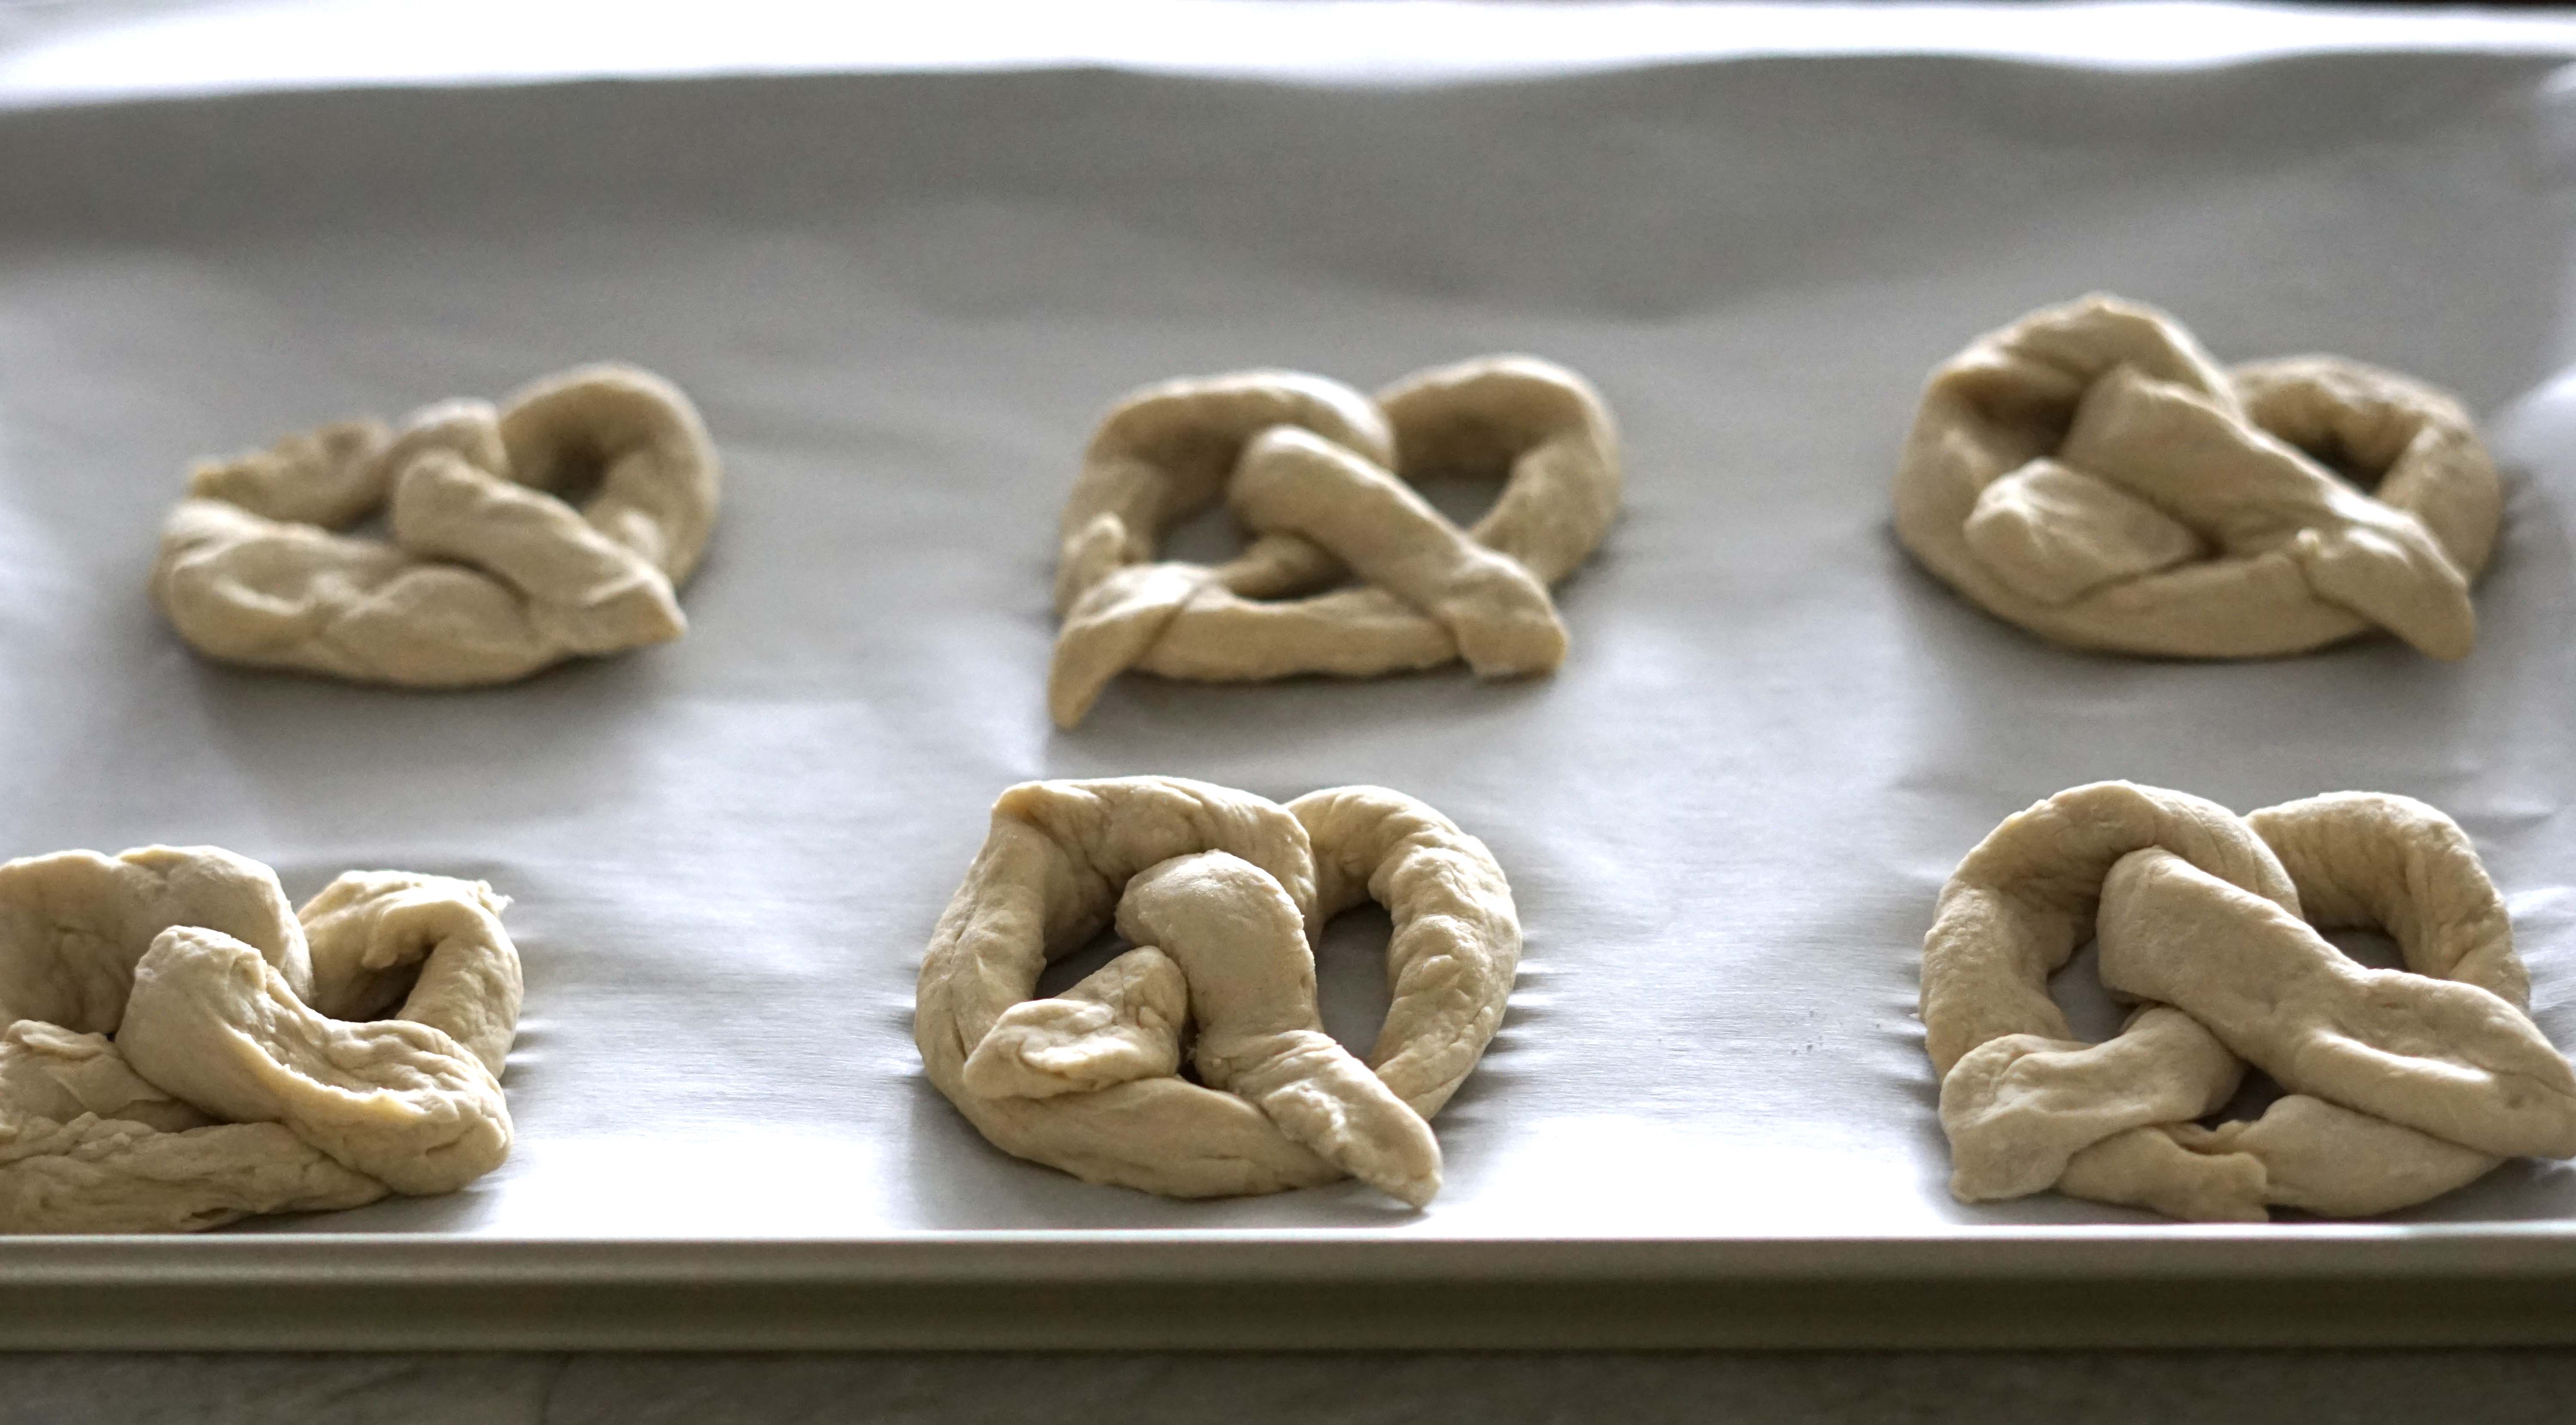
I placed each of the shaped pretzels onto the parchment lined baking sheets and covered them with tea towels. I returned to the stove and turned up the heat on my pot of baking soda water to bring it to a boil.

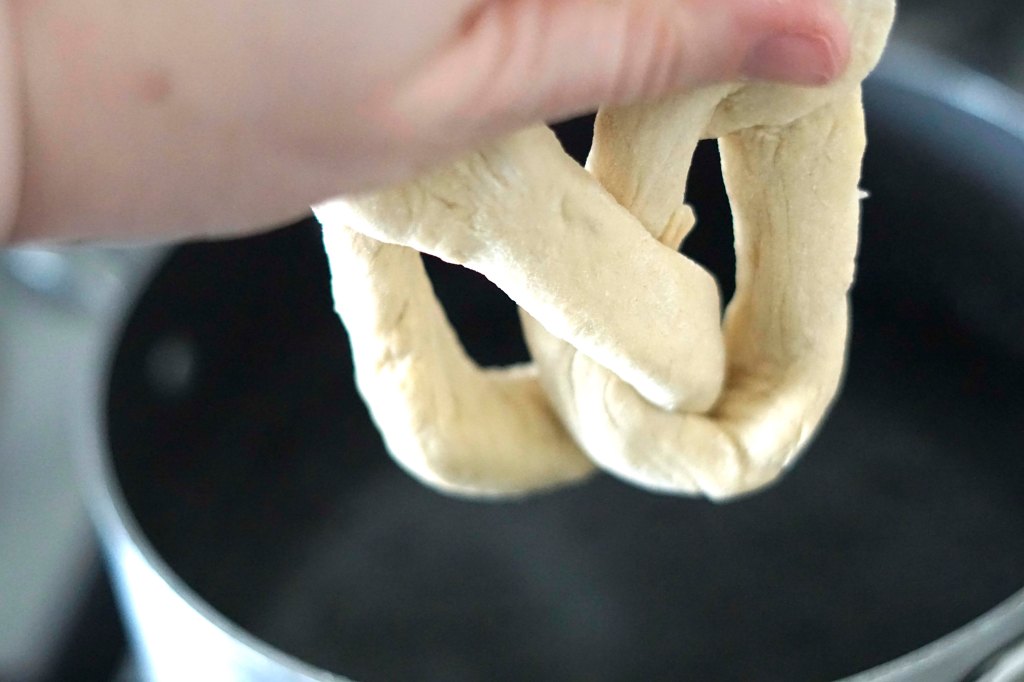
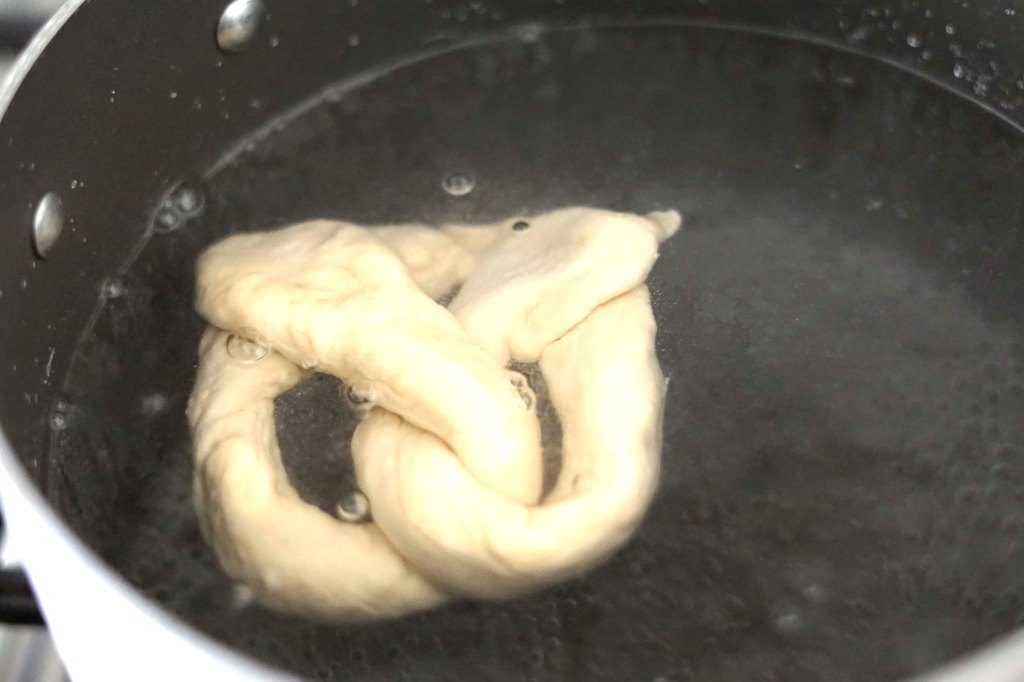
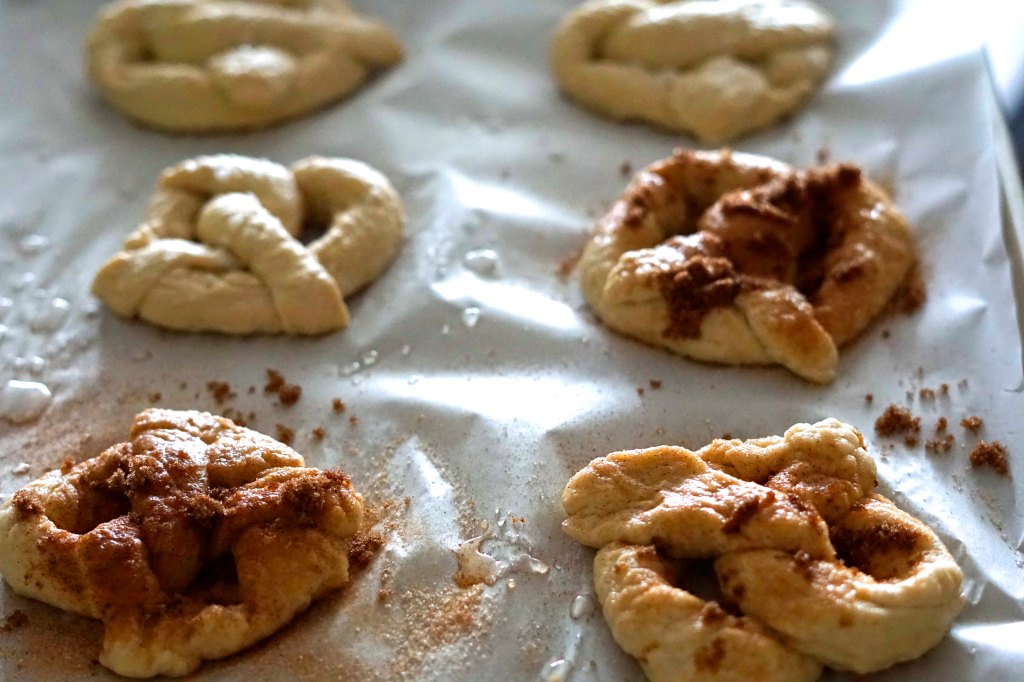
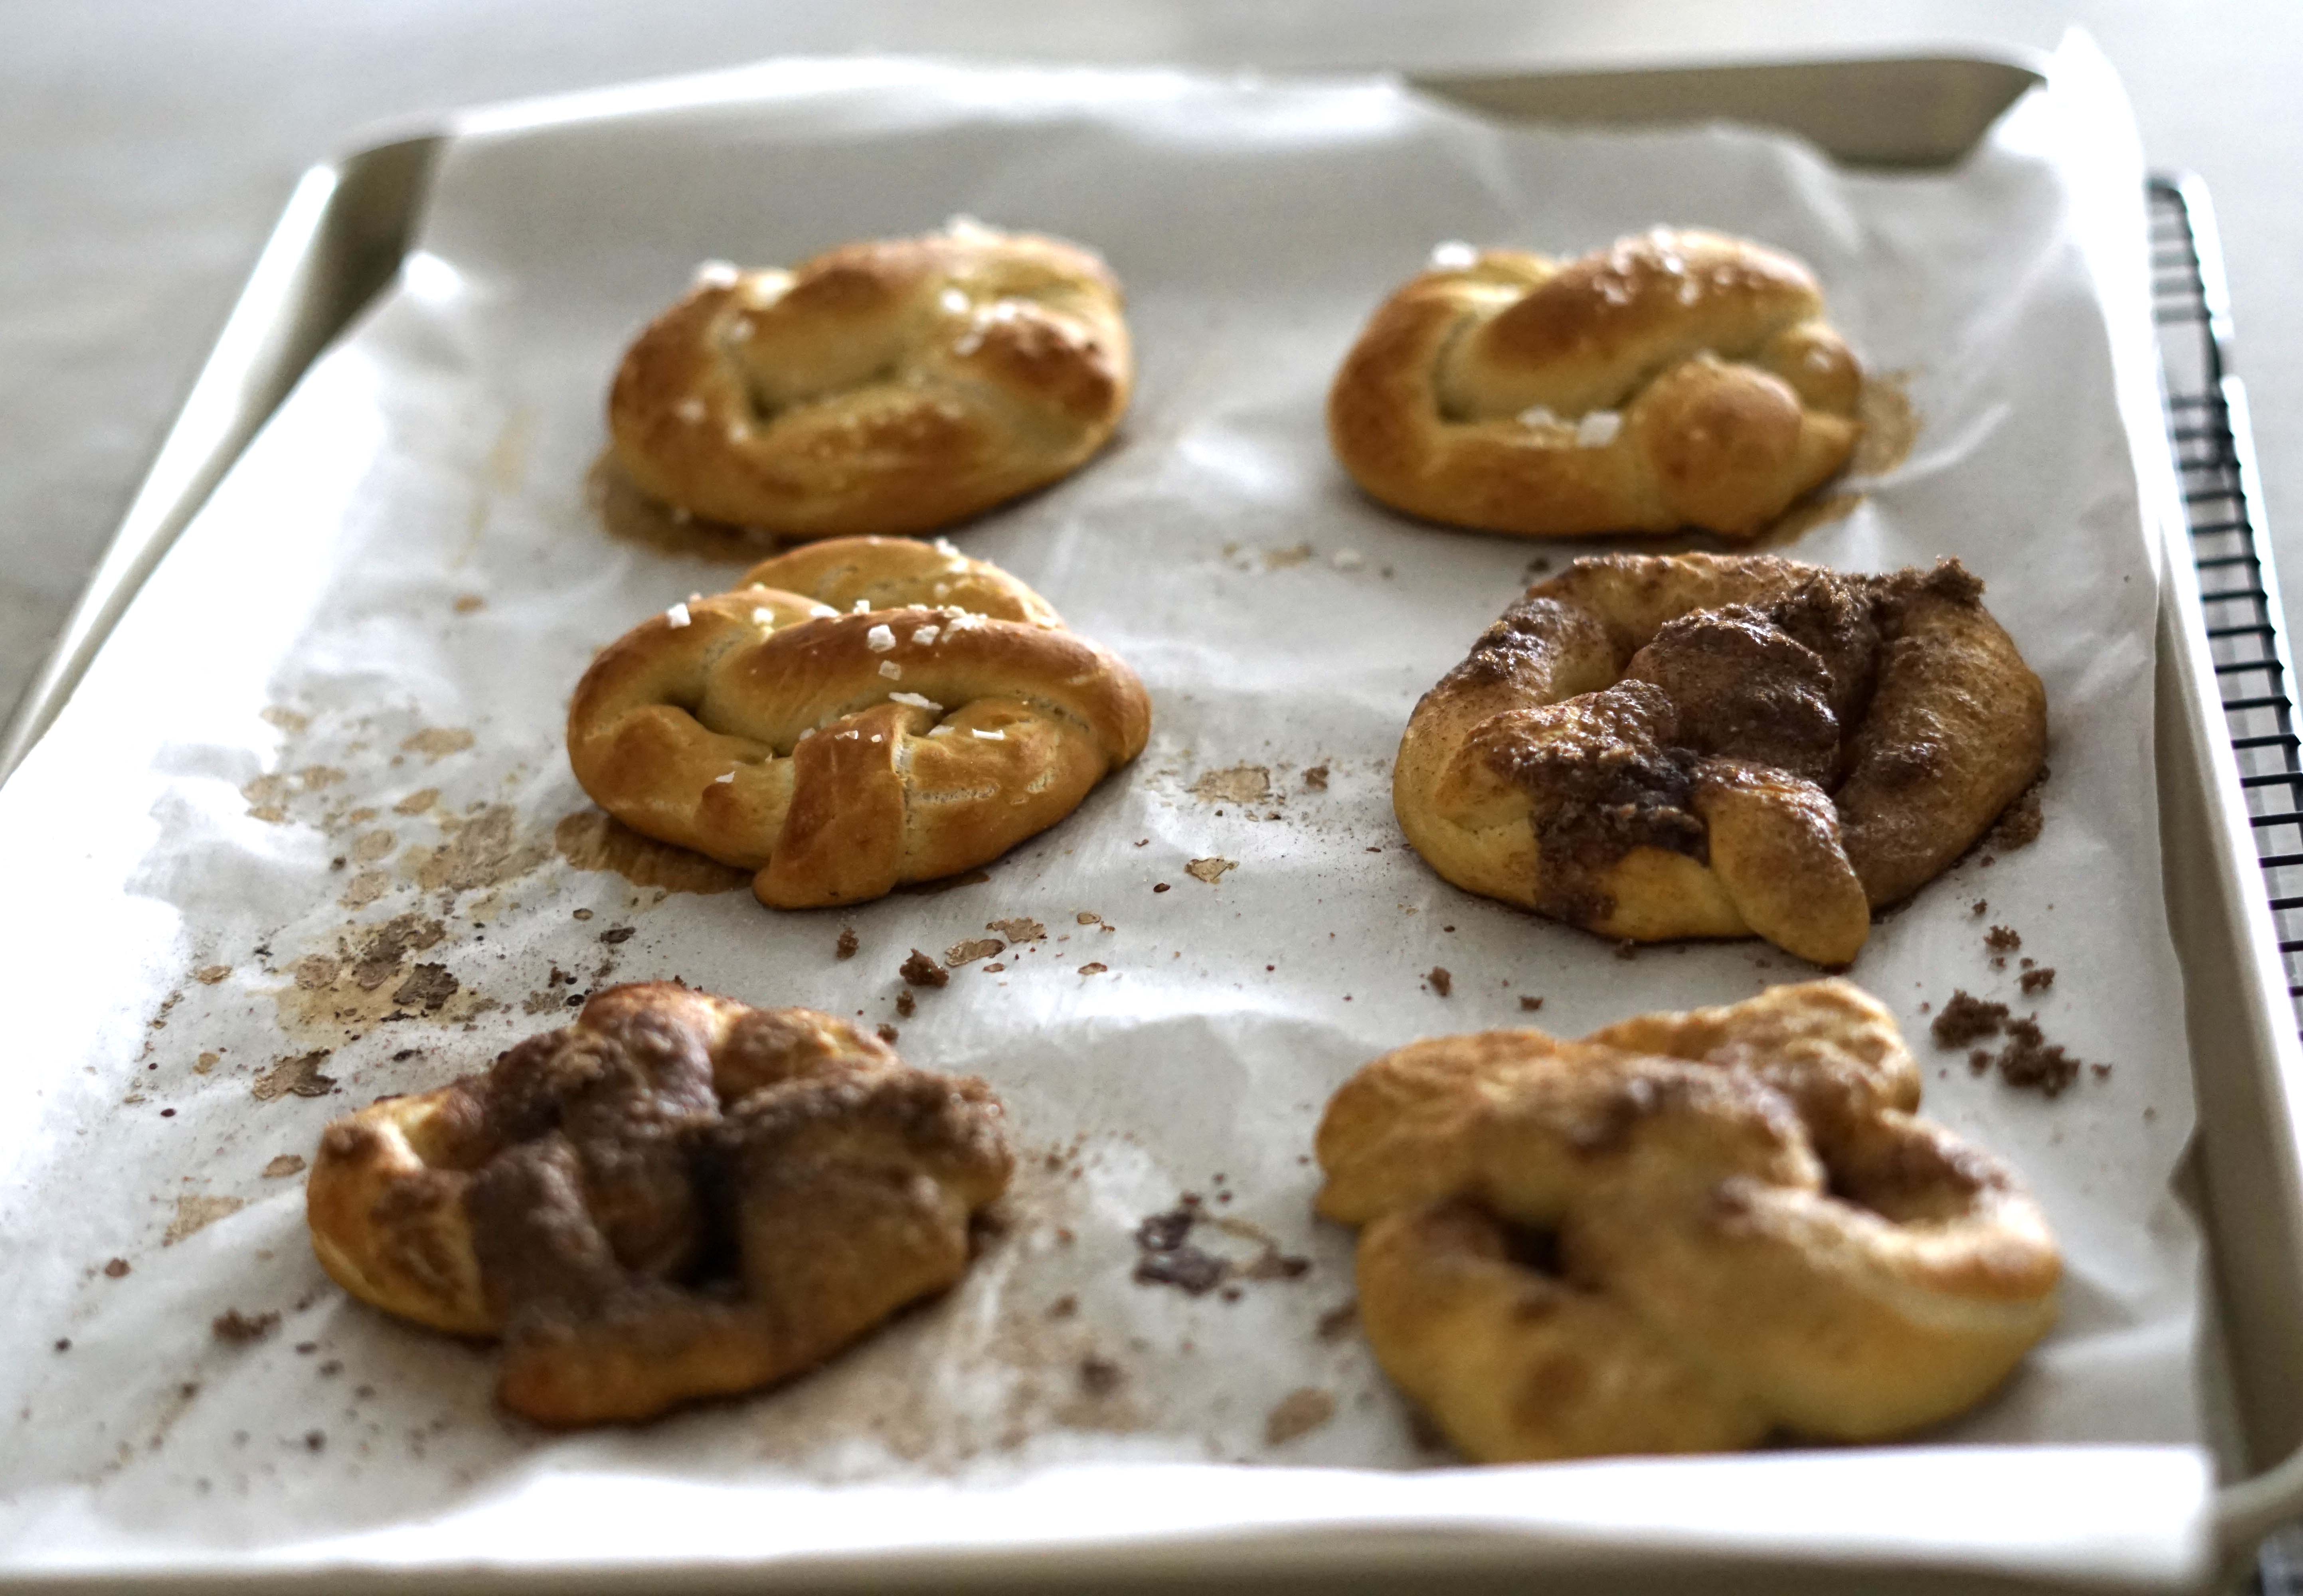
Before I dropped each pretzel into the water for 20 – 30 seconds, I stretched the dough a little to try to make some more space between the twists and the loops. Sally warns to make sure not to boil the pretzels more than this because they will begin to taste metallic. Then I used a flat, slotted spatula to remove the pretzels from the water and try to let as much of the water drip off as possible before putting it on the parchment lined baking sheet. Before I put the next pretzel in the water, I put either flaky sea salt on the top of the boiled pretzel or cinnamon sugar. I baked each tray of pretzels for 15 minutes. I also let them cool on the tray so that they had a few more minutes to finish baking.
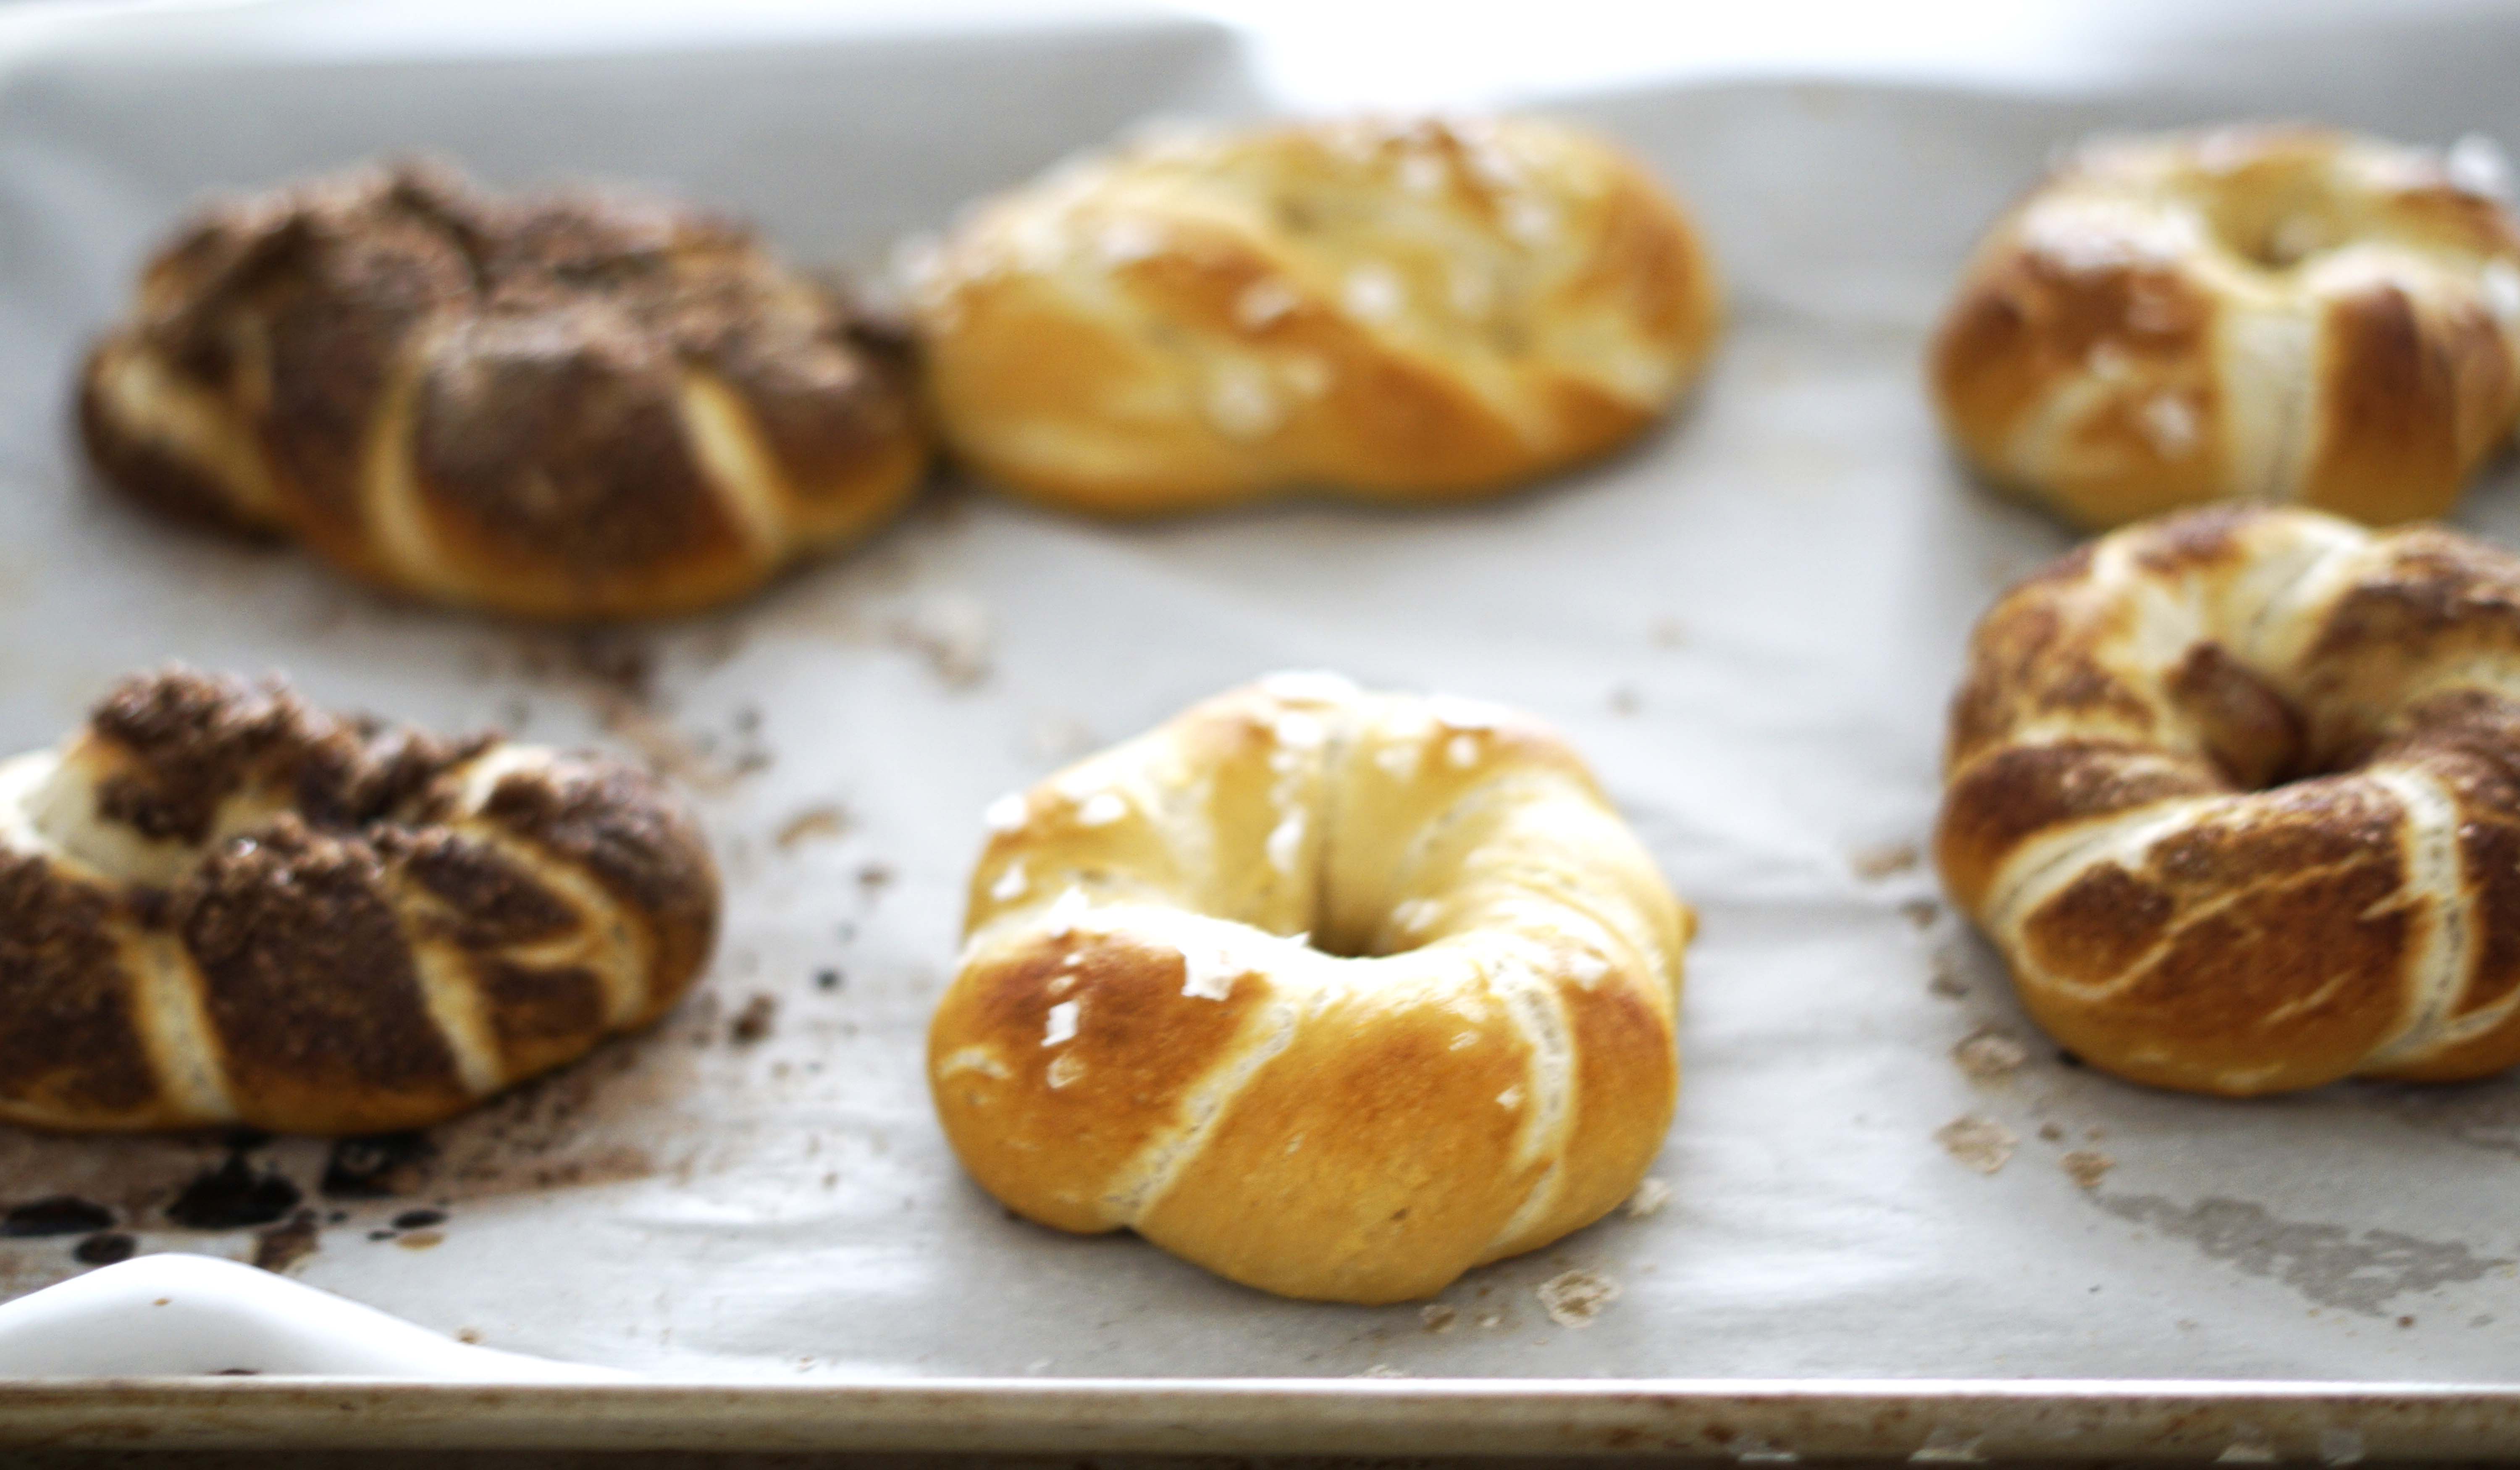
These pretzels were delicious, especially hot out of the oven! I really loved them! I actually had to wrap them up right away so that I wouldn’t eat them all. No shame in my game. The best things about these pretzels are their versatility. They could be topped with any variety of toppings. I am sure they will be made for another event again soon.
Final Thoughts:
- I had no idea that soft pretzels could be so easy to make (I kind of still wish that I didn’t know)
- I feel like I need to make them again though and increase my kneading time so that the dough is smoother and more elastic
- I am also excited to try new toppings
- My kids ate these for several meals after I made them…not proud but … if you are looking for something your kids will love too – give these a shot!
Recipe: Soft Pretzels
Ingredients
Pretzel Dough
- 1 and 1/2 cups (360ml) warm water (lukewarm– no need to take temperature)
- 1 packet active dry or instant yeast (2 and 1/4 teaspoons)
- 1 teaspoon salt
- 1 Tablespoon brown sugar
- 1 Tablespoon unsalted butter, melted and slightly cool
- 3 and ¾ – 4 cups (460-500g) all-purpose flour, plus more for work surface
- coarse sea salt for sprinkling
- cinnamon sugar
Baking Soda Bath
- ½ cup (120g) baking soda
- 9 cups (2,160ml) water
Instructions
- Whisk 2 1/4 tsp yeast into 110F – 115F degree water. Allow to sit and bloom for 1 minute.
- Whisk salt, brown sugar, and melted butter into the bloomed yeast.
- Slowly add 3 to 4 cups of flour, 1 cup at a time with the dough hook of the stand mixer until the dough comes together in a large ball. Add more flour until the dough is no longer sticky.
- Turn the speed of the stand mixer up to medium-low and let it knead the dough for 3 – 5 minutes. Try to stretch a piece of the dough to make sure the gluten has been developed. Remove the dough hook and cover lightly with a towel and allow to rest for 10 minutes.
- Put 9 cups of water in a large pot and add 1/2 cup baking soda and bring the pot to a simmer. Preheat oven to 400°F. Line 2 baking sheets with parchment paper or silicone baking mats. Set aside.
- Turn the dough out onto a lightly floured dough mat or counter.
- With a sharp knife or pizza cutter, cut dough in half. Then cut each half in half. Cut each of those 4 halves into thirds. This will give you 12 pieces of dough. Borrow and share some of the dough to make sure each piece is about the same size.
- Roll each piece of dough into a 20-22 inch rope.
- Form the dough into a U shape. Cross the ends one over the other and then twist again. Finally, pull the ends down so they lay on top of the base of the U. Make sure that the ends are secured to the base. Use your fingers to open up the holes a little bit to make more space between the twists and the loops.
- Put each of the shaped pretzels onto the parchment lined baking sheets and cover with tea towels.
- Bring the pot of water up from a simmer to a boil. Gently stretch each pretzel a little before dropping 1 pretzels at a time into the boiling water for 20-30 seconds. Any more than that and your pretzels will have a metallic taste. Using a slotted spatula, lift the pretzel out of the water and allow as much of the excess water to drip off. Place pretzel onto prepared baking sheet.
- Sprinkle each with coarse sea salt, cinnamon sugar or topping of your choice.
- Repeat with remaining pretzels.
- Bake for 12-15 minutes or until golden brown.
- Remove from the oven and allow to cool slightly on the baking pan and then serve warm.
- Enjoy!
Recipe adapted from Sally’s Baking Addiction
