
I have been hearing for a long time that it is possible to make sugar cookies that will not spread when you bake them. I’m pretty sure I pinned a post for these like 7 years ago, then moved on and kept baking the same cookies that I always do. In our family we call these turkey cookies because we always made them for Thanksgiving, cut them out like turkeys and iced and decorated them. I wrote a post about them here. My family loves them and asks for them all the time, I love them too. They are delicious and nostalgic which goes a long way for me when deciding what to make. A part of me though, has always wished they wouldn’t spread so much though. I have always wanted them to look slightly nicer. So I went back and searched through a bunch of recipes and decided on the Foolproof No Chill No Spread Sugar Cookies from 6 Cakes & More. I was most intrigued by the main idea of this recipe of trying not to add any extra air into the cookies to prevent spreading.

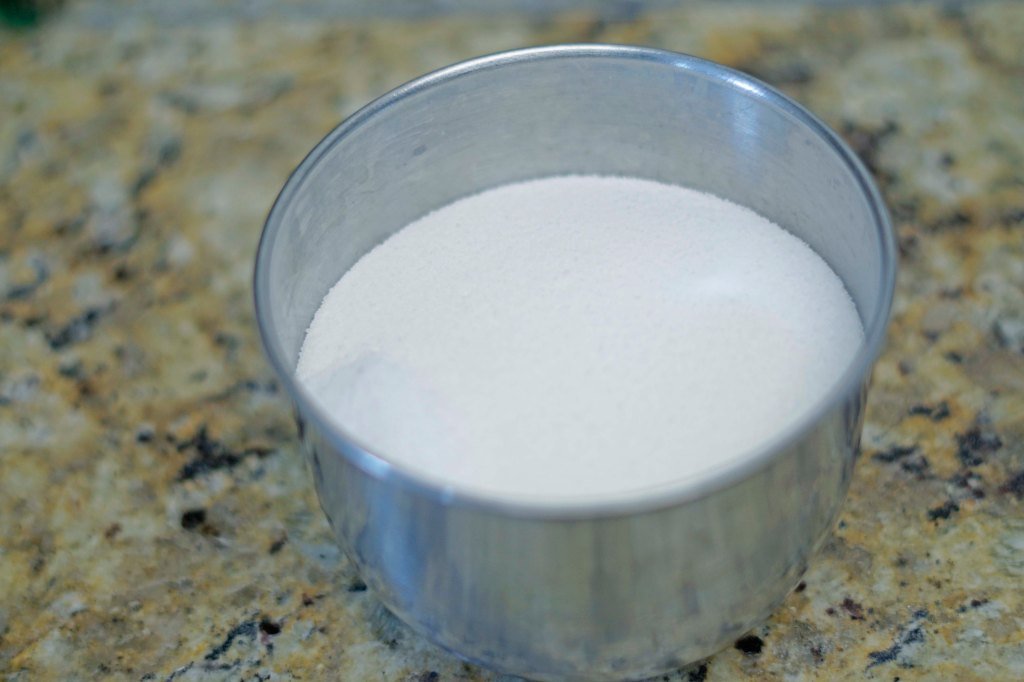
The ingredients for this recipe are super simple, but important to get accurate for desired results. The most important one is 32 tablespoons of cool unsalted butter. You also need, 2 cups of granulated sugar, 1 teaspoon salt, 2 large cold eggs, 1 tablespoon vanilla bean paste. Finally you need 6 cups of flour (scooped and leveled).
A quick note about the butter. It needs to be cool but not cold and not room temperature. If the butter is too cold it won’t mix well, but if it is too warm, it will cause spreading when baking. So, I left the butter on the counter for 15 minutes, flipped it and left if for another 15 minutes. The author of this recipe, Kyndall, writes in her notes that unsalted butter and salted butter usually have a different water content so it is important to use unsalted butter. It is also important to try to find European style butter because it has less water in it as well. I used Kerrygold unsalted butter.
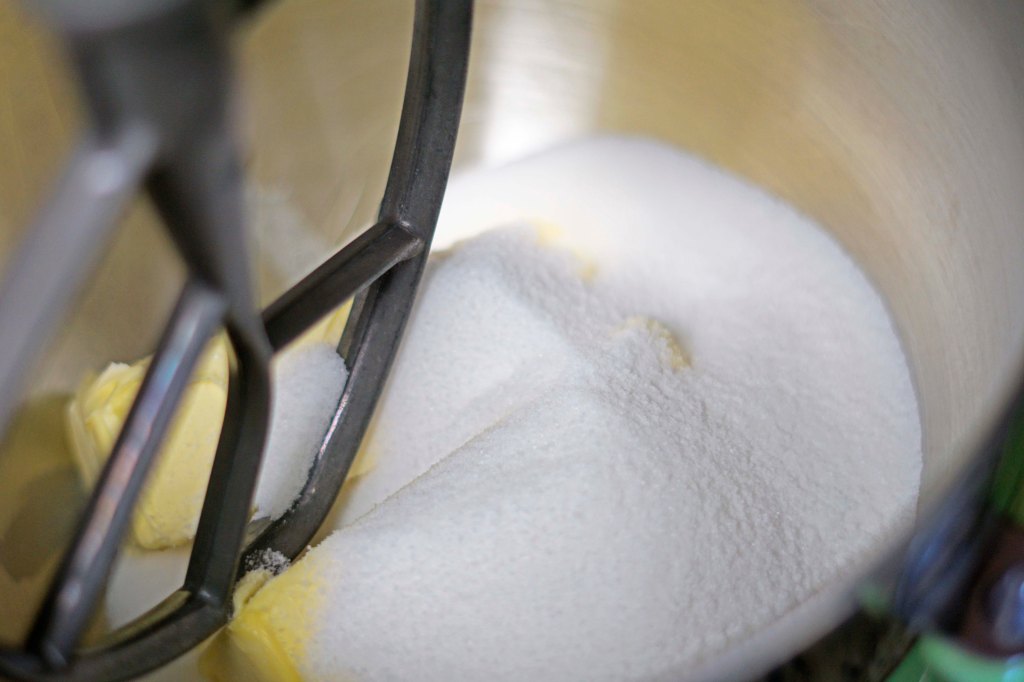
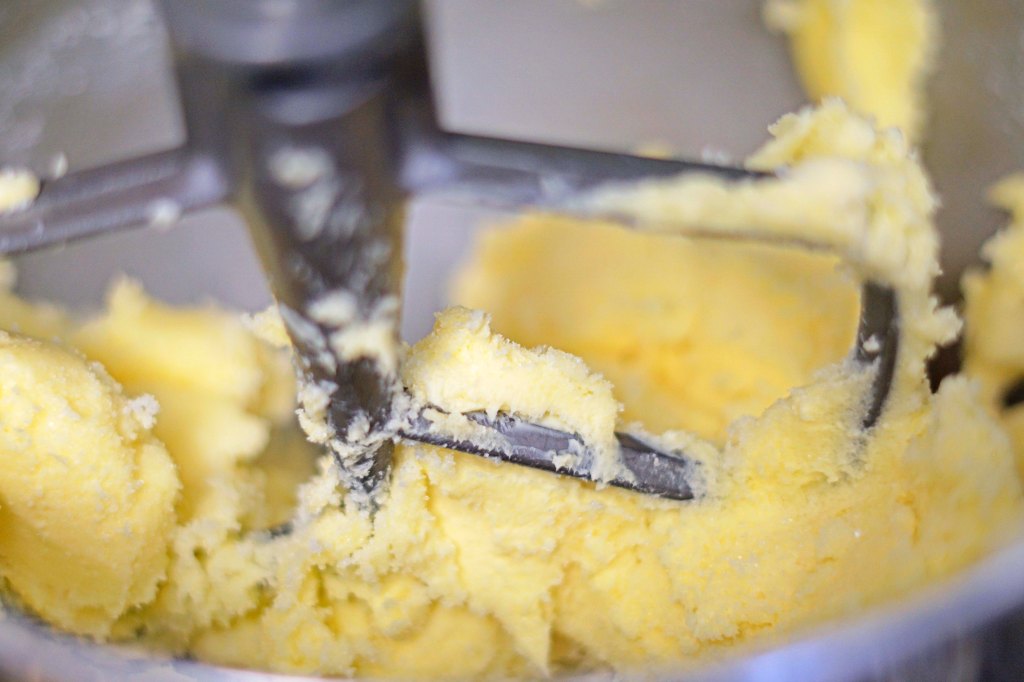
Time to bake! Preheat you oven to 325 F degrees and line a baking sheet with parchment paper to get it ready for later. Once your butter is ready add it to your stand mixer with the 2 cups of sugar and 1 teaspoon of salt (I used kosher). Then you will want to turn your mixer on the slowest speed as possible and mix the butter, sugar and salt, just until they are all incorporated. This is a big change for me, I usually cream my butter and sugar until they are super light and fluffy, but here they are just barely mixed together trying to avoid adding air to the batter. I did have to stop and scrape the bowl a few times since the speed was so low.
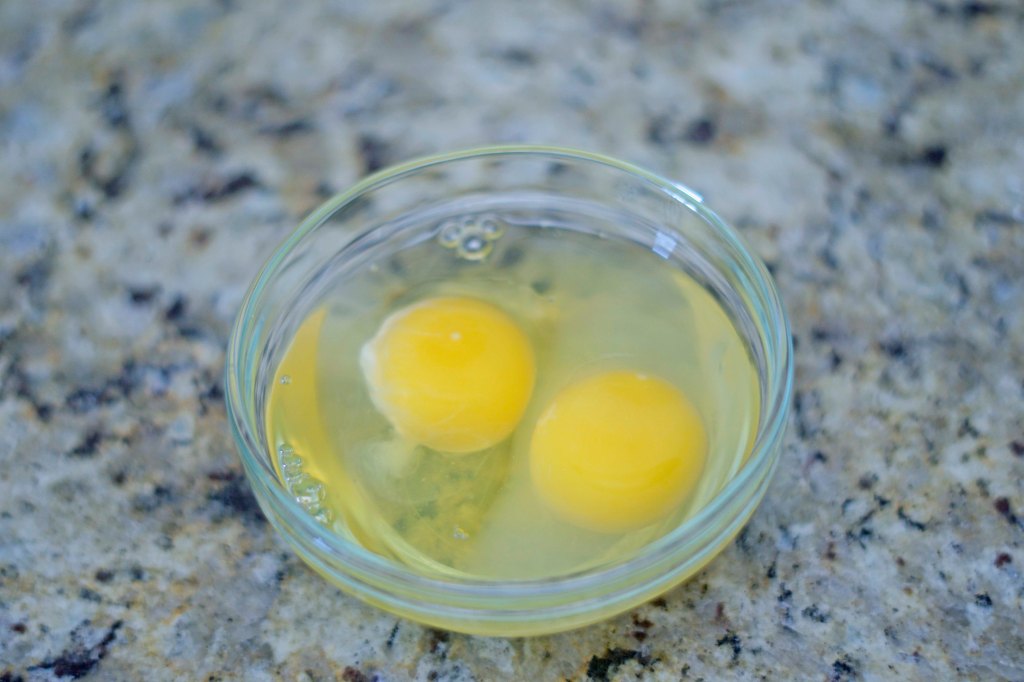
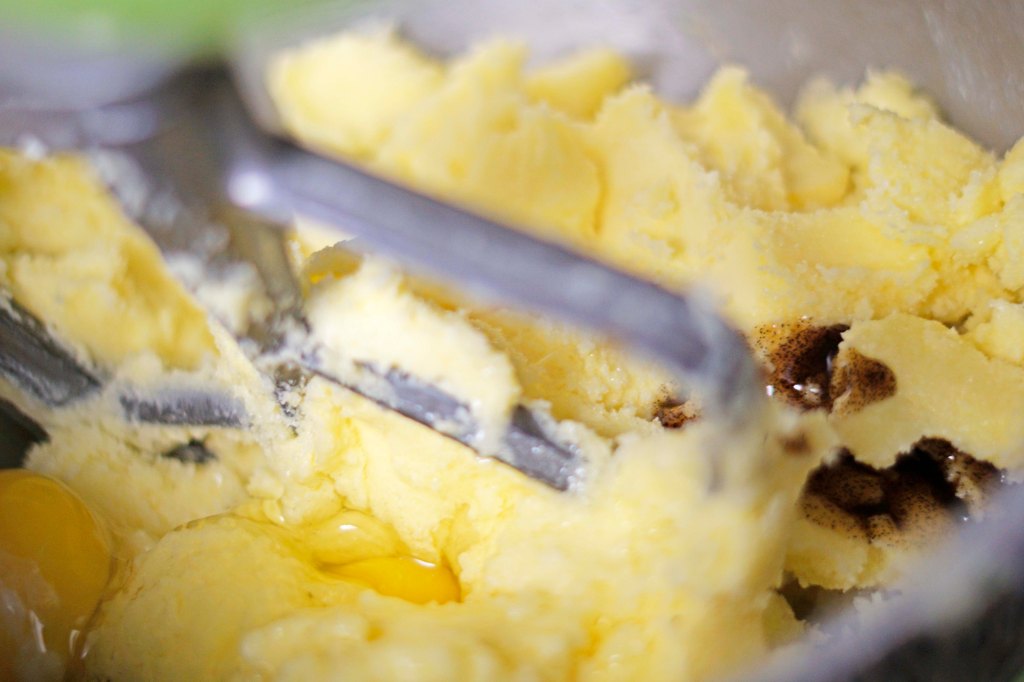
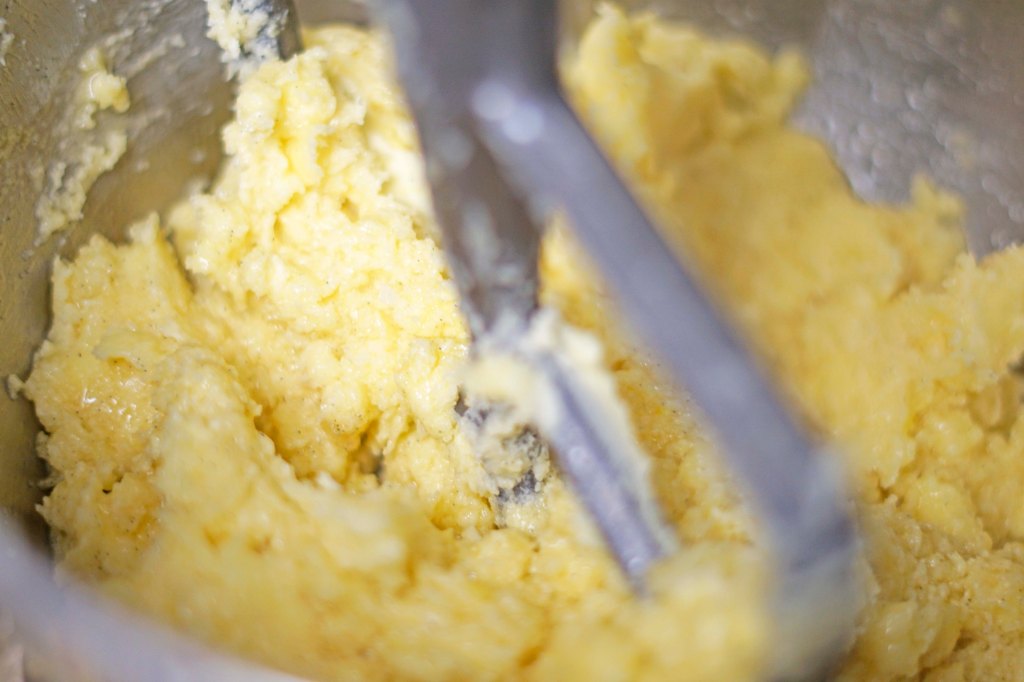
Next, I added my two cold eggs to the batter. I left them in the fridge until I was ready to pour them in the bowl. Then I added my vanilla bean paste. I used this because I wanted the beautiful vanilla specks in the cookies, but you could also use regular vanilla or a combo of vanilla and almond extract. I kept the mixer on the lowest setting again and just mixed until the ingredients are barely coming together. The batter looks a little curdled here, which is totally fine.

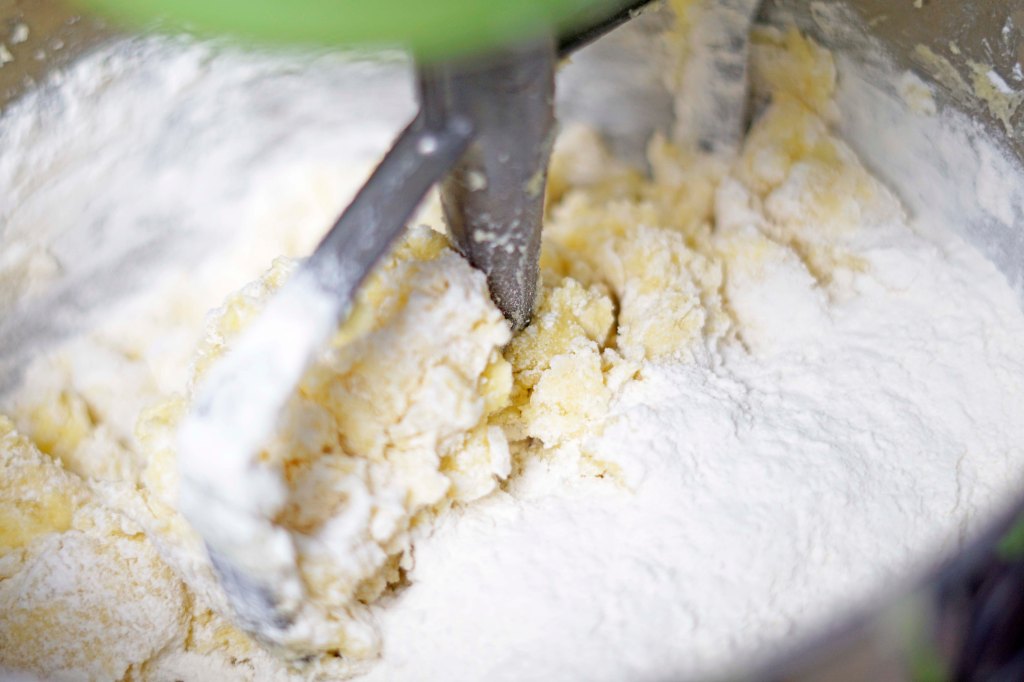
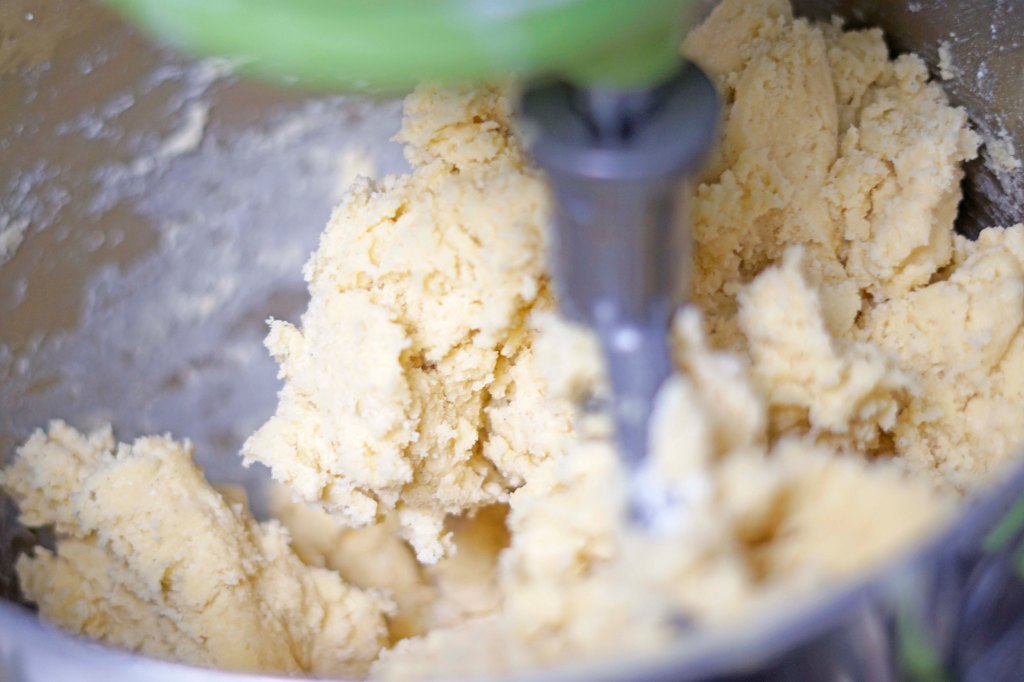
After the eggs and vanilla, I added the flour. The recipe didn’t specify if it was supposed to be an all in at once addition or gradual. I decided to add the flour in 3 additions. I only mixed until the majority of the flour disappeared and again on the lowest speed setting. I stopped mixing as soon as i saw the dough begin to pull away from the sides of the bowl. I did see some flour and scraps still at the bottom of the bowl, but not wanting to over mix the dough, I stopped mixing and kneaded the extras in by hand.
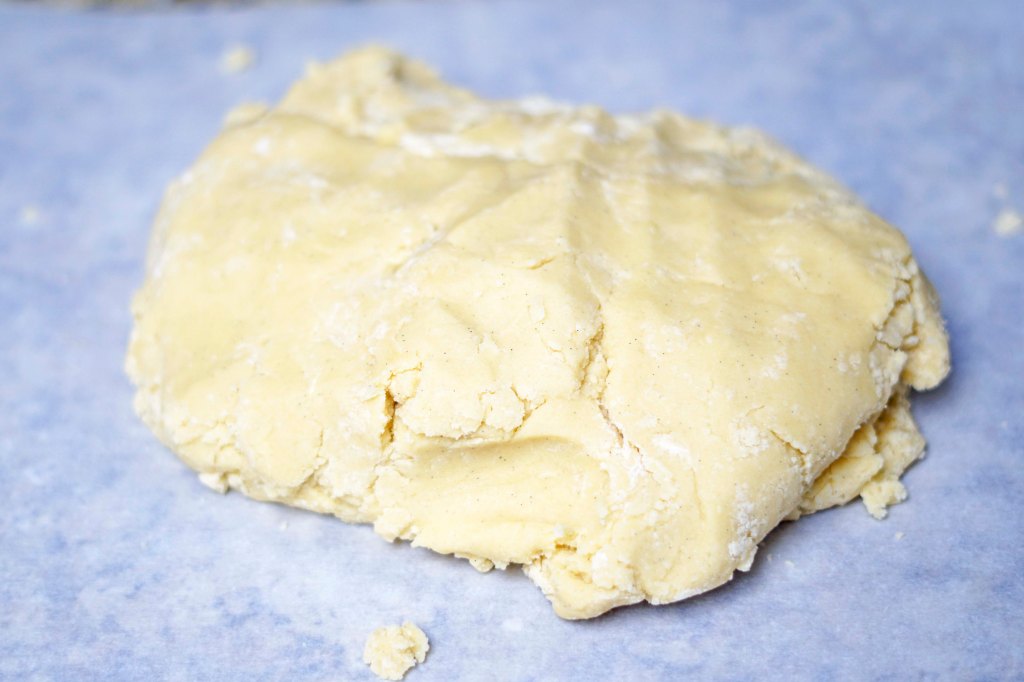
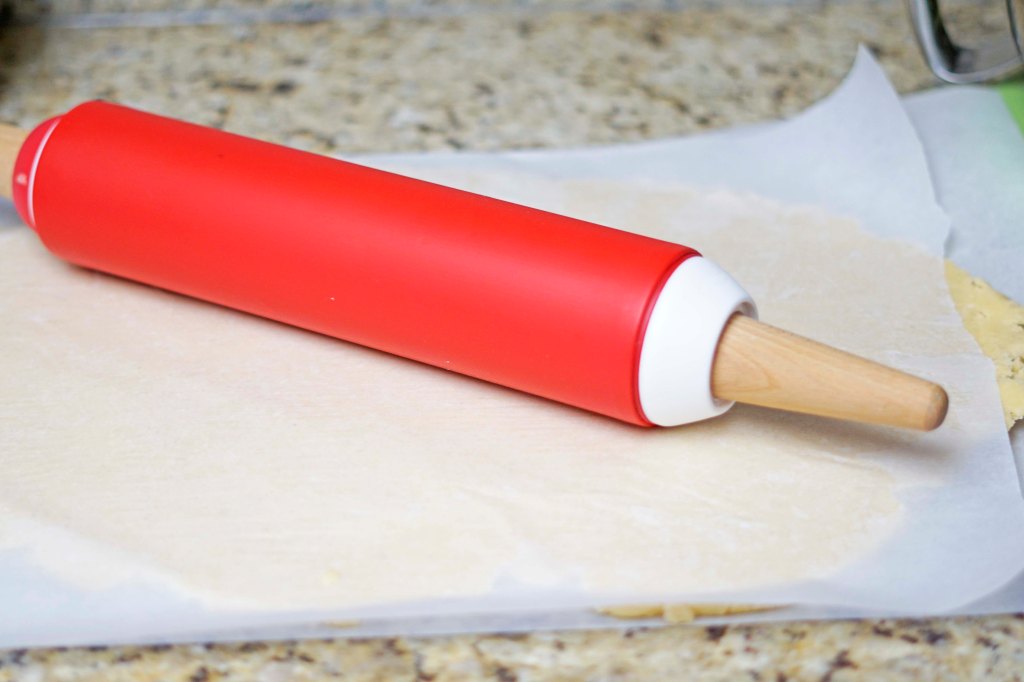
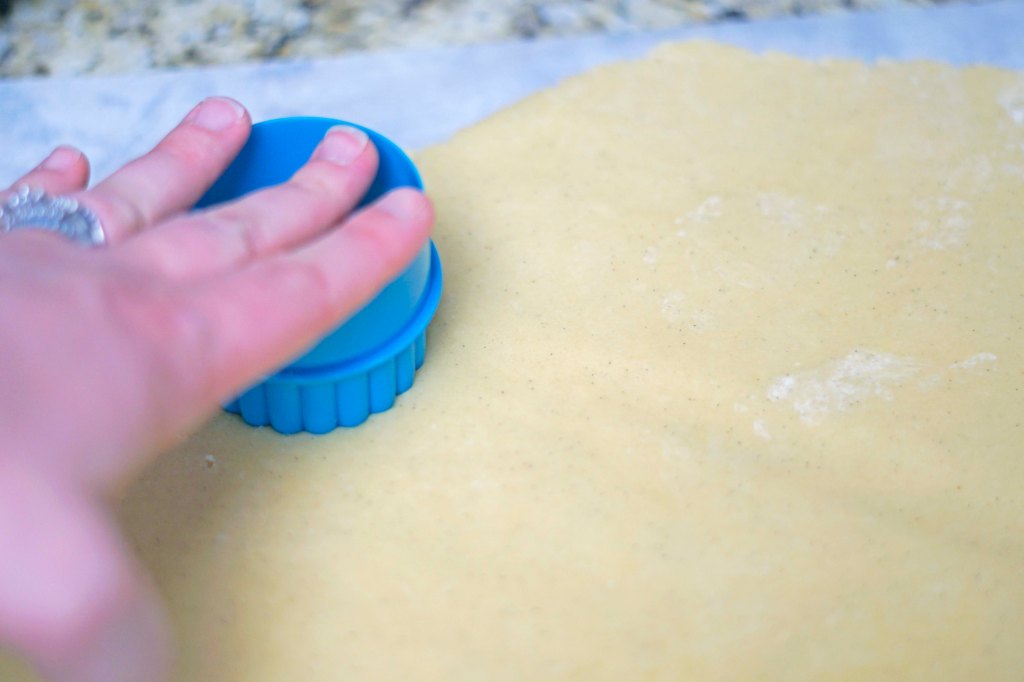
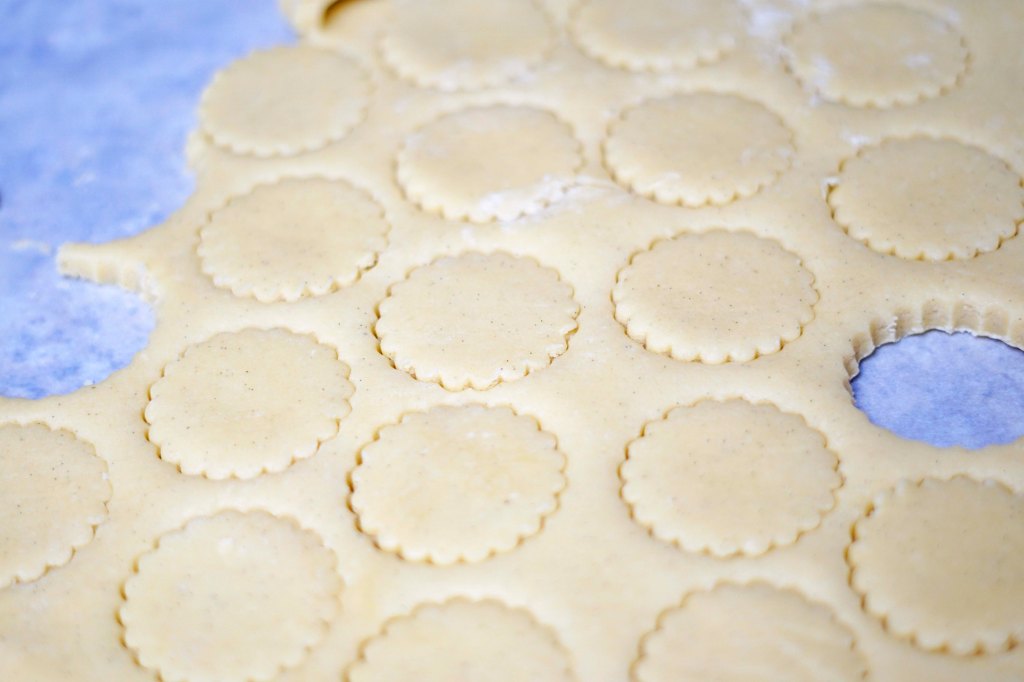
I dumped the dough out onto a piece of parchment paper and used my favorite rolling technique of rolling dough between two pieces of parchment paper to roll it out. This eliminates the need to add extra flour to your dough, and keeps everything nice and clean. I haven’t invested in a system to use when rolling out dough to make sure you have the same thickness throughout. There are several options out there – rolling pins with different thickness rubber bands on the sides or rails that you put on your counter and use your rolling pin to roll the dough out between the two rails. I would love to hear opinions of those to have used either! Since I don’t have a system though, I just rolled it until it looked thick enough to really test the “no spread” claim of this dough and used a fluted cutter because I wanted to see if the beautiful shape would hold through baking.
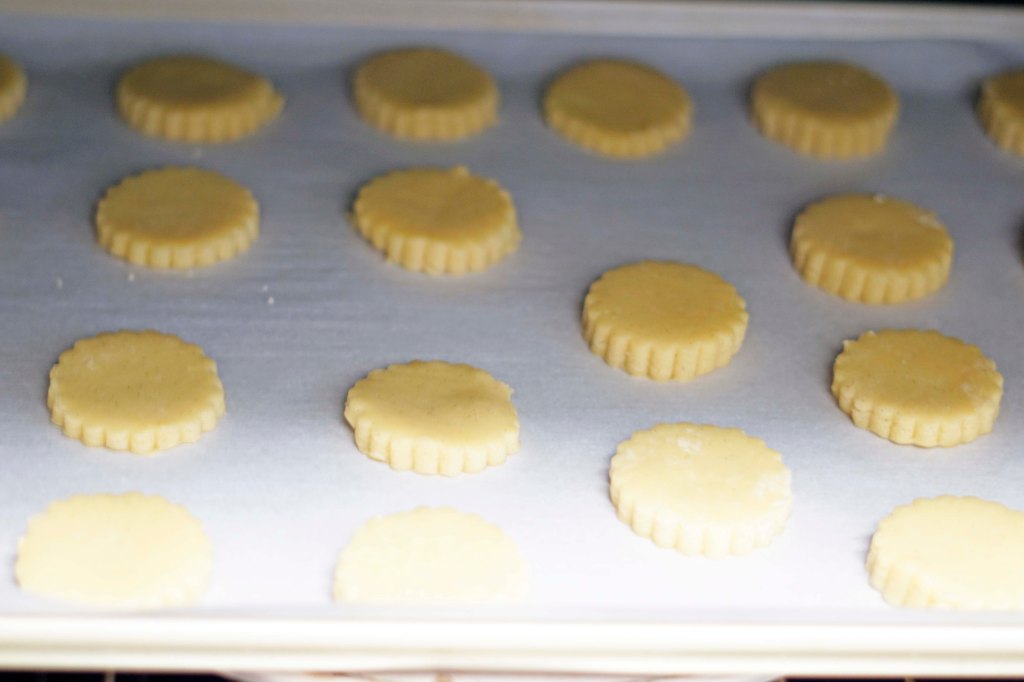
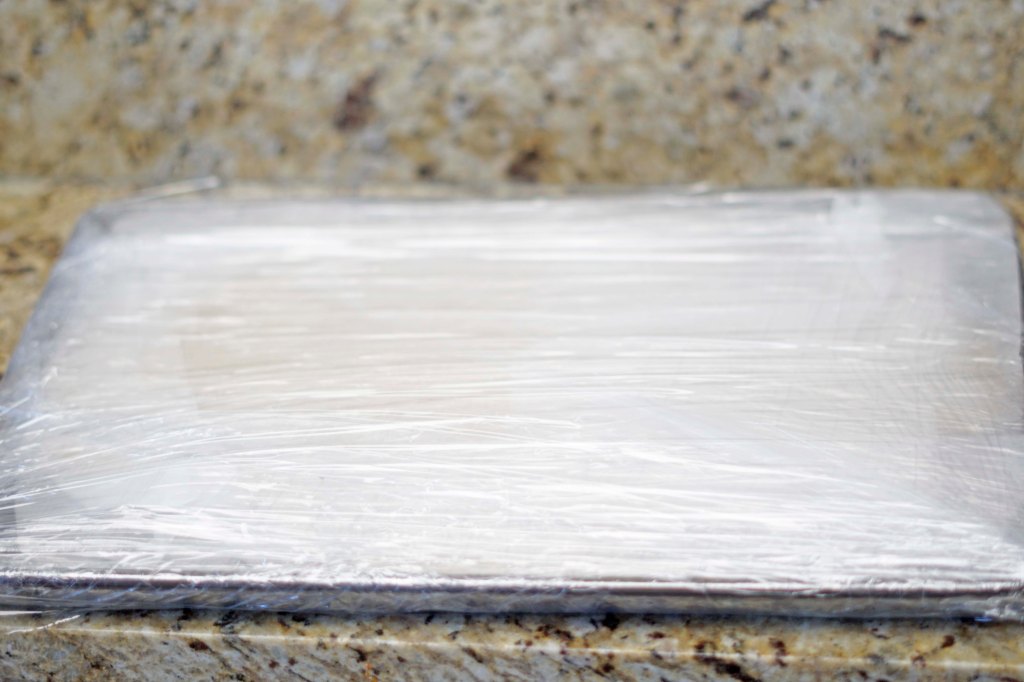
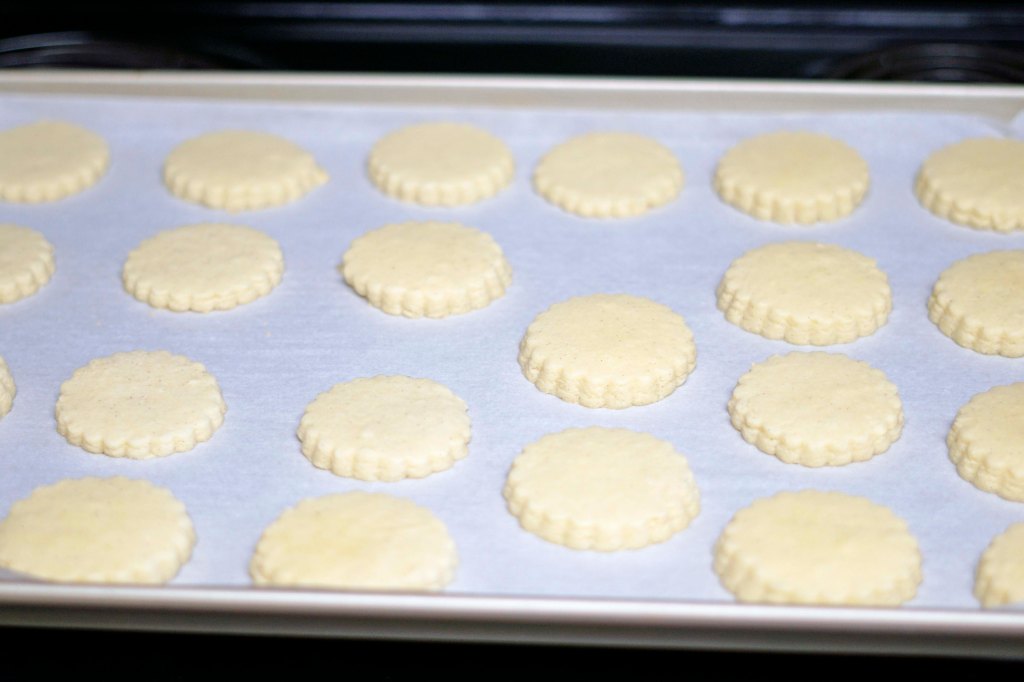
I transfer the cut cookies to the prepared baking pan with a small offset spatula in an effort to keep as much detail as possible in their shape. I put the cookies in the 325 F degree oven and checked them at 10 minutes. I was looking for them to just begin to look set, but not browned at all. The majority of my cookies were still glistening, so I let them go from another 2 minutes and then pulled them out of the oven. The second picture above is what I did with my extra dough. I used gathered up my scraps and re-rolled it between the parchment paper, then wrapped it up in the parchment, placed it on a tray that fits in my freezer, and then wrapped it in plastic wrap and put it in the freezer for a future cookie project – rolled and ready to be cut and baked!
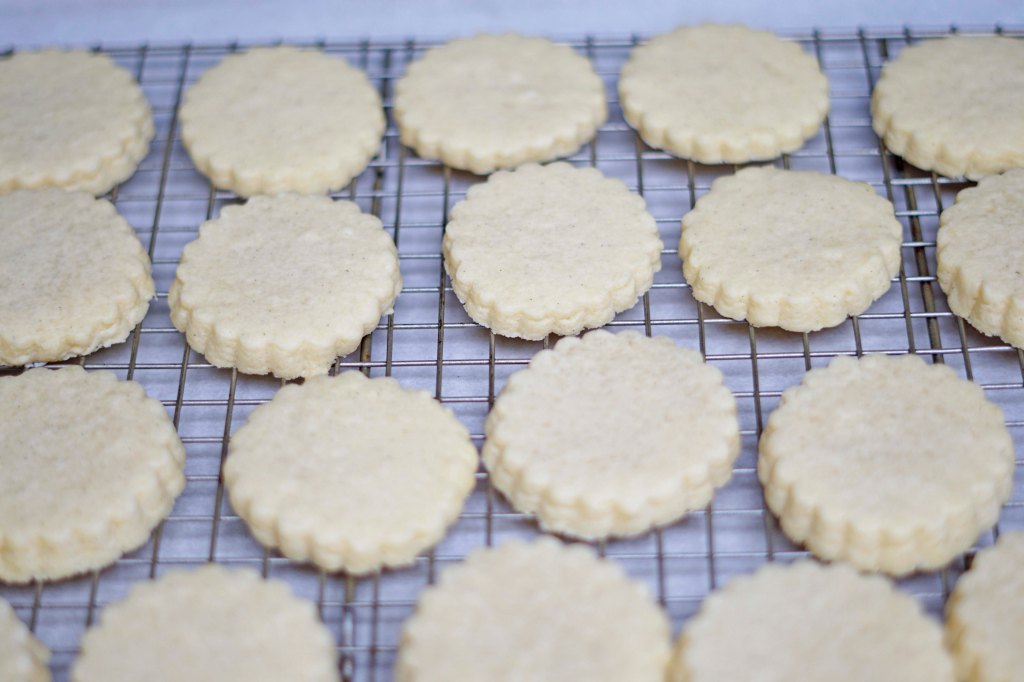
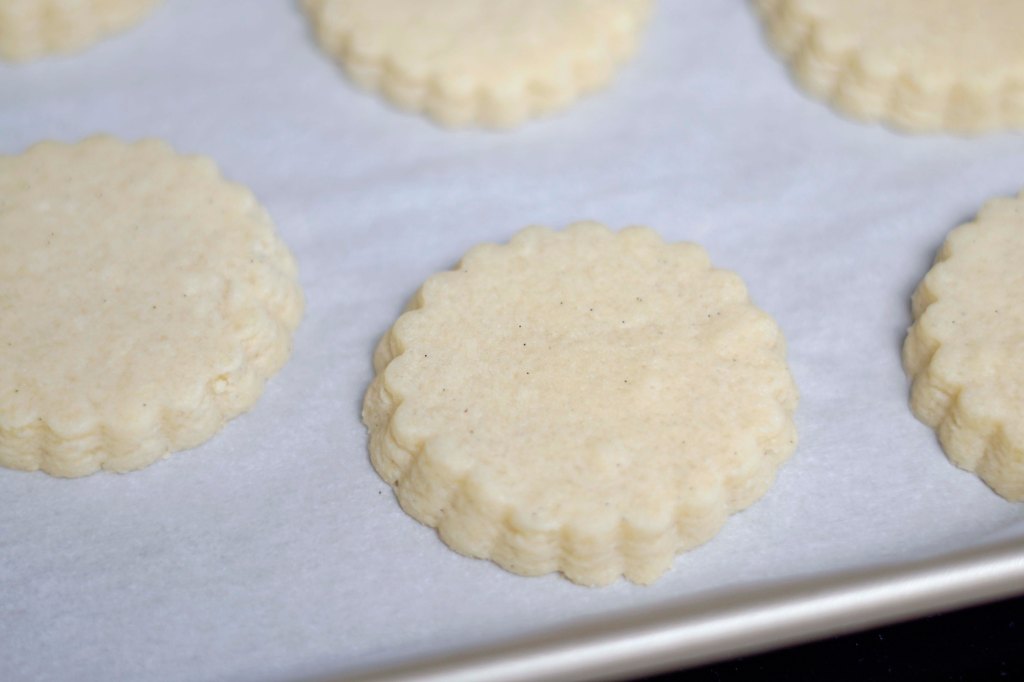
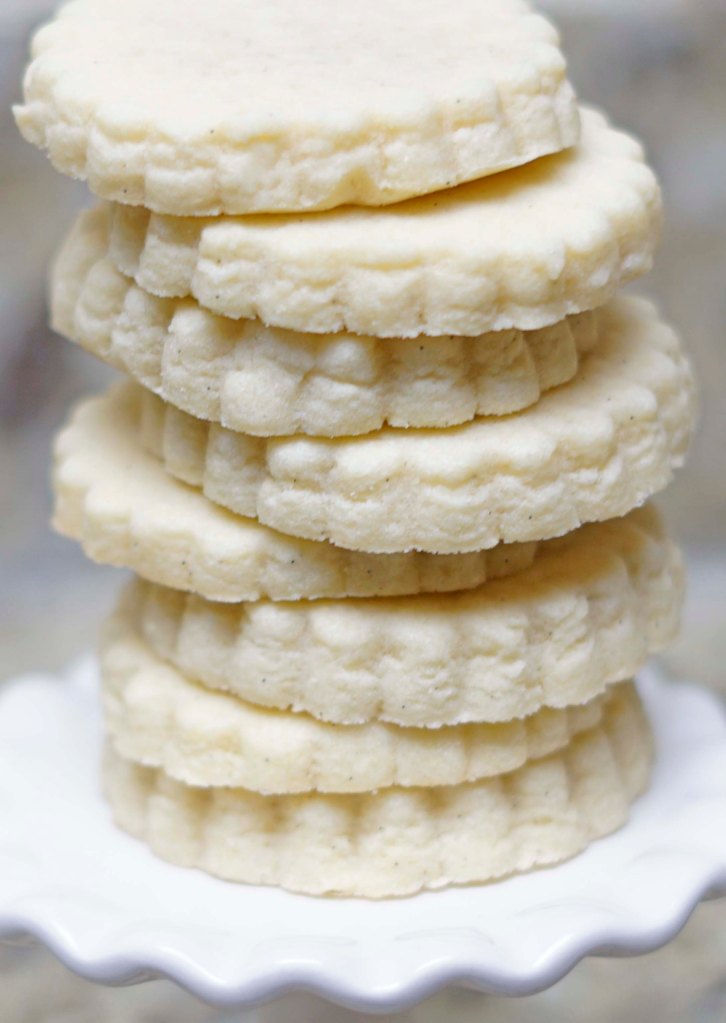
I let the cookies cool on the cookie sheet for 3 minutes and then transferred them to a cooling rack. I was so impressed by how defined the fluting still looked after these came out of the oven! The specs of vanilla bean looked beautiful and they were tender and most importantly delicious! The flavor of these reminded me of another family favorite cookie, so I have a feeling that these will be a hit. Kevin came home late from a work dinner after I made these. He was complaining of being super full, but I made him try a cookie, and even though he said he couldn’t eat another thing, he finished it with a glowing report (this bodes will for future Thanksgiving desserts!)

Final Thoughts:
- No spread sugar cookies might actually exist!
- I think I’ve been getting my butter temperature wrong for sugar cookies for quite some time now.
- These are pretty sweet, so if you are looking for a more complex sugar cookie flavor, this might not be that recipe.
- I need a system for rolling out my cookies to make sure they are all the same thickness.
- I can’t wait to make these for my mom and sisters to get their opinions on them!
Recipe: Sugar Cookies the Keep their Shape
- 32 Tablespoons of cool unsalted butter
- 2 Cups granulated sugar
- 1 Teaspoon salt
- 2 Cold eggs
- 1 Tablespoon vanilla bean paste or extract
- 6 Cups all purpose flour (scooped and leveled)
Instructions:
- Preheat oven to 325 F degrees and line a baking sheet with parchment paper and set aside
- Place butter, sugar and salt in a mixer with a paddle attachment and mix on the lowest speed until just mixed together. Scrape the sides and bottom of bowl as needed.
- Add the 2 cold eggs and vanilla. Mix again on low until just incorporated. It is okay if it looks curdled. Scrape the sides and bottom of the bowl as needed.
- Add the flour in 3 batches to the mixer. Mix on low just until the dough begins to pull away from the sides of the bowl. Knead in any extra scraps at the bottom by hand.
- Dump dough onto a piece of parchment paper and top with another piece of parchment paper. Roll to your desired thickness.
- Cut out desired shape of cookie. Transfer to prepared baking sheet.
- Bake 10 – 14 minutes (14 is MAX – you don’t want any color on the cookies)
- Cool cookies for 3 minutes on the cookie sheet and then transfer to a cooling rack.
- Enjoy or top with icing!
Recipe adapted from 6 Cakes & More

These look awesome. Do we have to wait until Thanksgiving to try these?
LikeLike
Haha nope! Just let me know when you want some!
LikeLike