
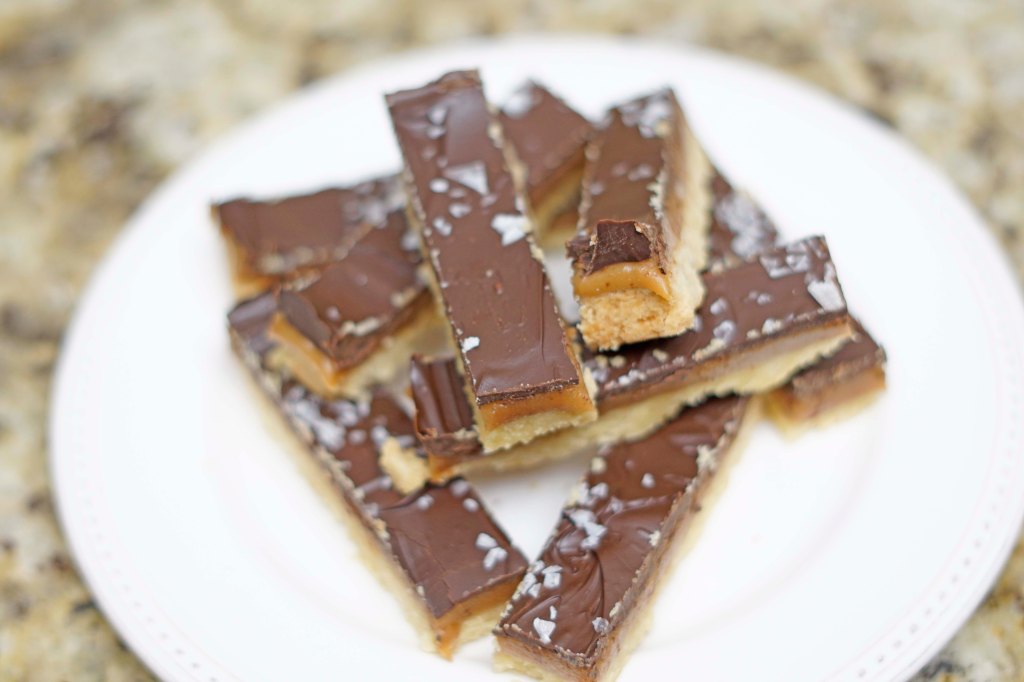
As I continue to work on making new recipes each week and publish my trials, tribulations, errors, triumphs and new favorite things here on the blog – I am always looking for reasons to bake. Kevin is very frequently sent to work these days with a container full of treats to pawn off on his co-workers. So, if I can find a great reason to bake and take pictures of the process – it is a win-win. That was the case when it came to these millionaire bars. Some new friends had a super exciting week and we wanted to help them celebrate. I remembered that they said that Twix candy bars are their favorite candy bars so, I hoped that these bar cookies would be a hit. In case you aren’t familiar with millionaire bars they have a crunch shortbread crust, a thick layer of caramel all topped with a thin layer of bittersweet chocolate.
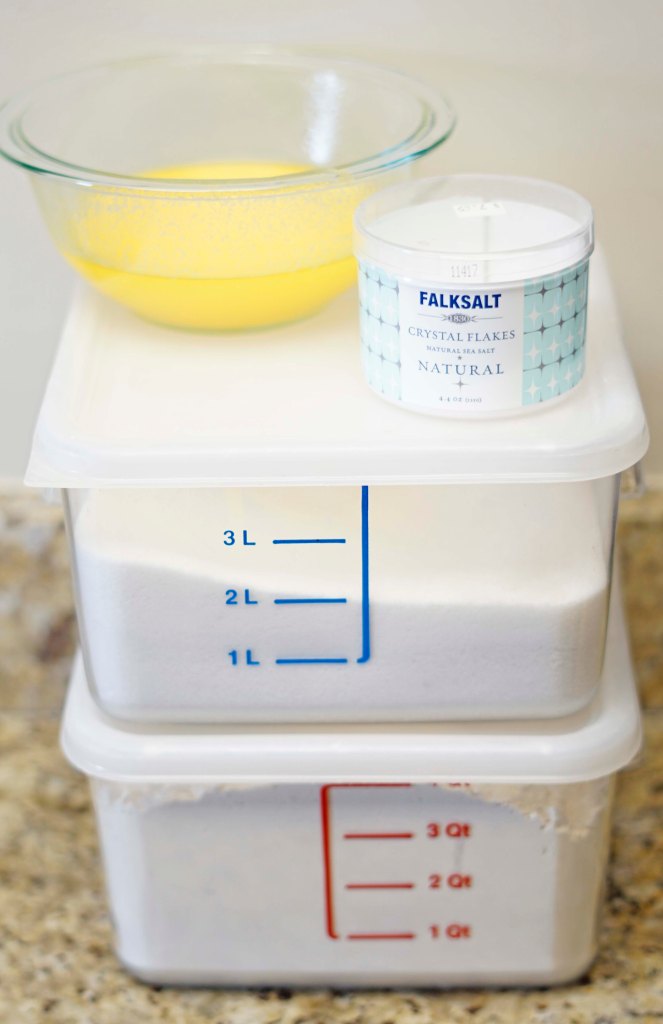
The recipe that I decided to make for millionaire bars came from America’s Test Kitchen. The shortbread crust layer of the bars has 2 1/2 cups of all purpose flour, 1/2 cup granulated sugar, 1/2 teaspoon salt and 16 tablespoons of melted butter. Melting the butter in this recipe surprised me because almost every other recipe I read cut cold butter into the flour and sugar and then pressed this crumbly mixture into a pan. Just like any other ATK recipe though, I know there was a great deal of trial and error put into developing this recipe, and I decided to follow the directions and see how it would turn out.

Before beginning the crust, I moved a rack in the oven to the lower-middle position and turned it on to preheat the oven to 350 F degrees. Then I lined a 9-by-13-inch baking pan with parchment paper and foil. ATK recommends lining the pan with a foil sling by folding two long pieces of foil into the pan in opposite directions with extra foil hanging over the side. Then, when the bars are all bake, layered and completed, they are easy to pull out of the pan before slicing. I also melted the butter in the microwave until a few pieces are still visible and then mixed the butter with a spoon until all the pieces were melted together to keep it from being too hot.
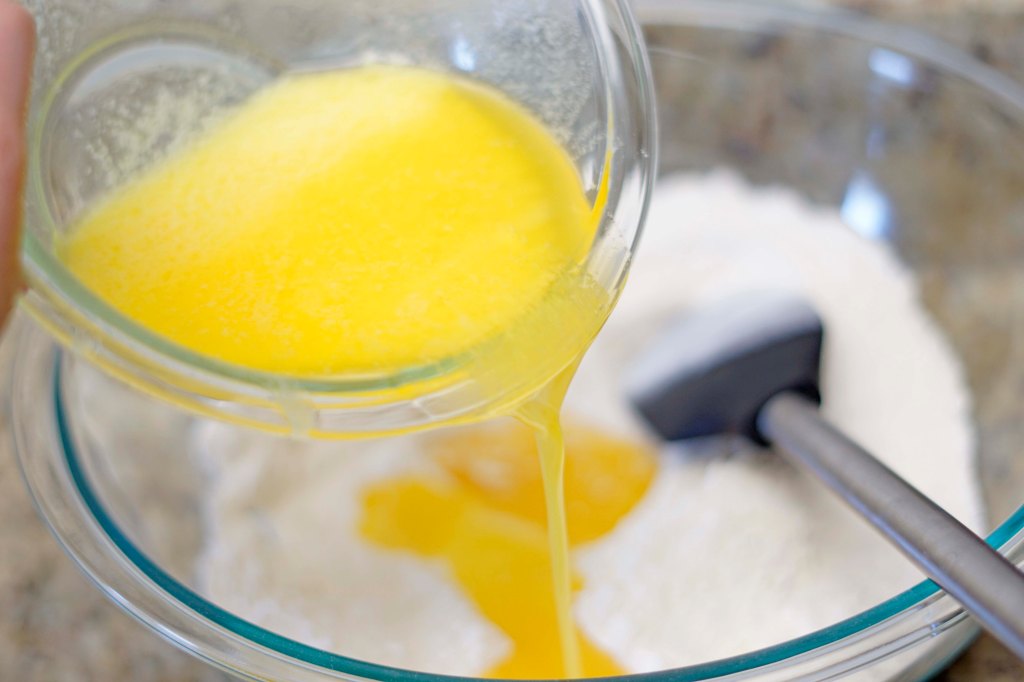
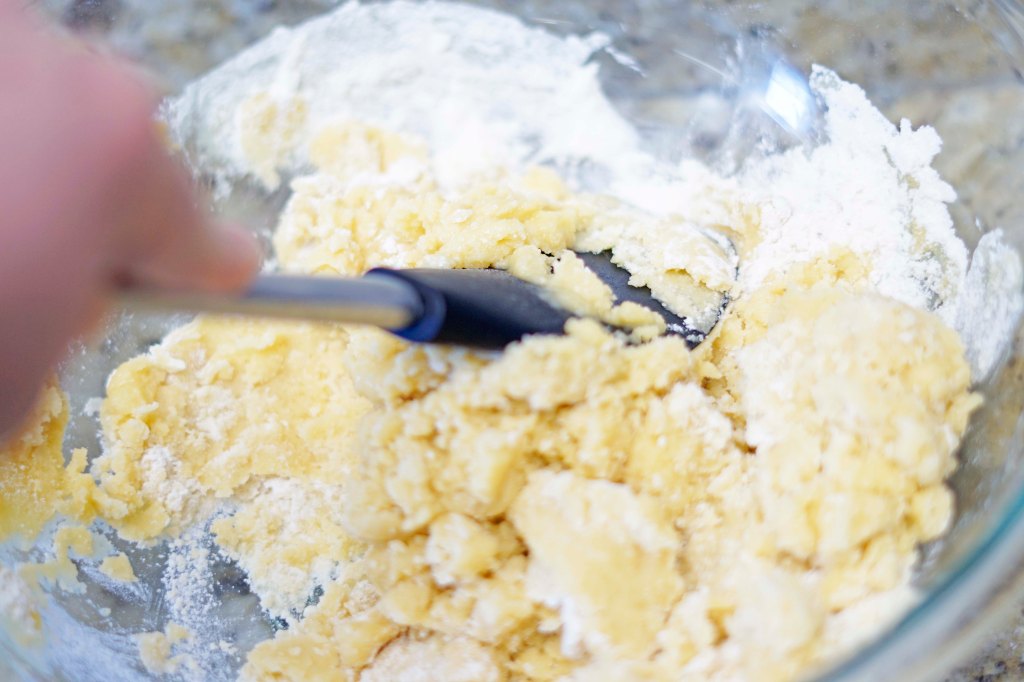
To make the crust, I combined the flour, sugar and salt in a large bowl and mixed them all together. Then I poured the melted butter over the top of the mixture and used a rubber spatula to mix them together. I made sure to use a pushing technique with the spatula to make sure all the butter is incorporated into the dry ingredients.
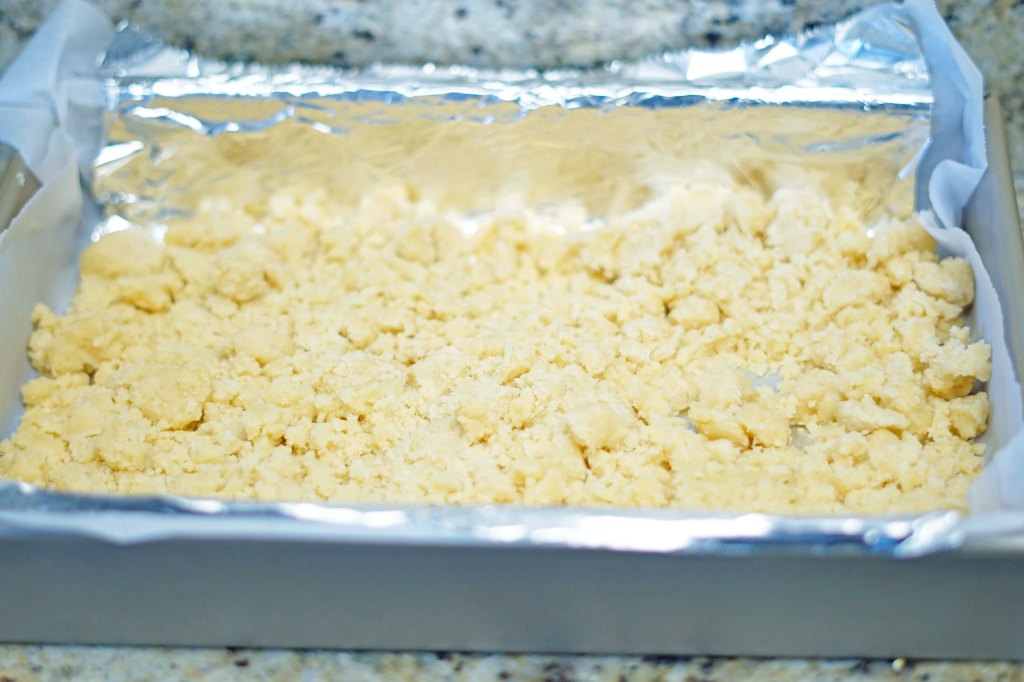
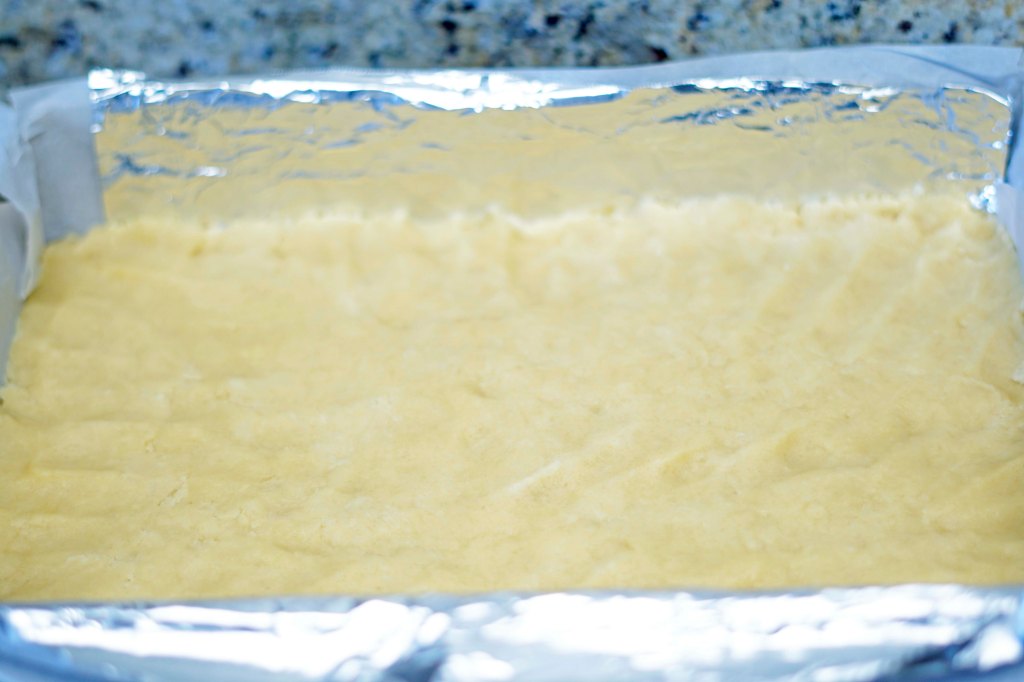

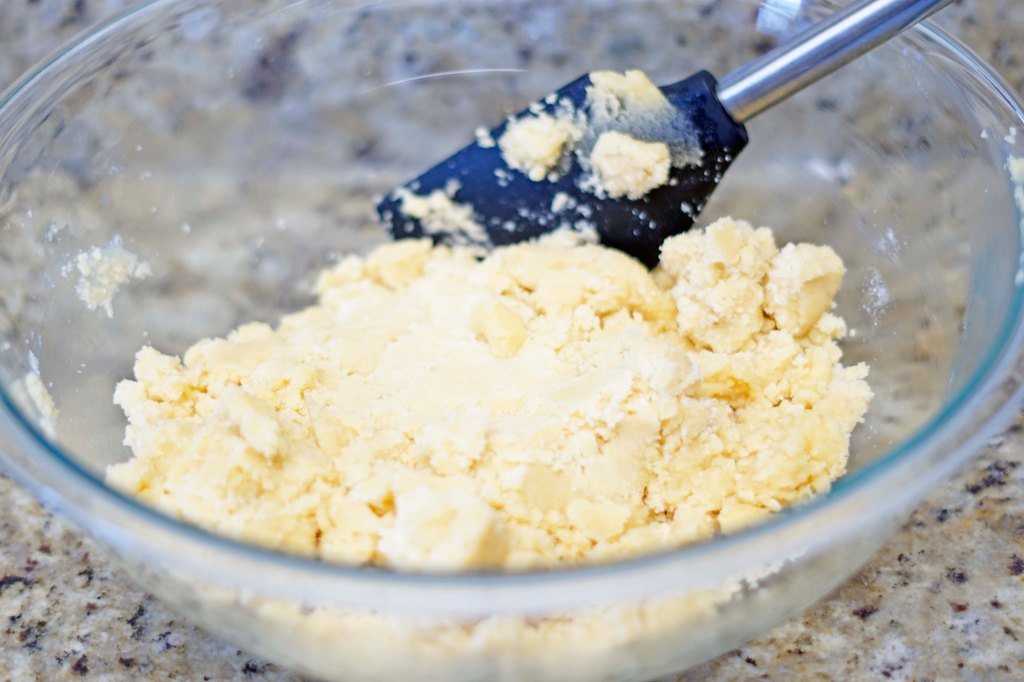
Once the mixture is all moistened and mixed, I crumbled it over the pan to make sure it is evenly distributed and then used the back of my hand to gently press the dough down into an even layer. I worked carefully to make sure that the dough went all the way into the corners. Then I used the tines of a fork to dock the dough every inch or so. This just means that I pricked the dough all the way to the bottom of the pan with a fork to make sure the dough doesn’t rise or puff up while baking.
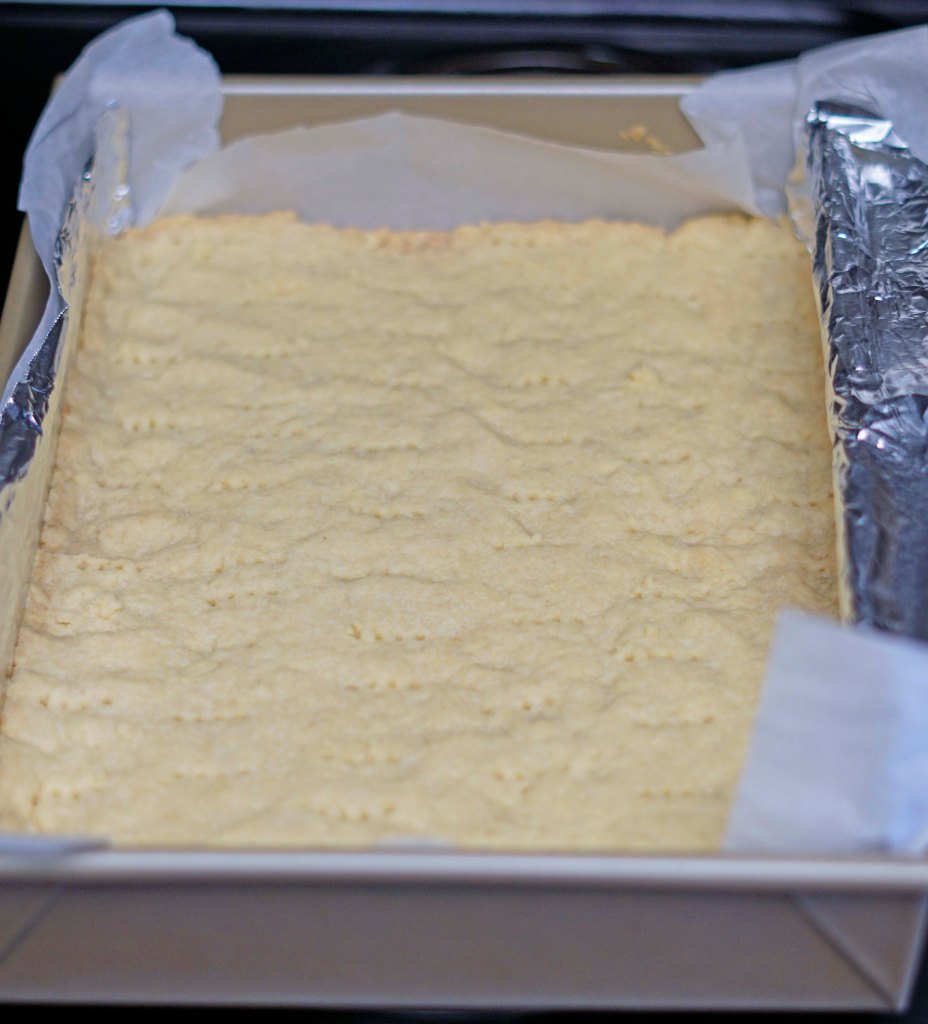
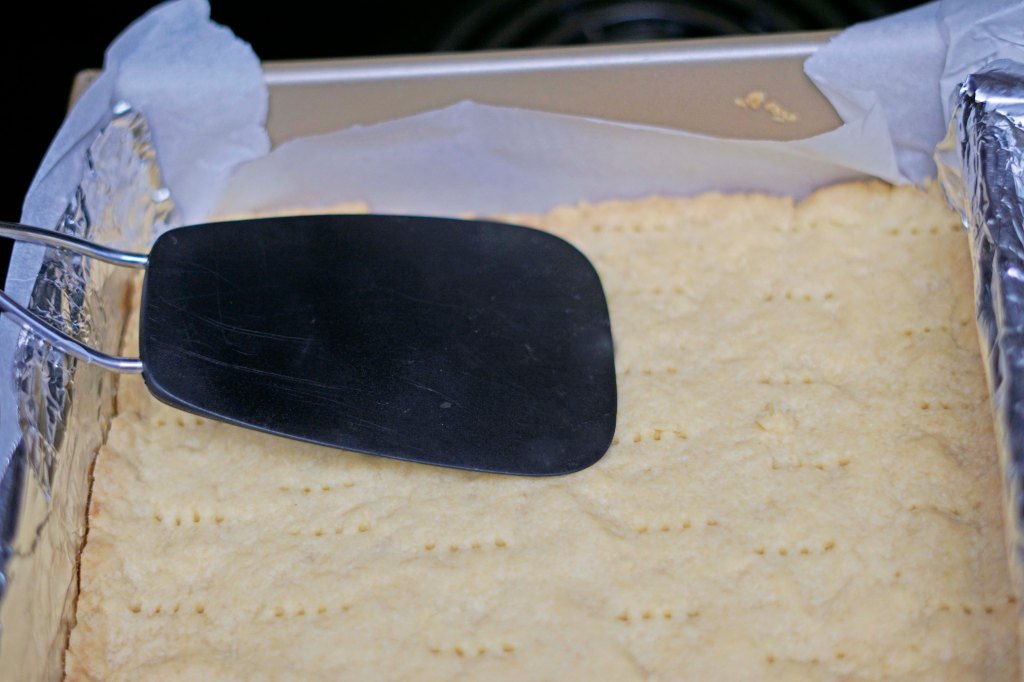
I baked the shortbread crust in the 350 F degree oven for 25 minutes and checked it to see if it had browned and was firm to the touch. My dough needed about 2 more minutes to reach the perfect state. Then I used the back of a spatula and my hand to compress the shortbread crust down while it was still hot. This makes the bars easier to slice later without totally crumbling apart. It does get a little hot while doing this, so feel free to hold a clean dish towel in your hand while pressing down on the flat part of the spatula so that your hand doesn’t get too hot. Afterwards, I left the shortbread layer to cool. (I actually did this layer during the afternoon and then finished the rest after the boys went to bed. So you have time here if you need it.)
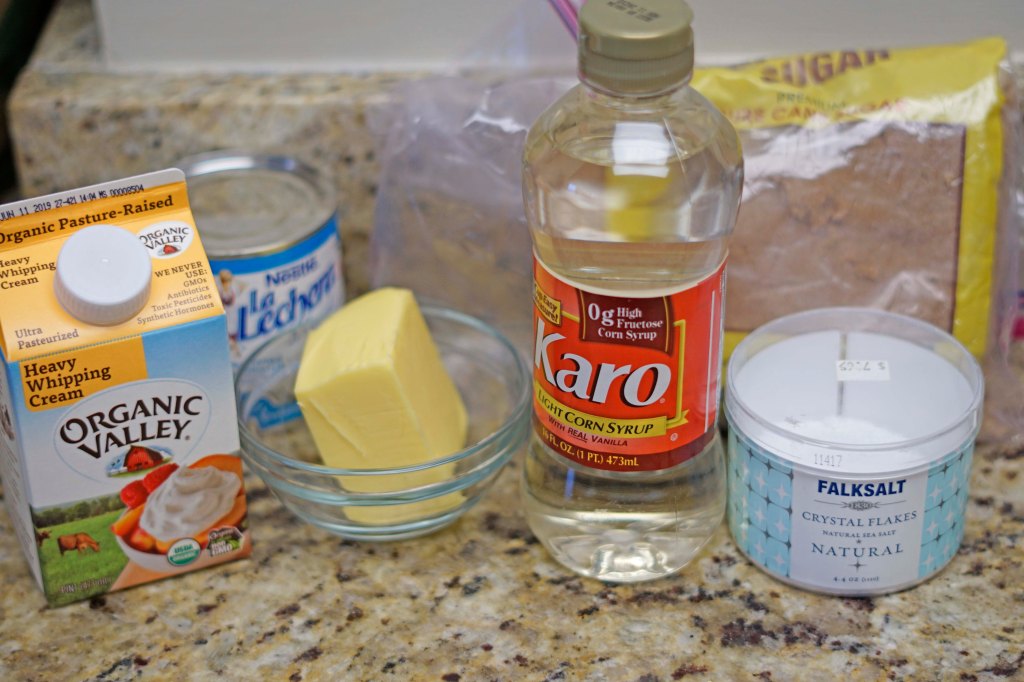
For the yummy caramel layer you will need, 1 (14 oz) can of sweetened condensed milk, 1 cup of packed brown sugar, 1/2 cup of heavy cream, 1/2 cup of corn syrup, 8 tablespoons of butter, and 1/2 teaspoon of salt.

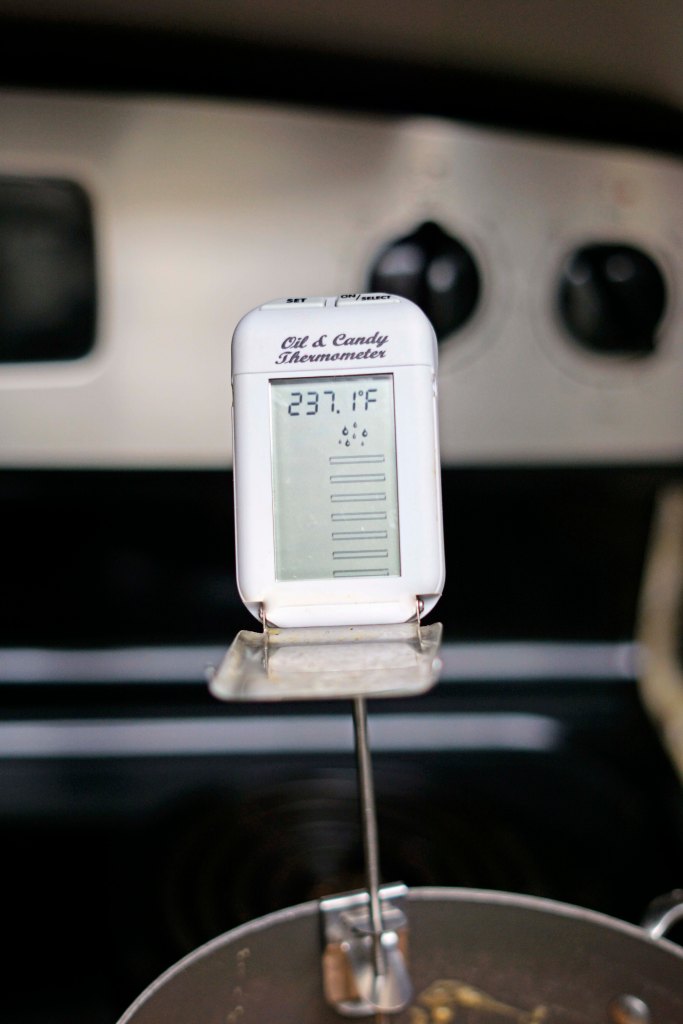
This caramel mixture is really very simple to make, the trickiest part is paying close attention to the temperature of the mixture. I like to use a candy thermometer that I attach to the side of the pot, but other instant read thermometers would also work well here. I have been wanting to invest in a ThermoWorks one for a while, but haven’t taken the plunge yet. I’m pretty sure I’d have to share it with Kevin- not too sure I want my candy thermometer to be used on the grill…
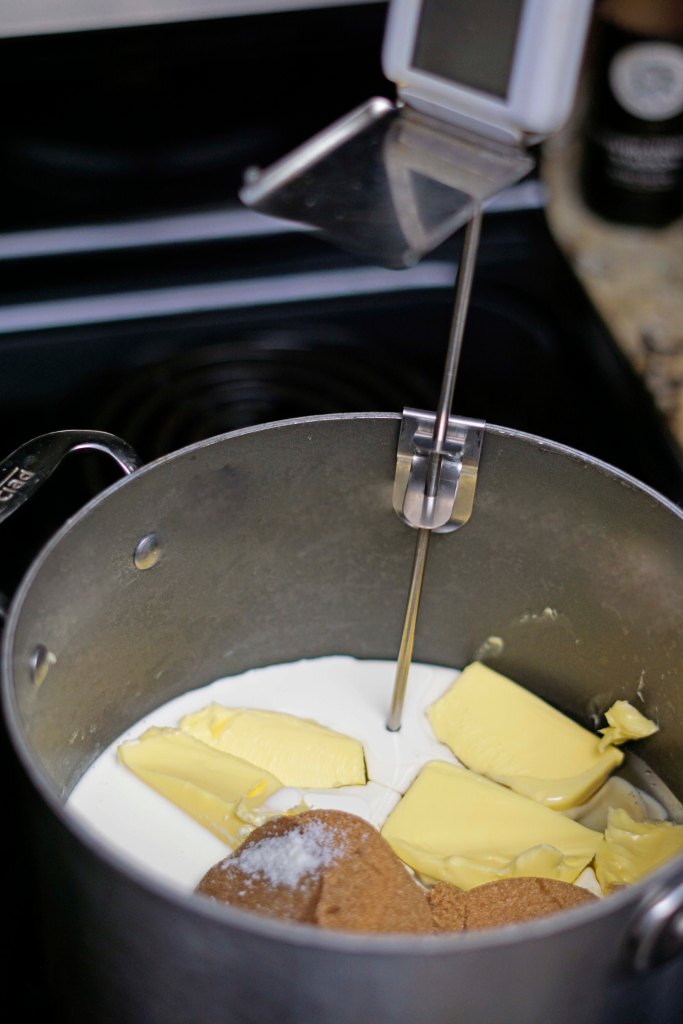
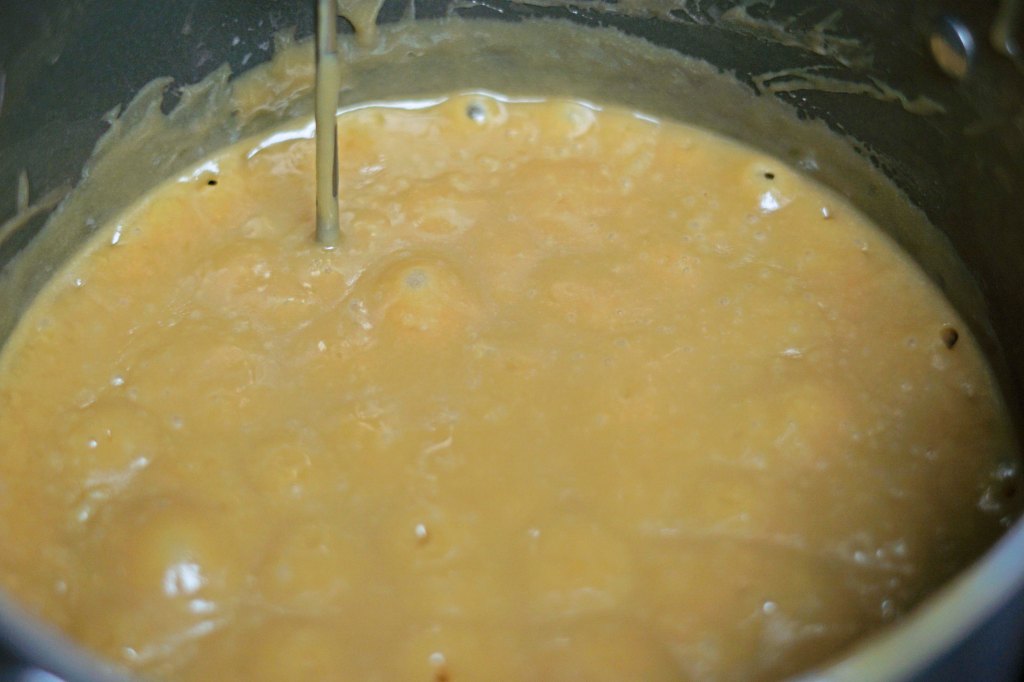
Anyway…. to make this caramel layer you want to use a larger pot than you think you need and make sure it is heavy bottomed – if it is thin you caramel is at a much higher risk of burning while you are cooking it. Also if it isn’t large enough your caramel may boil over the top. Put all your ingredients into the pot and attach your thermometer and cook it on medium to medium-high heat until you reach 236-239 F degrees. While it is cooking you will want to stir it frequently to keep everything coming together and move around any hot spots that form in the caramel so that it don’t burn. As soon as it comes to the correct temperature, you want to pull your pan off the burner and pour it over the shortbread layer. (Next time, I think that I am going to add a little vanilla right after it comes to the correct temp.)
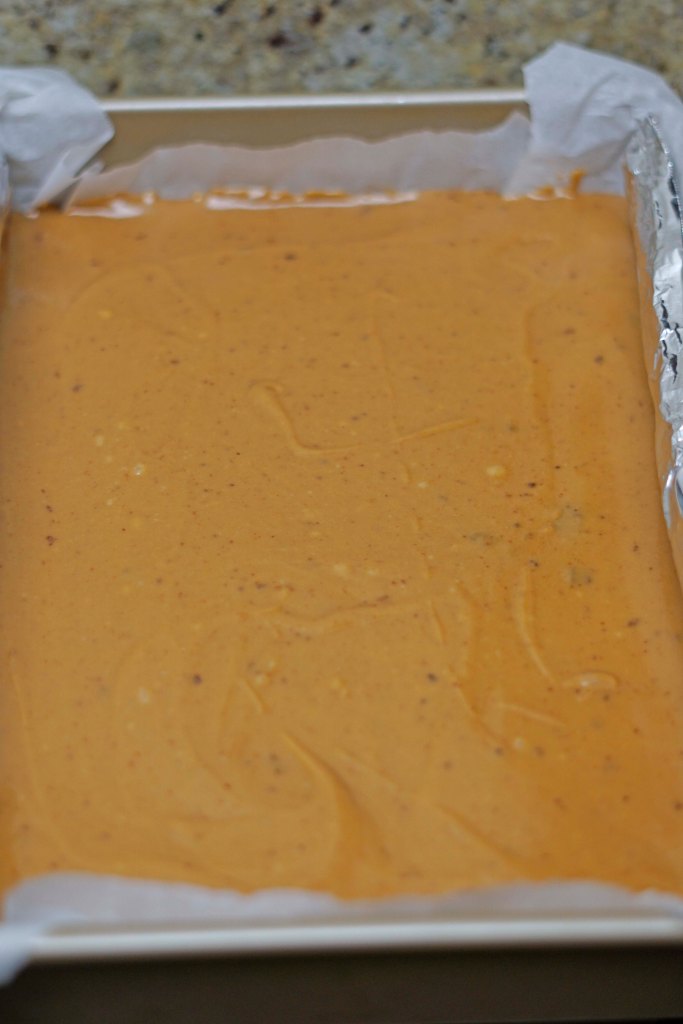
Once the caramel is on top of the shortbread layer, use an offset spatula to work the mixture into an even layer all over the pan. Pay extra attention to be sure it gets into the corners. This layer needs to cool and set and should be left alone for at least an hour and half.
*Quick Tip* When pouring your caramel into the pan, don’t scrape the sides and bottom of the pan – that is where the darker specks came from in my caramel. They are just spots that sat a few moments longer on the heat of the pan and darkened. They are not burnt and don’t affect the flavor but just don’t look as nice.
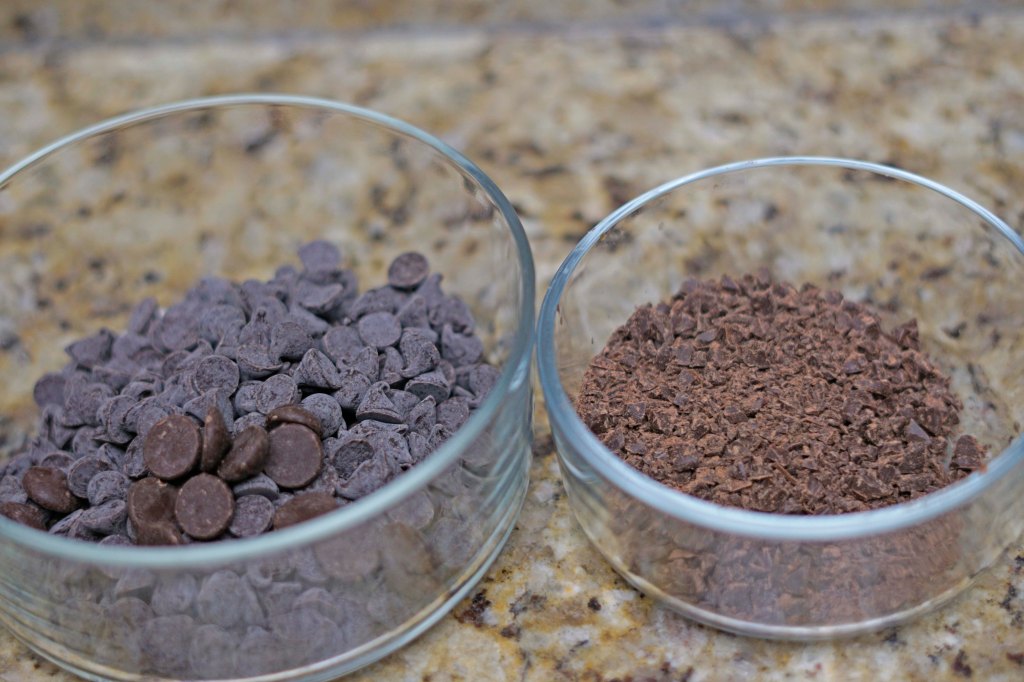
To make the chocolate layer, you will need to separate 8 ounces of bittersweet chocolate into two small bowls. Be sure to put the 6 ounces of chocolate into a microwave safe bowl. The other 2 ounces needs to be chopped extra extra fine or grated with a box grater on the smallest holes. (I was going to do this with the bar of bittersweet chocolate that I purchased but I forgot to read the label before I left the store and didn’t realize that the one I purchased said “May Contain Peanuts & Tree Nuts” which I try not to bake with due to my son’s food allergies so….chocolate chips to the rescue!)
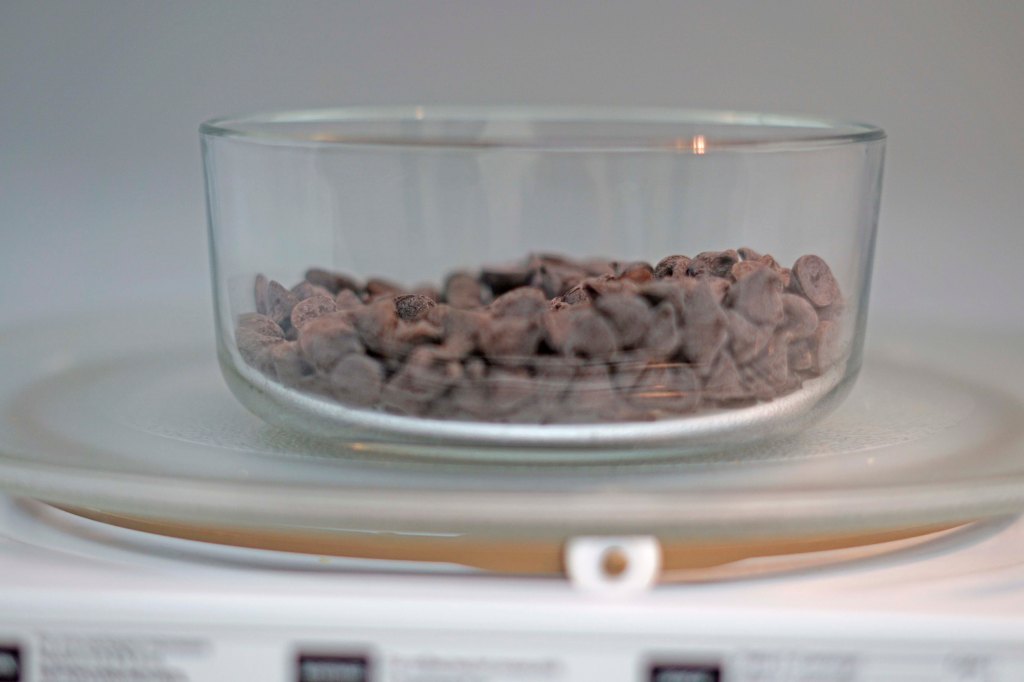
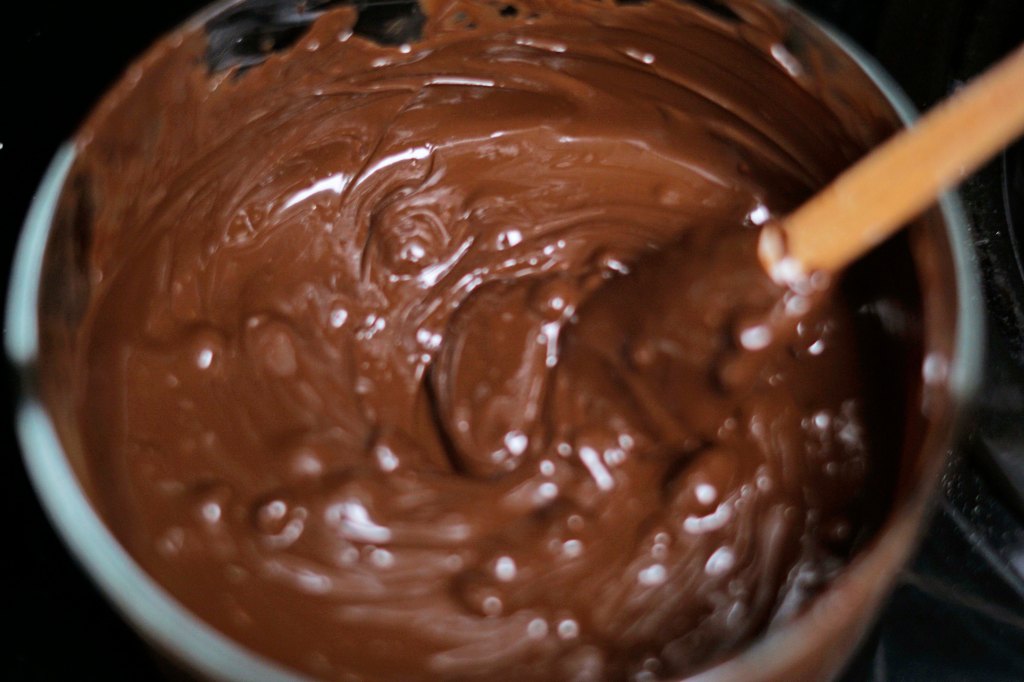
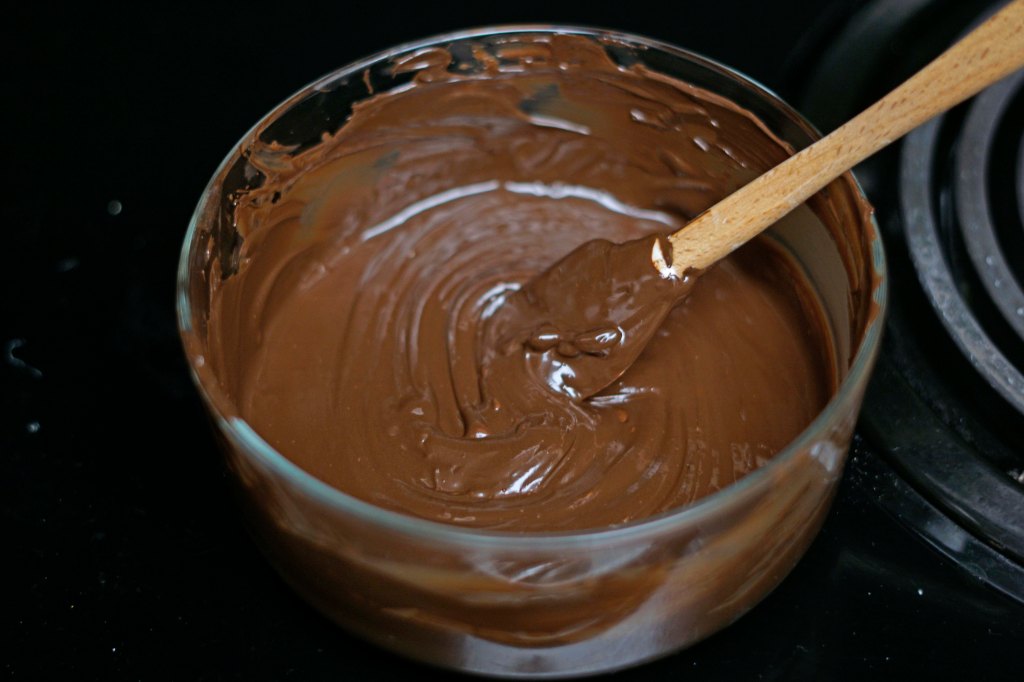
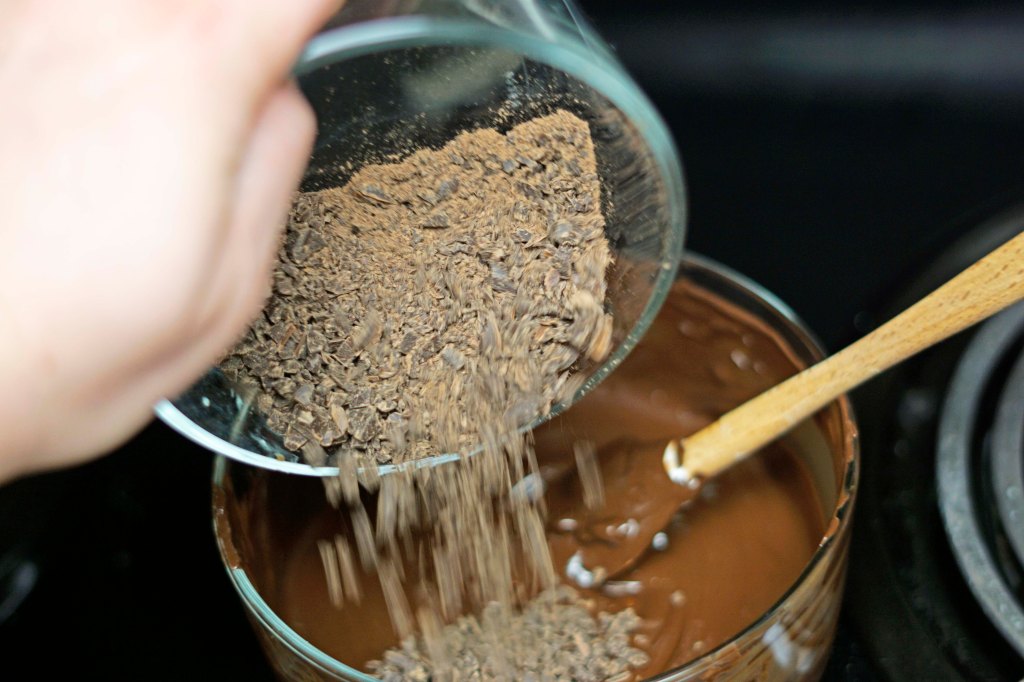

The goal of this step is to temper the chocolate so that it will be crunchy and shiny when placed onto of the bars. To do this, you melt the chocolate in the microwave by zapping it on 50% power for 15 seconds and then stopping to stir it each time. Then continue to do the this until most of the chocolate is melted, but not all. Keep stirring the chocolate until the heat from the bowl and the rest of the chocolate melts the rest and the chocolate is smooth. The bowl should not be much hotter than your body temperature at this point. Next, you are going to add the finely chopped/grated chocolate into the bowl of melted chocolate and mix until it is all smooth. If it is not all melting right away you can return the bowl to the microwave for no more than 5 seconds and then stir it to make sure it all comes together.

Working quickly, you want to spread the chocolate all over the top of the caramel layer evenly. I decided at this point to sprinkle a small amount of flaky sea salt on top of the chocolate layer. Then put the pan into the refrigerator until it is all chilled and just set. This only takes about 10 minutes.

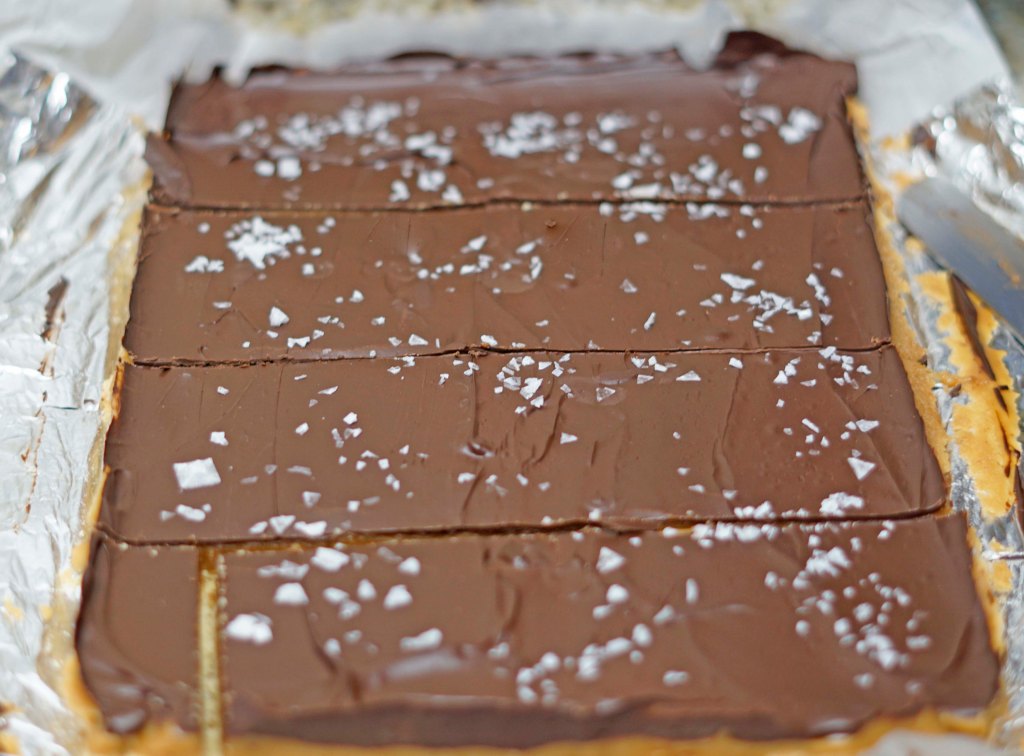
After the 10 minute cool down in the fridge, use the parchment paper and foil sling to pull the whole set of bars out of the baking pan. Then use a serrated knife to gently saw the the through the bars. First cut the bars in half creating two rectangles that are 6 1/2-inches-by-9-inches. Then cut each of those rectangles in half again creating four 3 1/2-inches-by-9-inch strips. Then cut each rectangle into 10 even pieces. I also trimmed a few of the pieces to make the edges prettier.
These bars are super rich and delicious. I wouldn’t say that they 100% taste like Twix bars but they are a wonderful treat! The shortbread really came out buttery and crisp. The caramel is soft, sweet, and smooth. The chocolate layer is thin but crips from the tempering and the bittersweet chocoalte adds the right amount of flavor difference to the sweet caramel. The flaky sea salt brings down the sweetness level of the whole treat and really rounds out the dessert. If you are looking for something special to make that isn’t too daunting, this is a great option!
Final Thoughts:
- These are some of the first layered bar cookies that I’ve made in a long time and I’m really proud of how they turned out.
- I have never made a caramel with sweetened condensed milk before – I think it turned out well texture wise, but I think that the flavor could use a little more interest. I think adding vanilla would help and maybe a little more salt to round out the sweetness.
- I was happy to hear that our friends enjoyed these treats to help them celebrate their amazing week.
- Kevin also said that these got great reviews from his coworkers.
Recipe: Millionaire Bars
Ingredients:
- Shortbread
- 2 1/2 Cups all-purpose flour
- 1/2 Cup granulated sugar
- 1/2 Teaspoon salt
- 16 Tablespoons melted butter
- Caramel
- 1 14 Ounce can sweetened condensed milk
- 1 Cup packed brown sugar
- 1/2 Cup heavy cream
- 1/2 Cup corn syrup
- 8 Tablespoons butter
- 1/2 Teaspoon salt
- Chocolate
- 6 Ounces chopped bittersweet chocolate
- 2 Ounces finely grated bittersweet chocolate
Instructions:
- Adjust the oven rack to the lower-middle position of the oven and preheat it 350 F degrees. Use foil or parchment paper to make a sling for the 9-by-13-inch baking pan by making two long strips that lay perpendicular to each other in the pan with extra to hang over the side to make it easy to remove the bars later.
- To make the shortbread layer – combine the flour, sugar, salt in a bowl and mix together. Add the melted butter and mix until all the ingredients are combined.
- Crumble the mixture over the pan and then press down to make sure it is an even layer across the bottom of the pan. Then dock the dough each inch before baking for 25-30 minutes or until the shortbread is golden brown and firm to the touch.
- Transfer pan to a wire rack. Using a sturdy spatula and a clean kitchen towel, gently press down on the entire surface to compress the shortbread while they it is warm (This makes it easier to cut later so that they don’t crumble.) Let the crust cool for at least 20 minutes or until just cool.
- To make the caramel layer – put all the ingredients together in a large, heavy – bottomed pot with a candy thermometer attached or with an instant read one ready. Cook all the ingredients over medium to medium-high heat while stirring frequently until the caramel reaches 236-239 F degrees.
- Pour the caramel over the cooled shortbread mixture (but don’t scrape the sides and bottom of the pot) and use an offset spatula to make sure the caramel reaches the corners of the baking pan and is in a smooth even layer. Let the caramel cool completely or at least an hour and half.
- To make the chocolate layer – microwave the 6 ounces of chopped chocolate in a microwave safe bowl on 50% power in 15 second intervals. Stir between each 15 seconds and repeat until almost all the chocolate is melted, stir to melt the rest of the chocolate. The bowl should be no warmer the body temperature.
- Stir the grated or super finely chopped chocolate into the smooth melted chocolate and mix until smooth and combined. If it isn’t totally melted heat in the microwave again for 5 seconds and stir until smooth.
- Working quickly, spread the chocolate over the caramel layer. Use an offset spatula to spread the chocolate into the corners of the baking pan and make sure the chocolate layer is smooth and level. Top with flakey sea salt and refrigerate for 10 minutes just until the chocolate layer is set
- Cut the bars- Use the sling to remove the bars from the pan and place on a cutting board. Using a serrated knife, gently saw the pan of bars in half to make two 6 1/2-inch by 9-inch rectangles. Then saw each rectangle in half again to make four 3 1/2 inch by 9-inch rectangles. Cut each of those rectangles into 10 even pieces. Clean up some of the edges if needed.
- Enjoy!
- The bars can be stored at room temperature between layers of parchment paper for up to 1 week.
Recipe adapted from America’s Test Kitchen and found on Key Ingredient

Oh my. All my favorite food groups in one bar; butter, chocolate, sugar and salt. This looks fabulous and you make it seem doable. Thanks!
LikeLike
Thank you! You should give them a shot- they are delicious!
LikeLike