
The answer so far is 3. Eek! It is a lot of cake. Luckily cakes 2 and 3 have been given away. The first cake though, is still slowly disappearing, sliver by sliver, right out of the the container it was put in on the kitchen counter. One cake was made to help us celebrate close friends who had a big weekend of closing on the sale of their house and then closing on buying a new house – all in the same day! The third cake was made for my super kind friend to take it to a meeting. She contacted me on Instagram after seeing my pictures and asked if she could buy one since she didn’t have time to bake this week. I am so happy to be selling treats to friends and family in Chicago. I have a total of 3 clients so far, but it has be such a fun and exciting way to keep making treats that hopefully bring joy to others. So if you are local and looking for some treats – reach out!
Back to this cake recipe – I found the recipe while I was searching the blog Real Baking with Rose. I didn’t really know what I wanted to bake, but I know that the yellow cake recipe I made of hers turned out amazing, so I figured anything on her blog is worth checking out. It turns out that this recipe is actually from Lisa Yockelson of Baking Style Diary that was published in the Boston Globe. No matter who wrote and published it though, it is super tasty and delicious. I was in the mood for pound cake, but as Kevin helped point out, I already have a tried and true pound cake recipe that I make, so I wanted to find something in that same field but a little new and different. This really fits the bill if you are looking for an easy to make cake that looks pretty and tastes yummy!


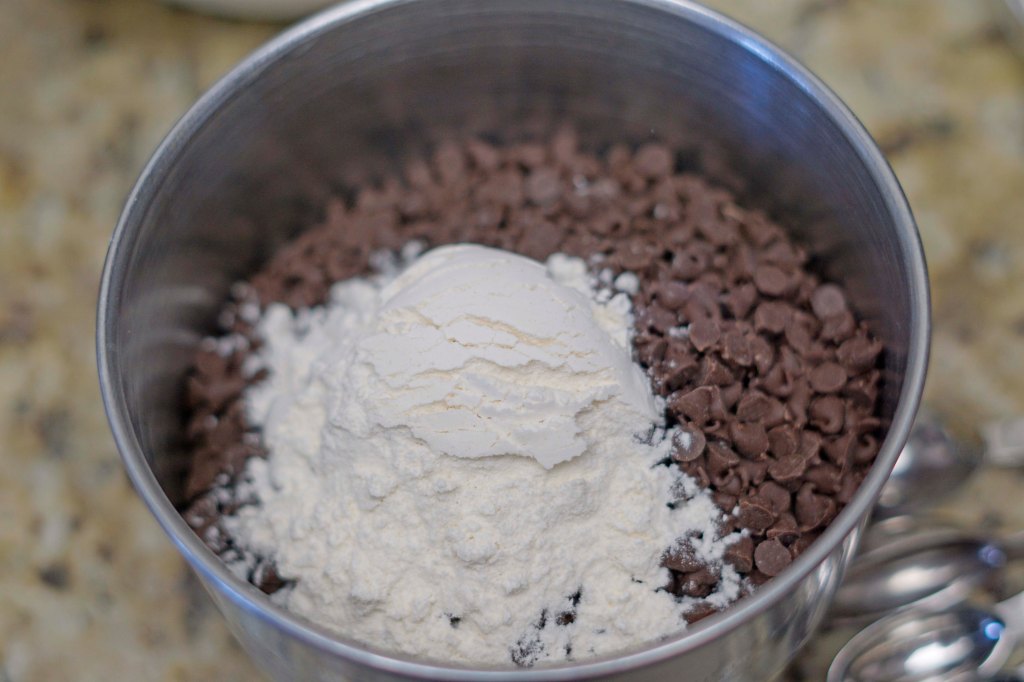
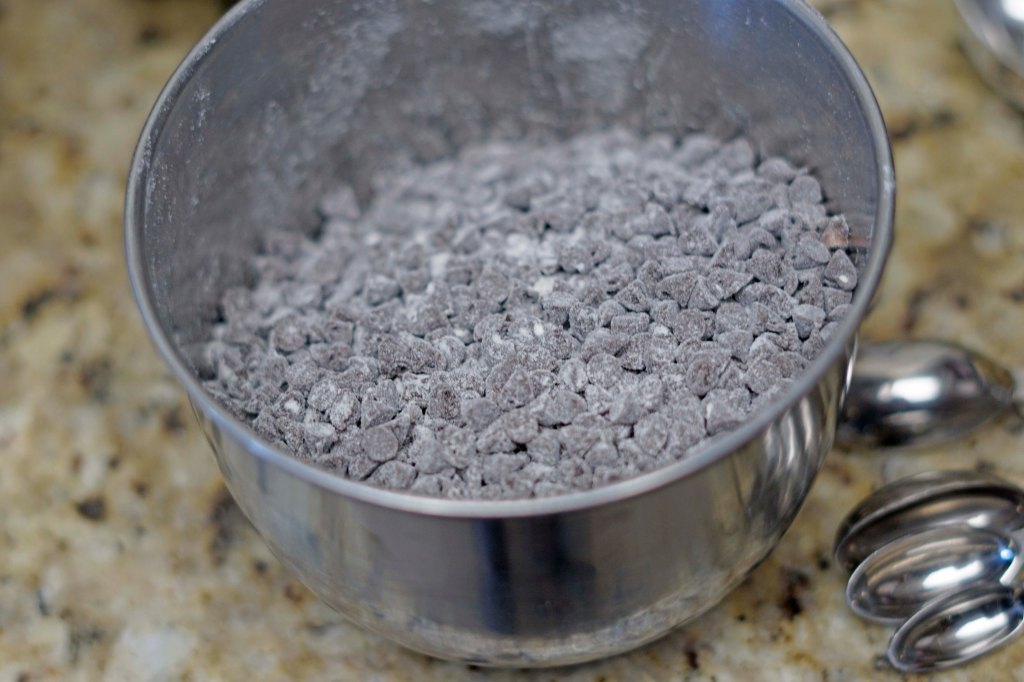


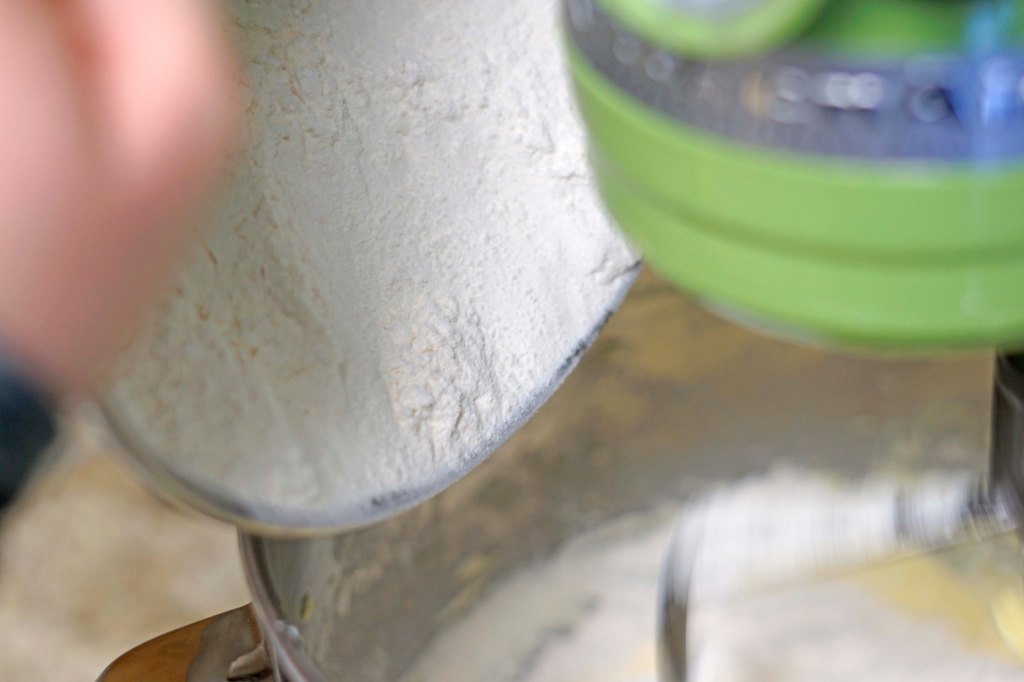
To get ready to bake, first I borrowed a tube pan from my friend Emily (Neither of us had a true bundt pan and my tube pan is somewhere in our storage unit until we move again). Then, I preheated my oven to 325 F degrees and sprayed my pan with baking spray that has flour in it. This makes it super easy to prepare your pan, but if you don’t have this you can also butter your pan with soft butter and lightly flour it. I did this on my last round of baking because I ran out of spray and it worked great. Then I measured out 3 cups of all purpose flour (scooped and leveled), 2 1/4 teaspoons baking powder, and 1 teaspoon kosher salt. I whisked this all together. Then in a smaller bowl I added 2 tablespoons of the flour mixture to a bag of mini chocolate chips (about 2 cups). This helps keep the chocolate chips from sinking to the bottom of the pan during baking. I also measured out 1 cup of half and half and added my flavorings to the liquid. I chose 1 teaspoon vanilla and 1 teaspoon almond extract (This is great if you like a stronger almond flavor, but I toned it down to 1 1/2 teaspoons vanilla and 1/2 teaspoon almond for the cakes I’ve made for others). I also cracked 4 whole eggs into a bowl and added 1 extra egg yolk.
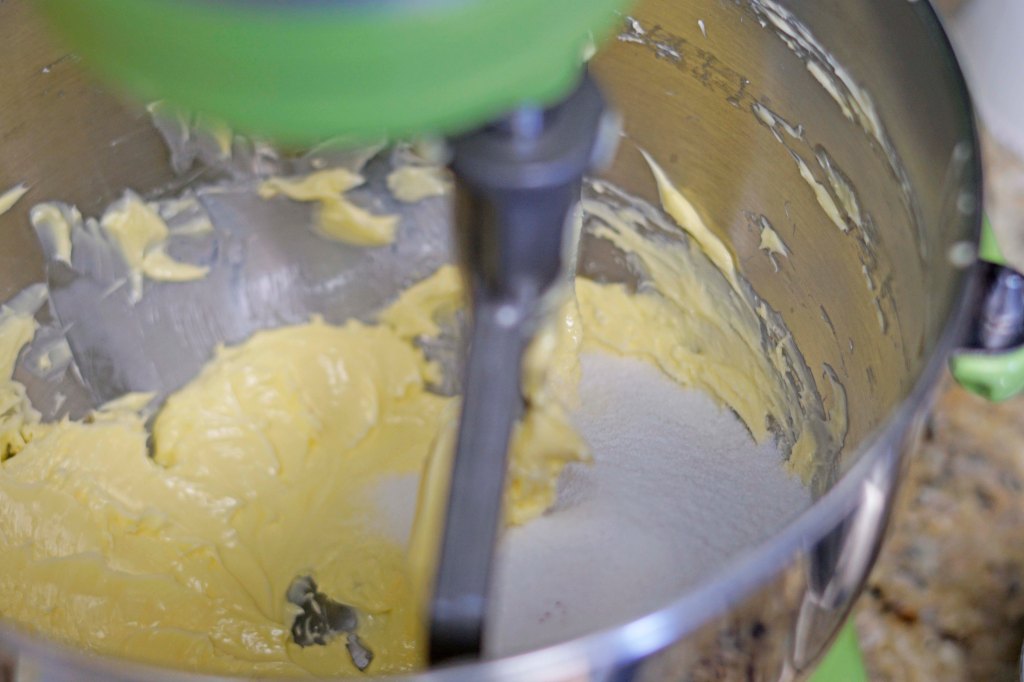


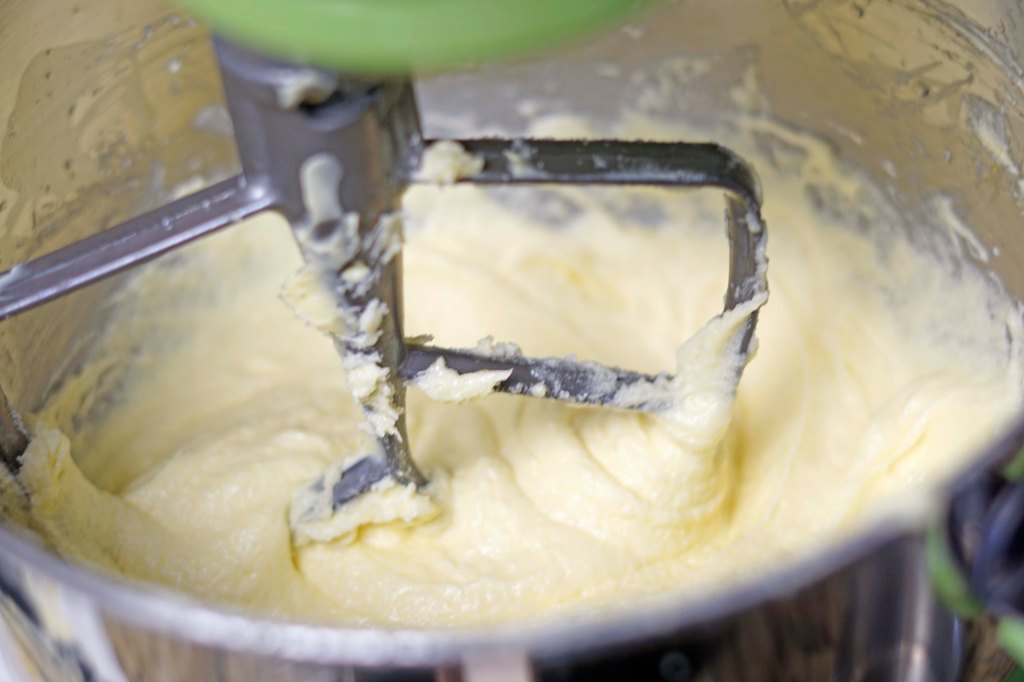
I added 8 ounces or 16 tablespoons of room temperature butter to my stand mixer and let the machine run on medium for 3 minutes (I did stop my mixer halfway through and scrape the sides and bottom of the bowl). Next, I added 2 cups of sugar to the butter in 3 rounds being sure to let the mixer run on medium for 1 minute after each addition, scraping the sides and bottom after each minute. Then I turned my mixer down to low and added the 4 eggs + 1 egg yolk to the mixture, one egg at a time. I waited until the yolk of each egg disappeared before adding the next one. I scraped the sides and bottom of the bowl after all the eggs were added and then let the mixer run for 1 more minute to make sure all the butter and sugar is incorporated with the eggs.
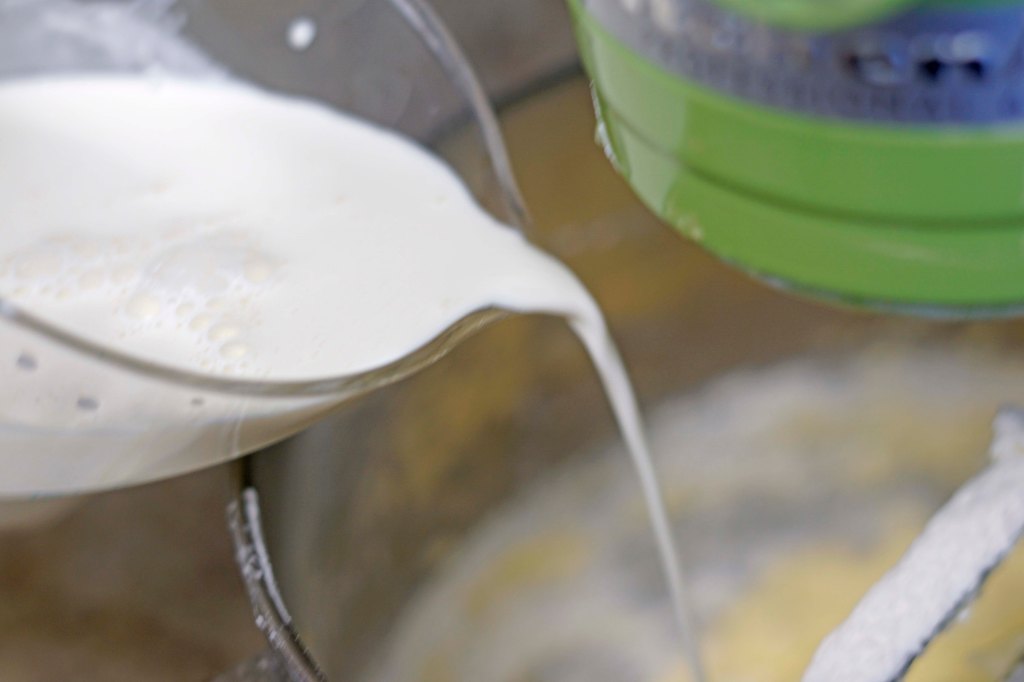
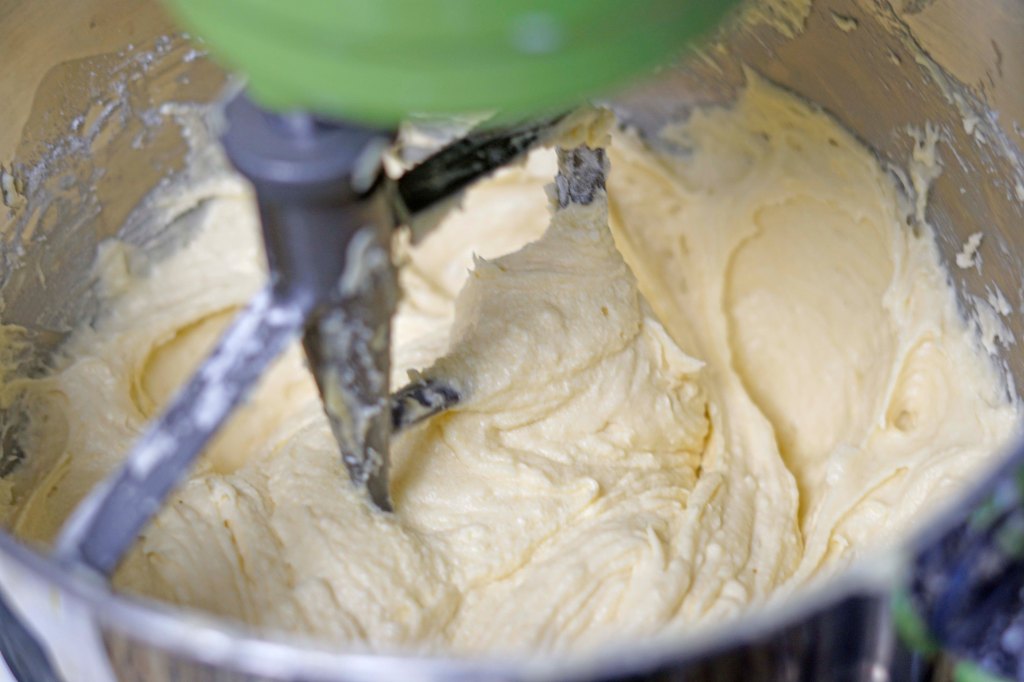
The final step on the mixer is to turn the mixer on low and add the flour and flavored half and half. These are added flour-milk-flour-milk-flour. To do this I just added a portion of each and let the mixer run until the majority of the flour or milk I just added has been incorporated or is no longer obviously floating above the rest of the mixture. As soon as most of the last flour is added, I pulled the bowl off the mixer and scraped all the batter off the paddle and used a spatula to scraped down the sides and bottom of the bowl.
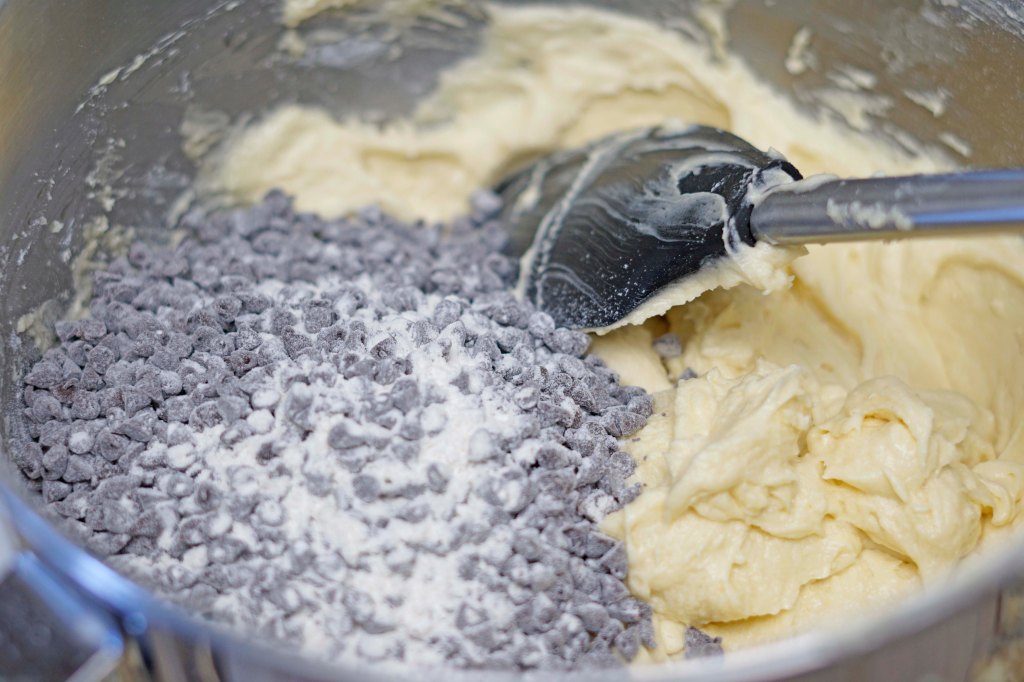

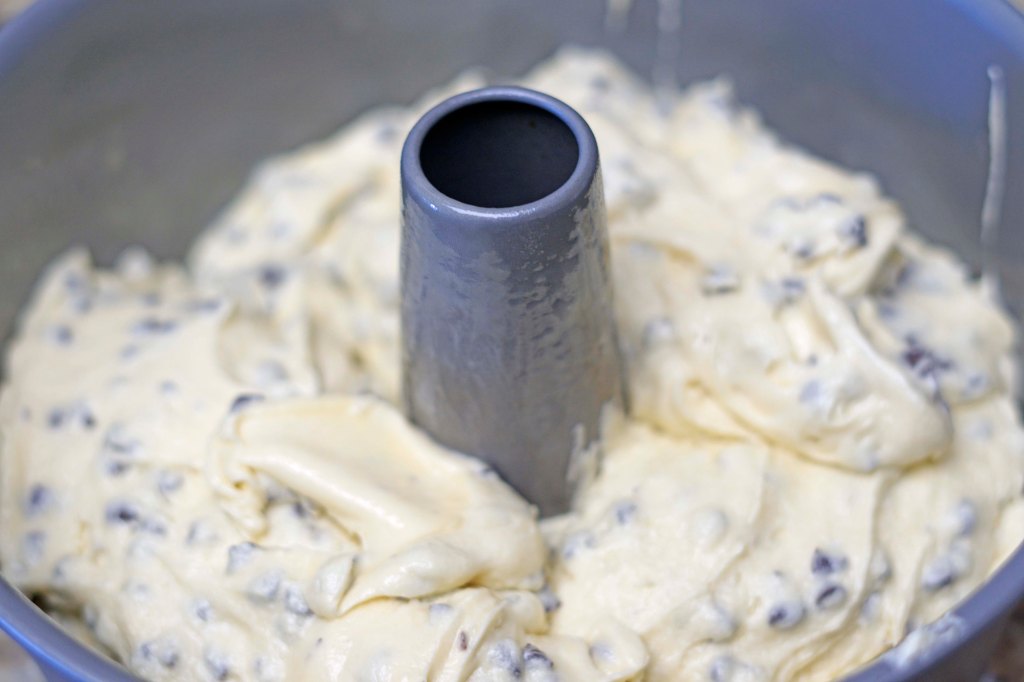

I dumped the floured chocolate chips into the batter and gently folded them in, being sure that there are no big pockets of plain batter or chocolate chips. Then I spooned the cake mixture into the prepared tube pan and smoothed the top. I also banged the pan 3 or 4 times on the counter to try to make sure there are no big air pockets in the cake. Then I put the pan in the oven and let it bake for 55 minutes. I checked it at 55 and quickly realized that it needed more time to bake.

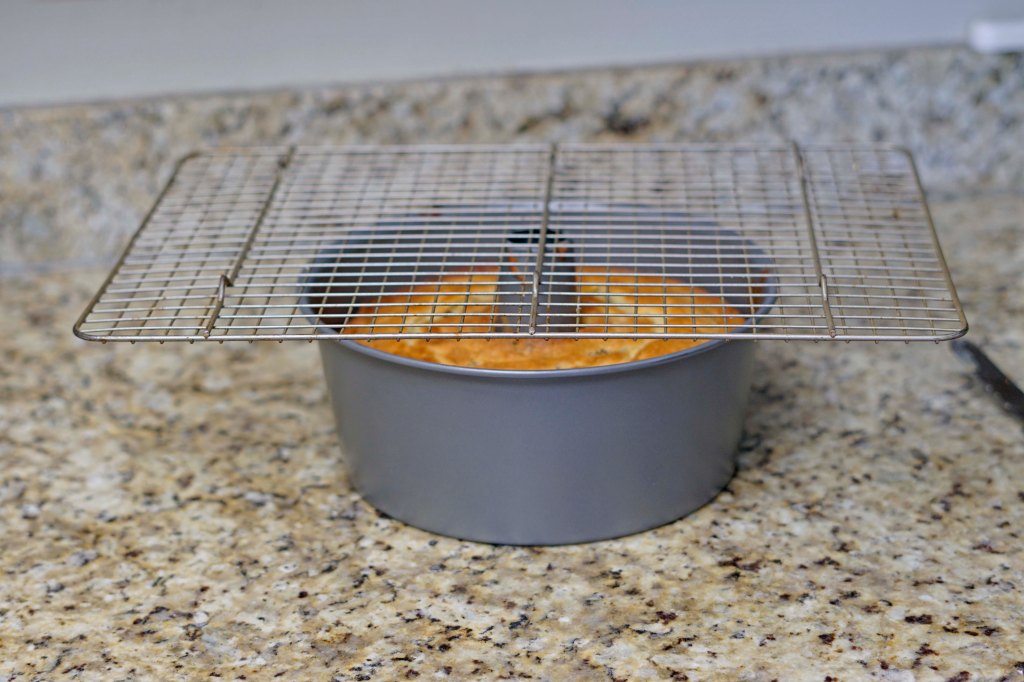

I kept checking my cake in 5 minute intervals by inserting a skewer into the cake and making sure that it came out clean. I ended up baking the cake for 70 minutes. I then let the cake cool in the pan for 10 minutes before inverting it onto a cooling rack. I then quickly realized that my cake really needed about 5 more minutes. So I tried to leave the tube insert in the middle of the cake while it cooled to help it continue cooking. After baking this several times now, 75 minutes seems to be the right amount of time to cook this whole cake.


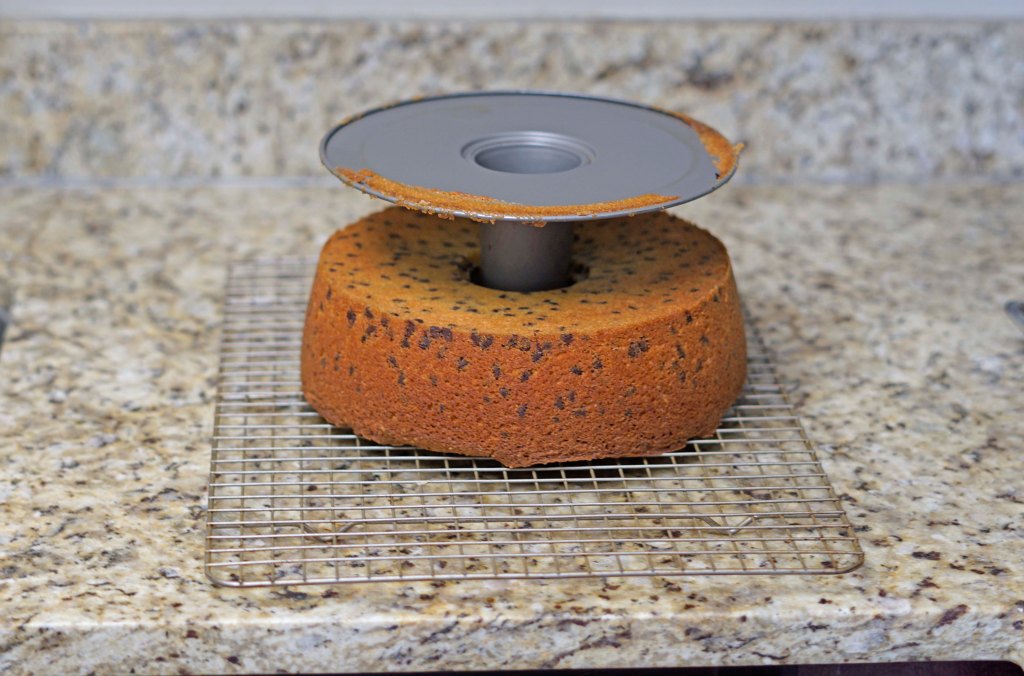
After the cake finished cooling, I put it on my favorite cake stand for a final picture and decided that I can’t decide which way I think this cake looks better. The upside down one on the left looks more polished, but the right side up one on the right looks more rustic and appealing to me for a family treat.

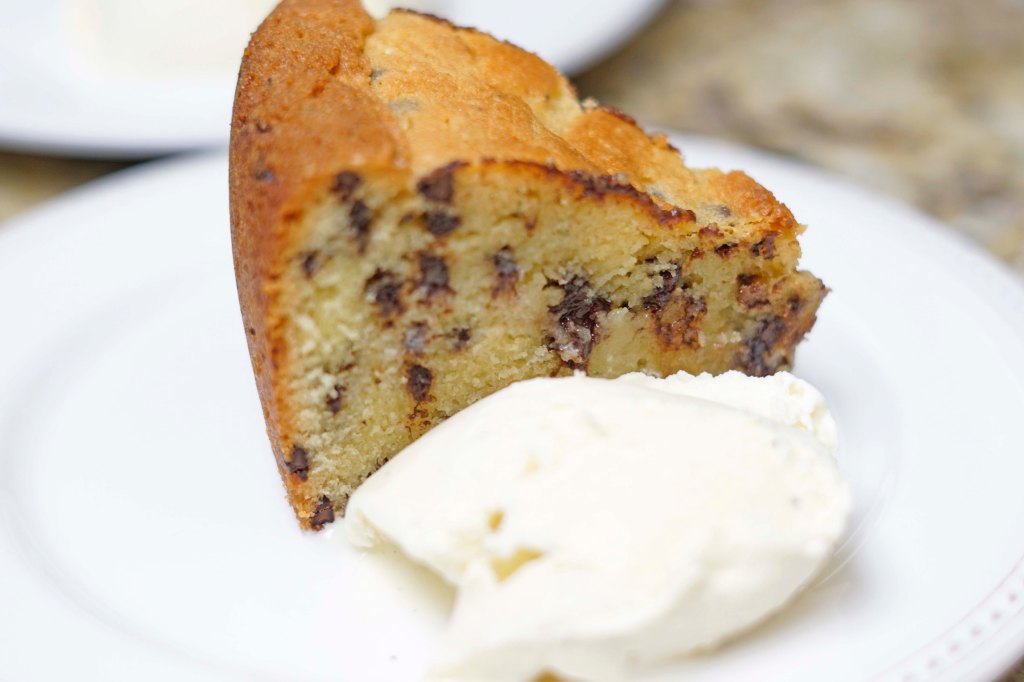
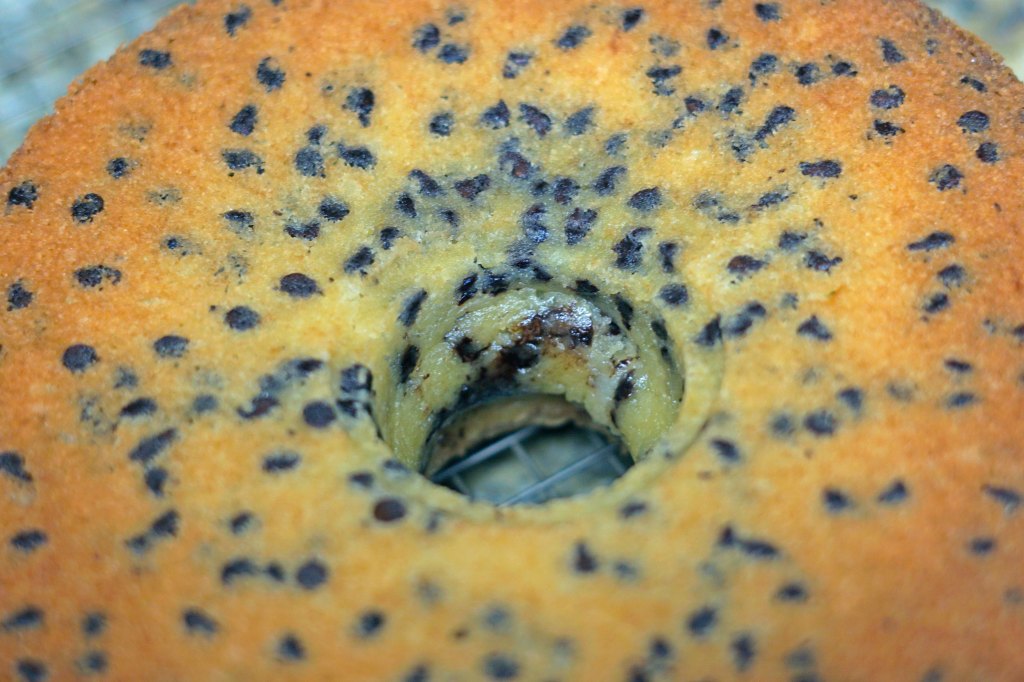
I ended up serving it right side up with a scoop of vanilla ice cream for my favorite taste testers – Kevin and Emily. You can see in the close up that the middle is a little gooey, but neither of them complained at all. I warned them both and they each said, “Yes, just the way I like it!”
Final Thoughts:
- I am so excited that everyone who has tried this cake so far really seems to enjoy it!
- It is not complicated to make, which is so nice when you are looking for something comforting.
- I think the ice cream was so nice with this cake because it is rich, but it is a great after dinner treat.
- I think it would also be a nice brunch cake, because it kind of tastes like a giant chocolate chip muffie from Panera – my favorite childhood treat (or maybe still my favorite Panera treat)
- I feel so excited each time I get an order to make treats! I hope people keep thinking of me when they need something sweet either just for their family or for a special occasion.
Recipe: Buttery Chocolate Chip Cake
Ingredients:
- Baking spray with flour for the pan or butter & flour
- 3 Cups all purpose flour (scooped & leveled)
- 2 1/4 Teaspoons baking powder
- 1 Teaspoon kosher salt
- 1 Bag of mini chocolate chips (about 2 cups)
- 16 Tablespoons room temperature butter
- 2 Cups granulated sugar
- 4 eggs + 1 egg yolk
- 1/2 teaspoon almond extract
- 1 1/2 teaspoons vanilla extract
- 1 cup half and half
Instructions:
- Preheat the oven to 325 F degrees and prepare bundt pan or tube pan with baking spray or butter & lightly floured
- In a bowl measure and whisk together the flour, baking powder & salt
- In a bowl pour the mini chocolate chip and then add 2 tablespoons of the flour mixture and stir to coat all the chocolate chips
- Measure out 1 cup of half and half and add the almond and vanilla extract to the milk
- In the bowl of a stand mixer beat the butter for 3 minutes – scrape the bottom and sides of the bowl
- Add the sugar in 3 additions, being sure to beat the mixture on medium for 1 minute after each addition and scrape the bottom and sides of the bowl often
- Add the eggs one at at time and beat on low until the yolk disappears before adding the next egg – Scrape the sides and bottom of the bowl and mix again for 1 minute to make sure all the butter and sugar is incorporated into the eggs
- Add the flour and milk mixture to the batter while the mixer is on low. Add it to the mixer in flour-milk-flour-milk-flour additions. Let the mixer run until the last addition is mostly incorporated into the mix. As soon as the last flour addition is incorporated, remove the bowl from the mixer and use a spatula to finish incorporating the flour and scrape the sides and bottom of the bowl.
- Dump the chocolate chips and extra flour into the batter and use a spatula to fold in.
- Spoon the batter into the prepared pan and smooth out the top of batter. Bang the pan on the counter 3 or 4 times.
- Bake for 70 to 75 minutes at 325 F degrees or until a skewer comes out clean.
- Cool in the pan for 10 minutes and then invert the cake to a cooling rack and allow the cake to cool completely.
- Enjoy!
**Update** So after I typed this post all up I realized that I’ve been baking this cake at the incorrect temperature. The recipe calls for 350 F degrees and for some reason I’ve been baking it at 325 F degrees. (Probably an issue of trying to read a recipe/bake/play with toddlers at your feet.) So you can totally bake it at either temperature – just start checking your cake at 55 minutes if you bake it at 350 F degrees to be sure not to over bake it.**
Recipe Adapted from Lisa Yockelson of Baking Style Diary’s contribution to the Boston Globe
